To Adjust the Fold Position
Fold position can be adjusted when using Finisher Type C4/C5.
Obtain adjustment values for the fold position on the target paper, register them as “Fold Position Type”, and assign it to a paper tray.
Registering a Fold Position Type
- Load paper with which to make fold position adjustment in the tray.
- Log in to Administrator Mode.
- Tap on
 on the Home screen.
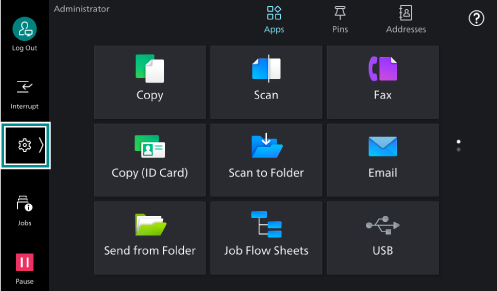
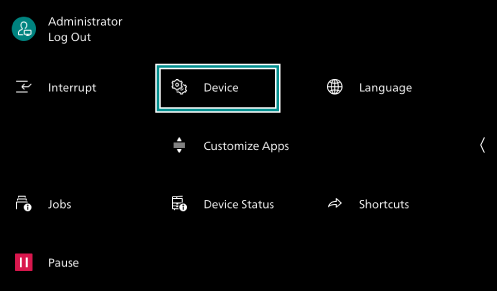
- Tap on [Device].
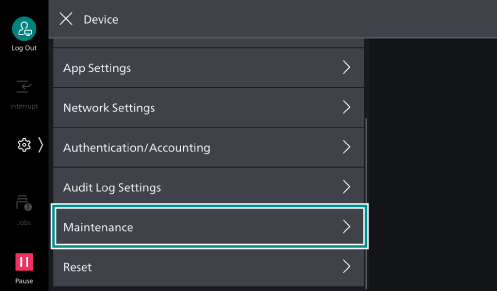
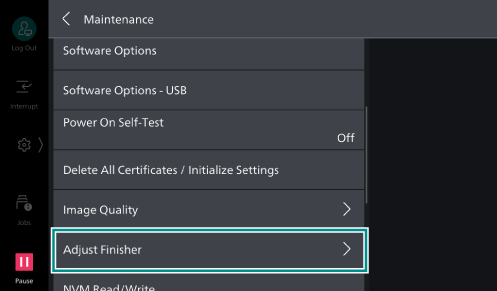
- Tap on [Maintenance].
- Tap on [Adjust Finisher].
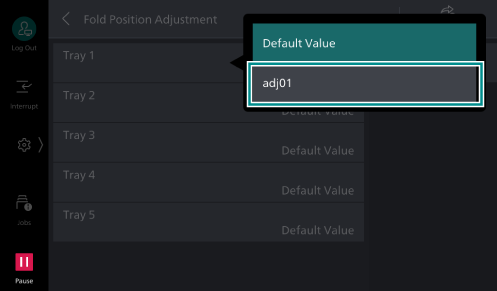
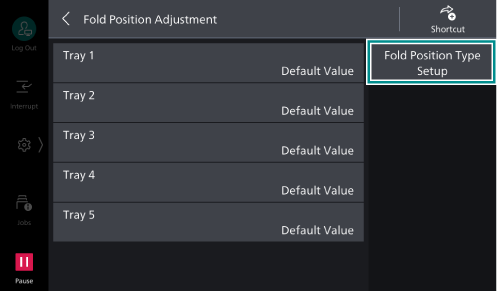
- Tap on [Fold Position Adjustment].

- Tap on [Fold Position Type Setup].
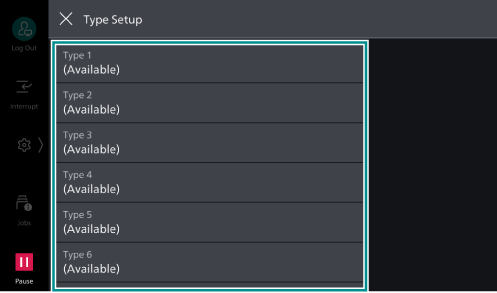
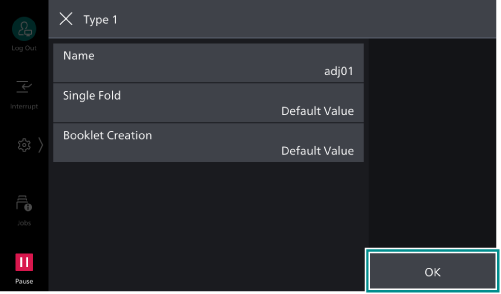
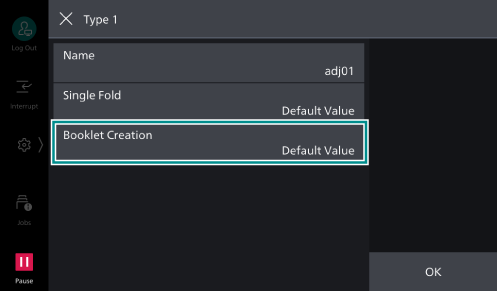
- Tap on the field to be registered.
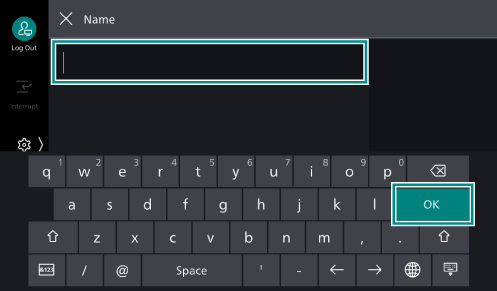
- Tap on [Name].
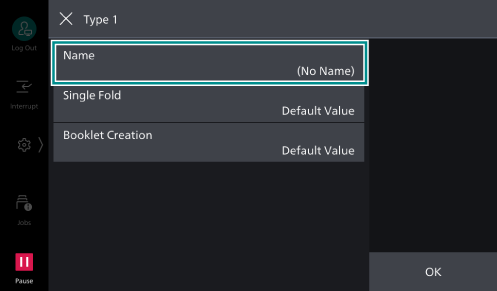
- Enter a name, and tap on [OK].
- Adjust the fold position as needed.
- After completing the adjustments, tap on [OK].
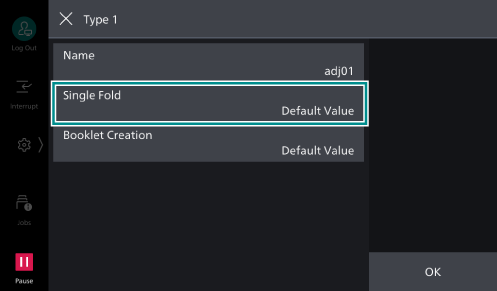
Adjusting the Fold Position for Bi-fold
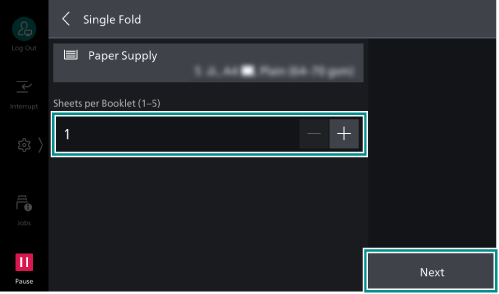
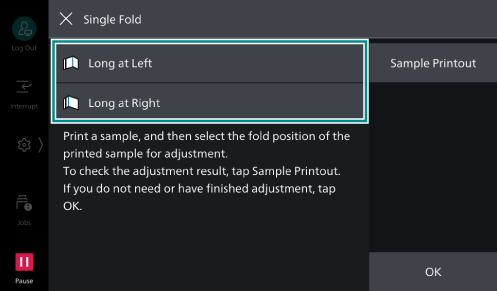
- Tap on [Single Fold].
- Tap on [Paper Supply], and select paper with which to make adjustment.
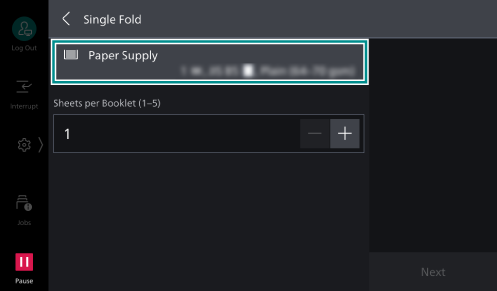
- Enter the number of sheets of the target bi-fold booklet in [Sheets per Booklet], and tap on [Next].
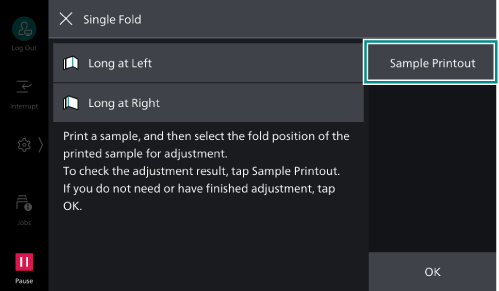
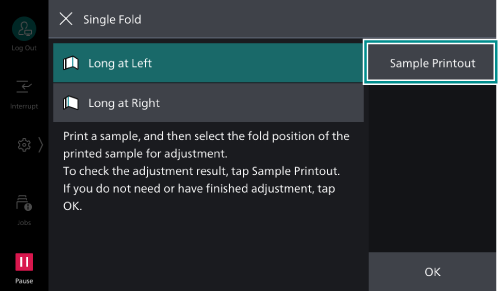
- Tap on [Sample Printout].
- Tap on [Print].
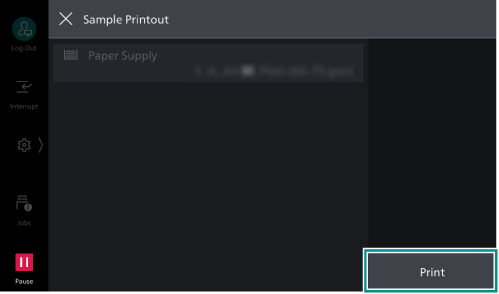
A sample sheets is printed.
- Tap on [X].
- Check which of the left and right sides of the printed fold sample is longer.
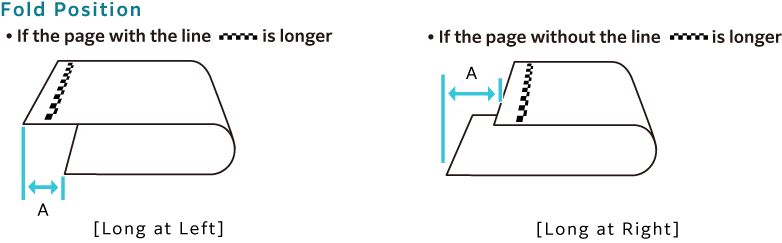
- Tap on the same item as the check results.
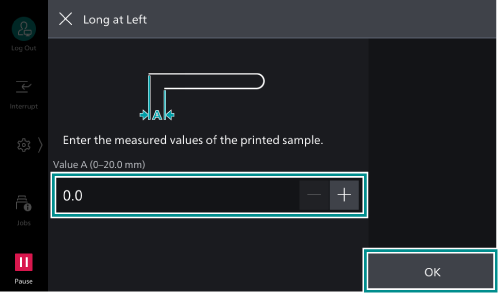
- On the sample, measure the length corresponding to “A” shown in the displayed diagram, enter the values, and tap on [OK].
- Tap on [Sample Printout].
- Tap on [Print].
A sample sheets is printed.
- Tap on [X].
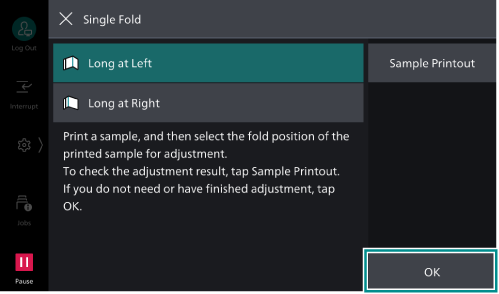
- Check the fold positions on the printed sample, and if you satisfy with the results, tap on [OK].
If further adjustment is needed, repeat adjustments from step 7.
Adjusting the Fold Position for Booklet
- Tap on [Booklet Creation].
- Tap on [Paper Supply], and select paper with which to make adjustment.
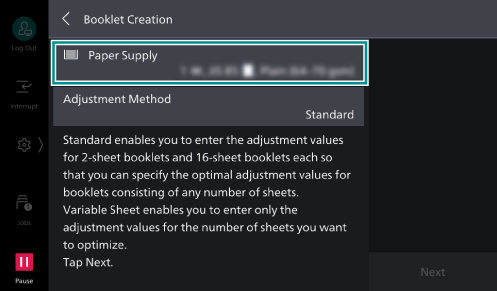
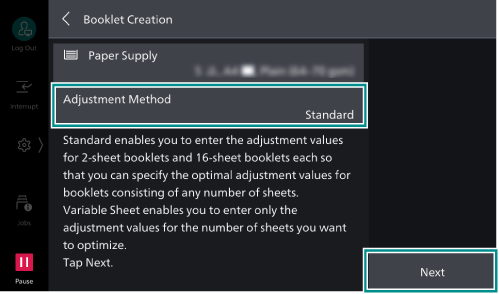
- Select [Standard] in [Adjustment Method], and tap on [Next].
Note
Note that [Adjustment Method] is set to [Standard] and has not been changed.
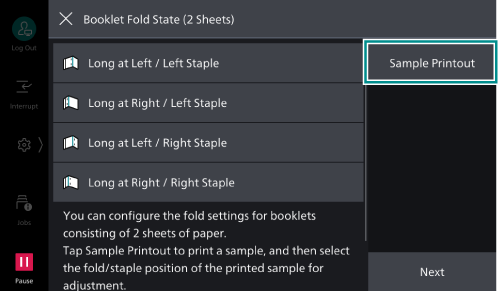
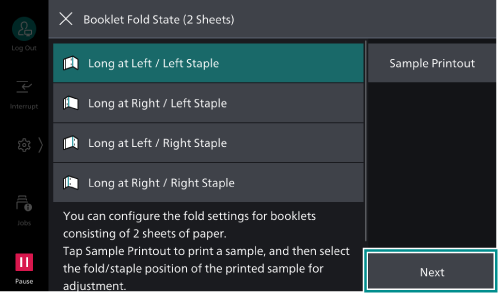
The [Booklet Fold State (2 Sheets)] screen is displayed.
- Tap on [Sample Printout].
- Tap on [Print].
A sample stack of two sheets is printed.
- Tap on [X].
- Check the fold and staple positions on the printed sample.
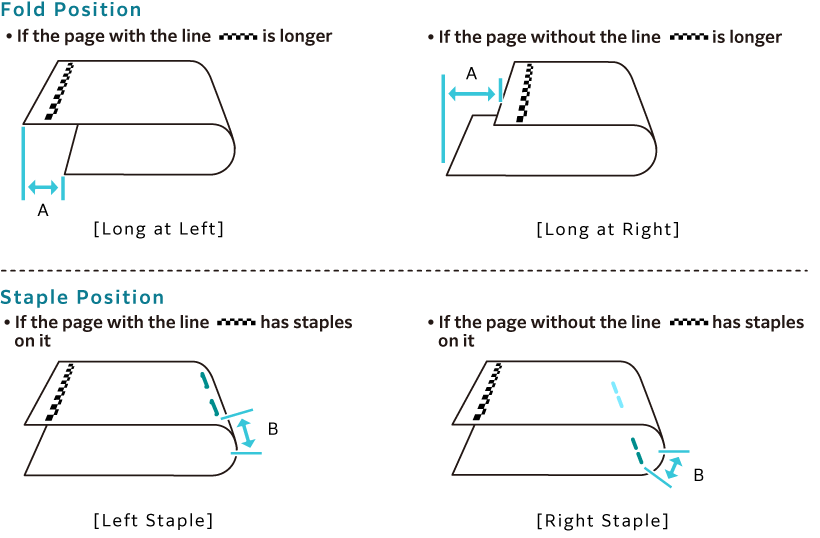
- Tap on the same item as the check results.

Note
Even if no adjustments are needed, select any option.
- On the sample, measure the length corresponding to “A” and “B” shown in the displayed diagram, enter the values, and tap on [OK].
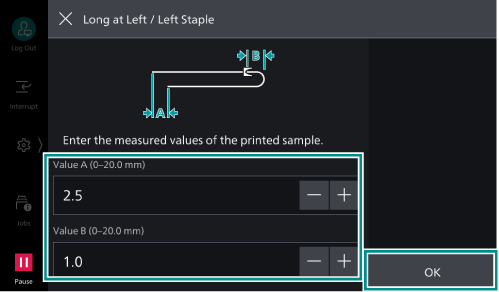
Note
If no adjustments are needed, enter “0”.
- Tap on [Sample Printout].

- Tap on [Print].
A sample stack of two sheets is printed.
- Tap on [X].
- Check the fold and staple positions on the printed sample, and if you satisfy with the results, tap on [Next].
If further adjustment is needed, repeat adjustments from step 7.
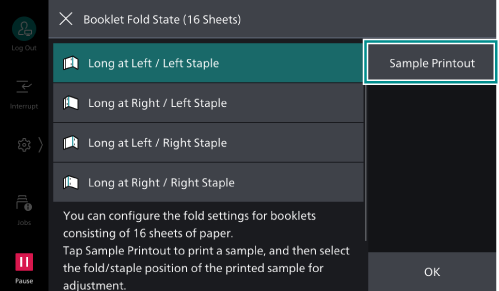
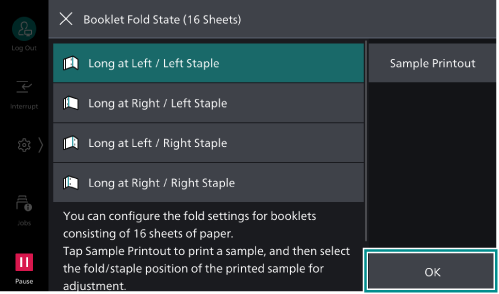
The [Booklet Fold State (16 Sheets)] screen is displayed.
- Tap on [Sample Printout].

- Tap on [Print].
A sample stack of 16 sheets is printed.
- Tap on [X].
- Adjust the fold and staple positions in the same way as steps 7 to 9.
- Tap on [Sample Printout].
- Tap on [Print].
A sample stack of 16 sheets is printed.
- Tap on [X].
- Check the fold and staple positions on the printed sample, and if you satisfy with the results, tap on [OK].
If further adjustment is needed, repeat adjustments from step 17.
Assigning a Type to a Paper Tray
- Log in to Administrator Mode.
- Tap on on the Home screen.
- Tap on [Device].
- Tap on [Maintenance].
- Tap on [Adjust Finisher].
- Tap on [Fold Position Adjustment].
- Tap on the paper tray you want to assign a type to, and select a type.