Scan your document on the machine and send the data as an attachment via email.
Refer
For information on the settings for using the Email feature, refer to Setting up Email Feature.
Basic Operations
- Load the document.
Refer
For information on how to load originals, refer to Loading Originals.
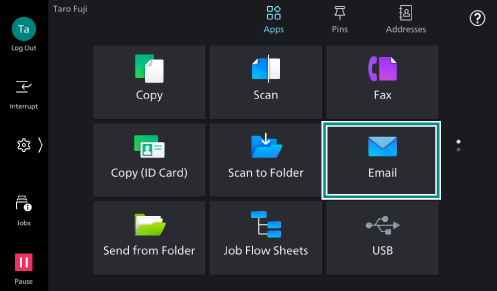
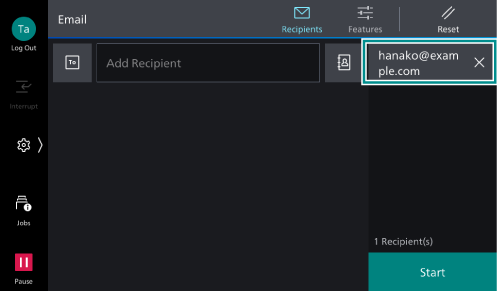
- Tap on [Email].
- Specify the recipient by directly entering using the keyboard or by tapping on
 (Address Book).
Note
To change the recipient type (To/Cc/Bcc), tap on
 .
.The displayed screen differs depending on the setting of [Screen Default] in Customizing the Apps Screen.
Long-tapping “.” (dot) on the keyboard shows candidates list including “.net”, “.com”, and “.org”.
Refer
For information on how to specify recipients using one-touch buttons, refer to Specifying a Recipient with a One-Touch Button.
- Tap on
 ([Features]) at the top of the screen, and set each item.
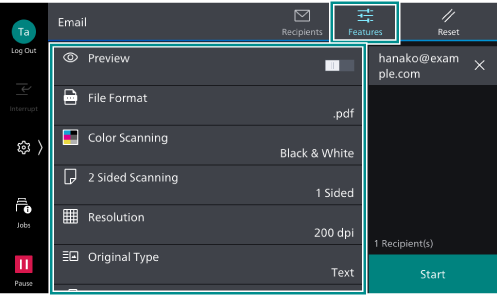
Note
To restore the default setting values, tap on
 ([Reset]).
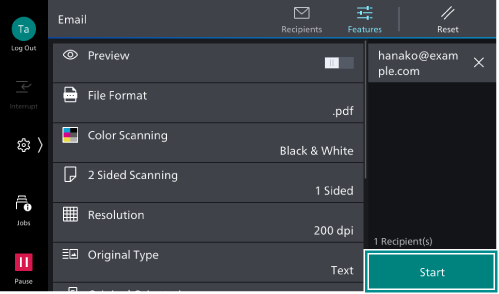
- Tap on [Start].
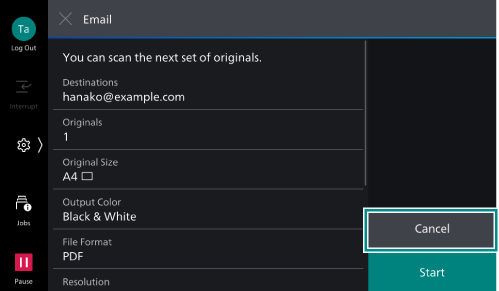
Deleting
- Tap on
 or [Pause].
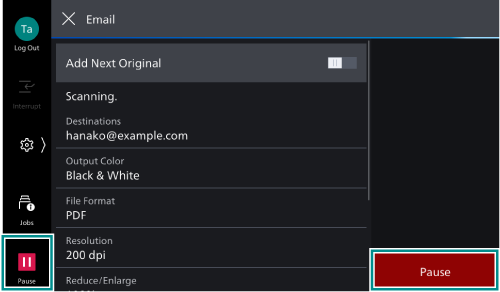
- Tap on [Cancel].
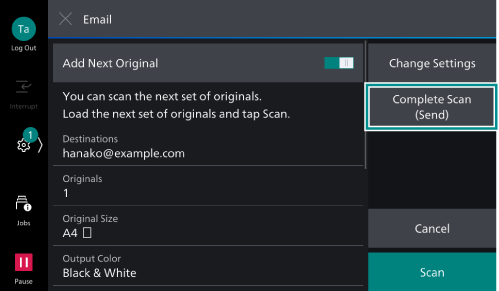
Continuing Scanning
- Tap on [Add Next Original].
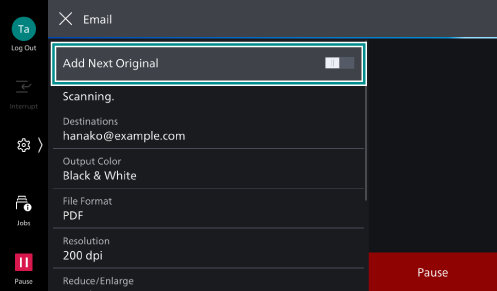
Note
Enabling [Next Original] in the features list also activates continuous scanning.
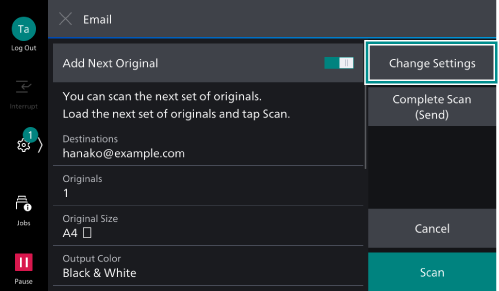
- Select the following operation.
Scan Next Document
- Load the next document.
- Tap on [Scan].

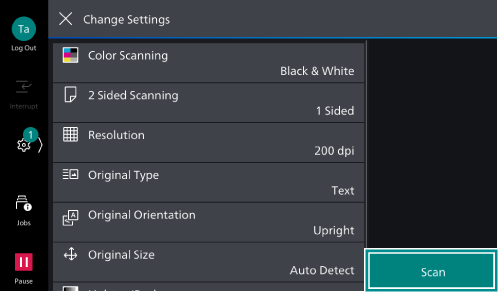
Changing the Settings of the Next Document
- Load the next document.
- Tap on [Change Settings].
- Change the features list settings.
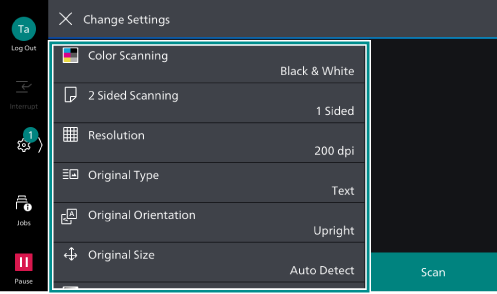
- Tap on [Scan].
- When all the documents have been scanned, tap on [Complete Scan (Send)].
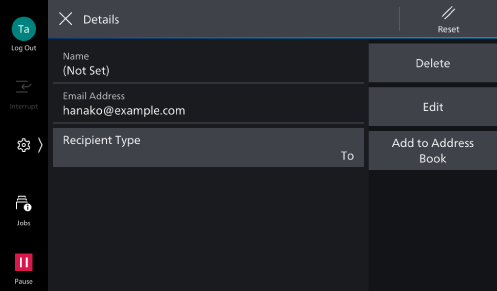
Editing Recipient
- Tap on a recipient to edit.
- Select the following operation.
Item
Description
[Recipient Type]
[To], [Cc], or [Bcc] can be specified.
[Delete]
Delete a recipient.
[Edit]
Correct a recipient.
[Add to Address Book]
Create a new contact. Or, add an address to an existing contact.