Setting up Internet Fax
Internet Fax is a feature for sending and receiving data scanned by the machine as an attachment to an email via company network or Internet, unlike fax transmission done via telephone line.
You need to configure the following settings in order to use the feature.
Setting Item |
Internet Fax |
Internet Fax Direct |
|---|---|---|
TCP/IP Address |
✓ |
✓ |
Internet Fax Path |
✓ |
✓ |
Email Port |
✓ |
✓ |
Subnet Mask |
As required |
As required |
Gateway |
As required |
As required |
DNS Server |
As required |
As required |
Machine’s Email Address |
✓ |
✓ |
Protocol to Receive Email |
✓ |
✓ |
POP3 Server |
As required |
- |
POP3 Login Name/Password |
As required |
- |
SMTP Server |
✓ |
- |
SMTP AUTH Login Name/Password |
As required |
- |
✓: Must be set, -: No need to set |
||
Setting the Internet Fax Path
- Log in to Administrator Mode.
- Tap on
 on the Home screen.
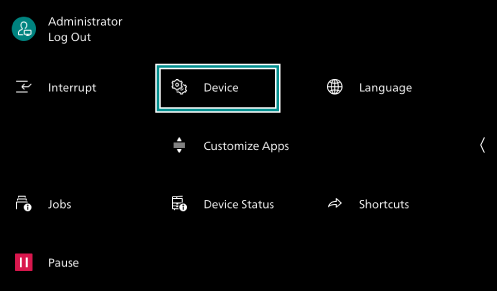
 - Tap on [Device].
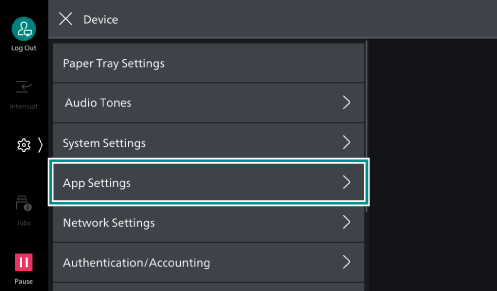
- Tap on [App Settings].
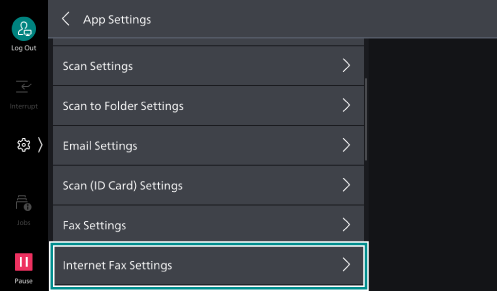
- Tap on [Internet Fax Settings].
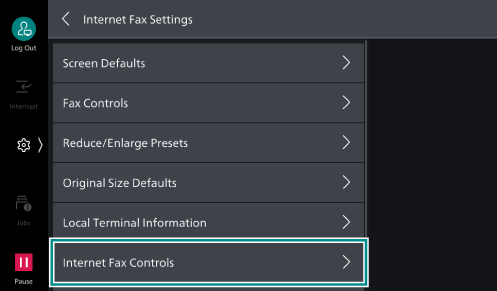
- Tap on [Internet Fax Controls].
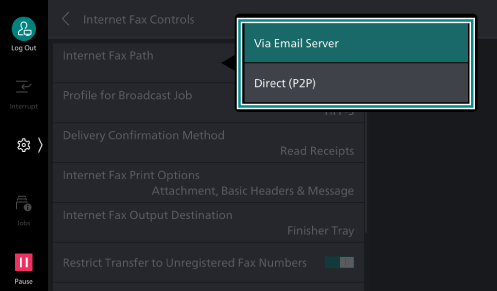
- Tap on [Internet Fax Path].
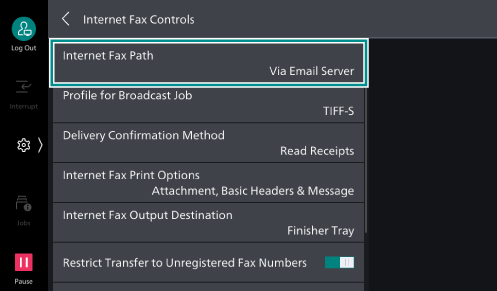
- Tap on [Via Email Server] for Internet Fax, or tap on [Direct (P2P)] for Internet Fax Direct.
Settings for Using the Email Feature
You must set the IP address of the machine, and configure the settings related to sending and receiving emails.
To do those, refer to Setting up Email Feature.
Note
After you have configured the settings, press the <Home> button. Restart the machine if a message appears prompting you to do so.