Configuring Initial Settings for Private Charge Print
Private Charge Print is a feature for you to print your own documents only, by setting your User ID at the time of print submission and performing authentication at the machine. Private Charge Print files are saved for each user ID.
To use Private Charge Print, settings both on the machine and on each client computer are required.
Note
When using Private Charge Print, set the machine's authentication method to Login to Local Accounts.
A separate application is required to use the service that allows you to associate a sub-user with the user ID of an authenticated user. For details, contact your local representative.
This feature is available also for files saved with Server-less On-Demand Print (optional).
Setting the Machine
You can set whether to save all print jobs as Private Charge Print jobs, or match user information registered with the machine against information from the printer driver whenever the machine receives print jobs, and save only jobs that pass the authentication as Private Charge Print jobs.
Settings for Saving All Jobs as Private Charge Print Jobs
- Log in to Administrator Mode.
- Tap on
 on the Home screen.
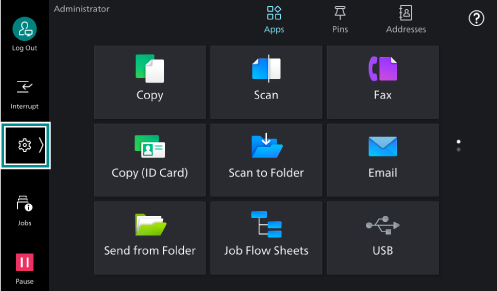
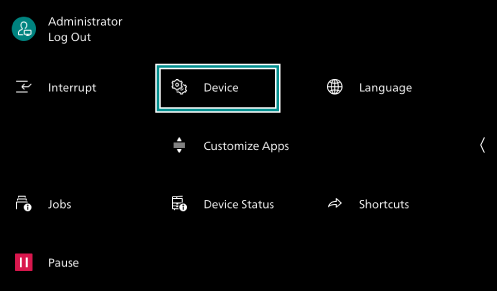
- Tap on [Device].
- Tap on [Authentication/
Accounting ].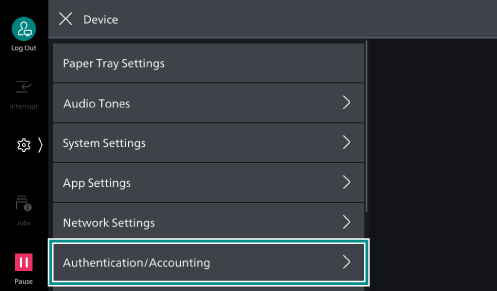
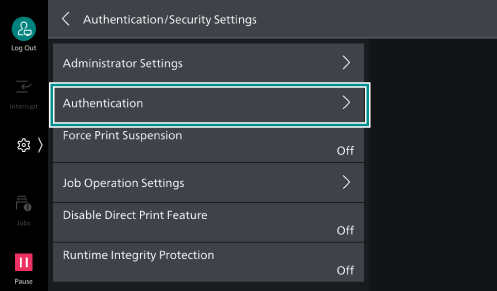
- Tap on [Authentication/
Security Settings ].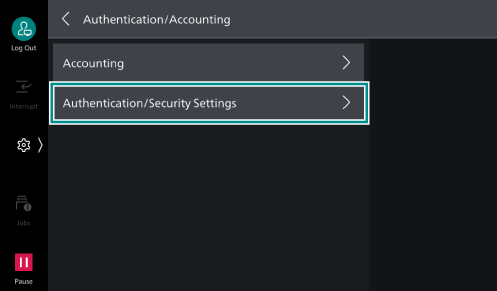
- Tap on [Authentication].
- Tap on [Charge/
Private Print Settings ].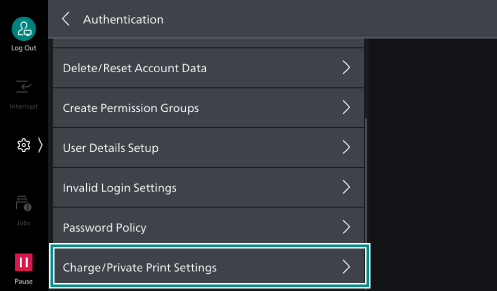
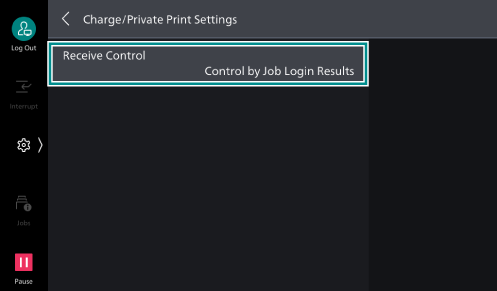
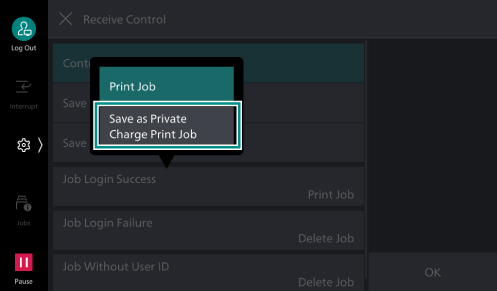
- Tap on [Receive Control].
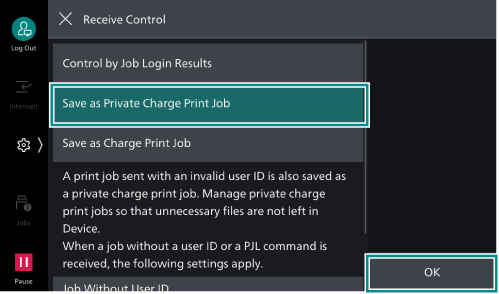
- Select [Save as Private Charge Print Job] and then tap on [OK].
- Press the <Home> button.
- Tap on [Restart Now].
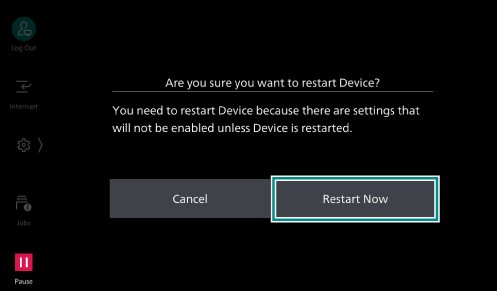
The machine restarts and then the settings are enabled.
Settings for Saving Only Jobs That Pass Authentication as Private Charge Print Jobs
- Log in to Administrator Mode.
- Tap on on the Home screen.
- Tap on [Device].
- Tap on [Authentication/
Accounting ].
- Tap on [Authentication/
Security Settings ].
- Tap on [Authentication].
- Tap on [Charge/
Private Print Settings ].
- Tap on [Receive Control].
- Select [Control by Job Login Results].
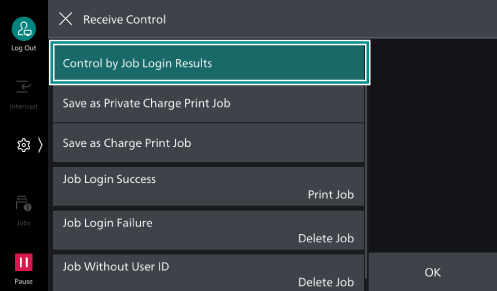
- Tap on [Job Login Success], and then tap on [Save as Private Charge Print Job] of the displayed menu.
- Tap on [OK].
- Press the <Home> button.
- Tap on [Restart Now].
The machine restarts and then the settings are enabled.
Setting the Client Computer
Setting the Authentication ID with the Printer Driver
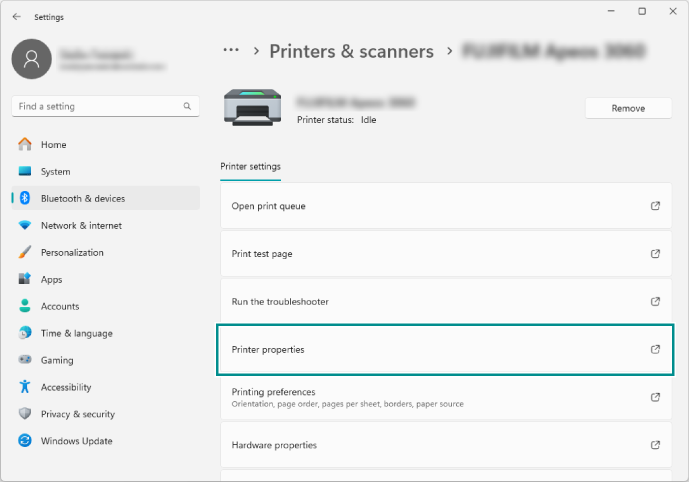
Here an example of operation with Windows 11 is explained.
- Under [Start] > [Settings] > [Bluetooth & devices] > [Printers & scanners], click the machine.
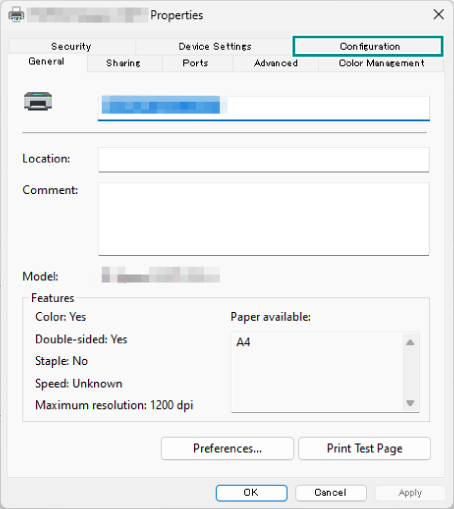
- Click [Printer properties].
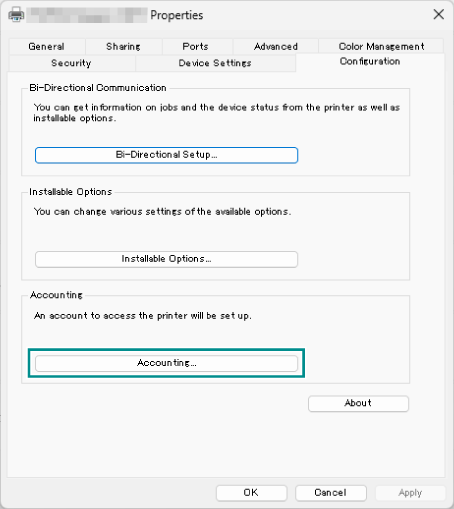
- Click [Configuration].
- Click [Accounting].
- Select [Always Use Default User Details ], and select [Enter owner name] from [Specify Job Owner Name].
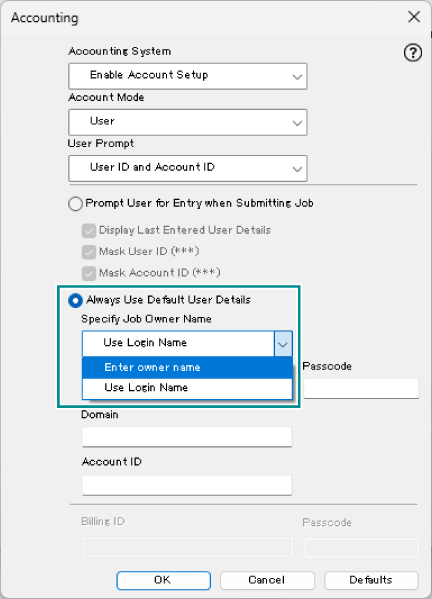
- Enter the Login User ID and Password registered with the machine in [User ID] and [Passcode], and click [OK].

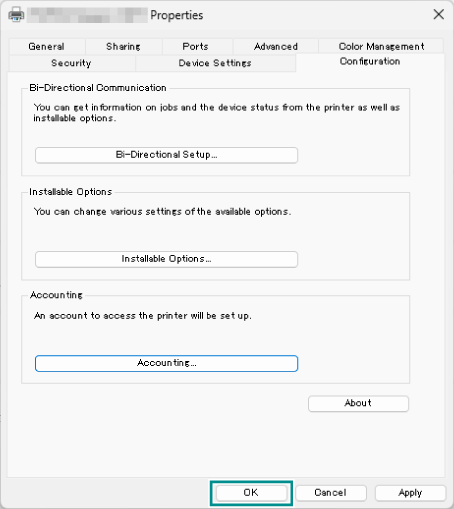
- Click [OK].
Submitting Print Jobs from an Application
Refer
For information on how to perform printing, refer to Printing Stored Files.