To Execute Jobs With the Same Settings Using Job History and Pins
The job history of copy, scan, fax, and Internet fax is displayed in [Pins] for each user. You can select a job to execute again from the list, as well as name and save a frequently used job as a Pin, which can be placed as a shortcut button on the Home screen.
Also, you can save the job settings before execution as a Pin using the [Save as Pin] button on the feature list of each app.
By utilizing previously executed job’s parameter sets or Pins, you can avoid repeatedly setting the same parameters.
Note
If the maximum number of job entries allowed to be saved in [Pins] is reached, the oldest entries are overwritten first. Pinned jobs are not overwritten.
Jobs whose destination has been changed due to editing of the Address Book cannot be resubmitted.
Tapping on
 for a job entry on the [Pins] screen in Internet Services displays a menu that enables you to select [Details] to check its details.
Configuring the Settings for Using Pins
The following describes how to enable the Pins feature and modify the settings regarding saving the job history as follows:
Restriction of saving history per each feature to anonymous users
Auto-deletion of old job history once the retention period has expired
Maximum number of saved job records per user
- Log in to Administrator Mode.
- Tap on
 on the Home screen.
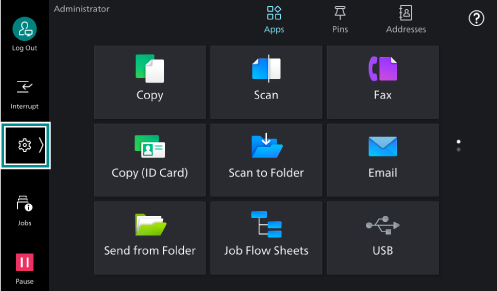
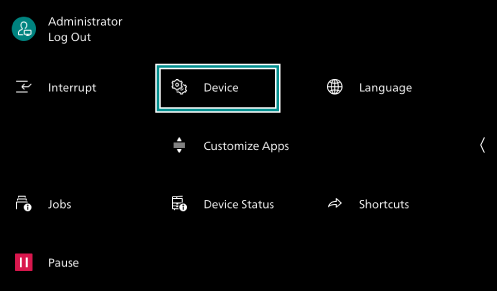
- Tap on [Device].
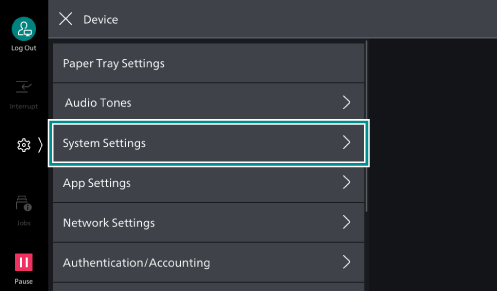
- Tap on [System Settings].
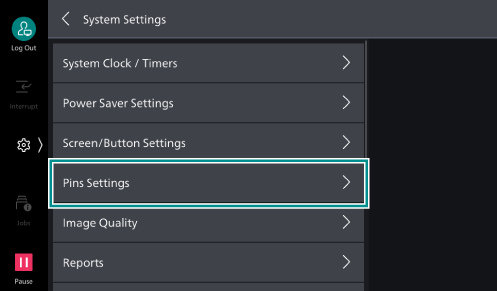
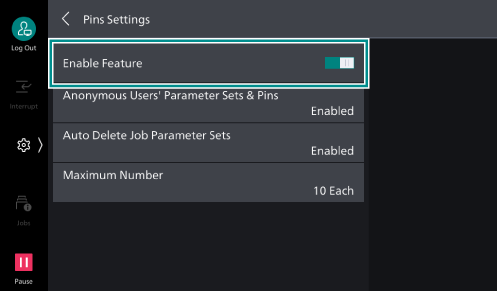
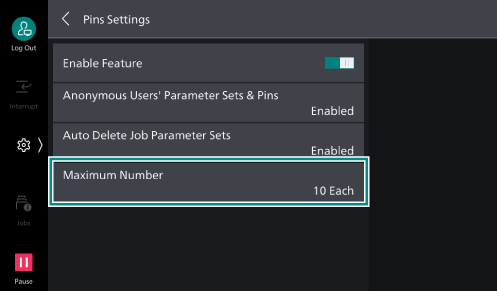
- Tap on [Pins Settings].
- Tap on [Enable Feature] to enable.
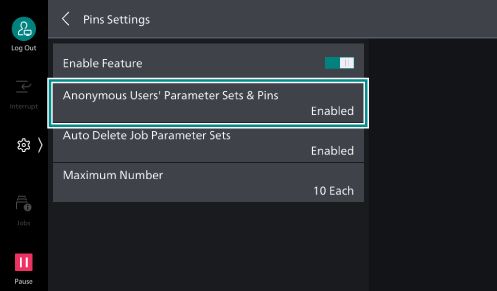
- Tap on [Anonymous Users' Parameter Sets & Pins].
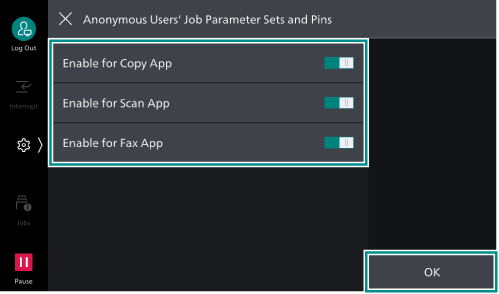
- Enable features whose history records are allowed to be retained by anonymous users, and tap on [OK].
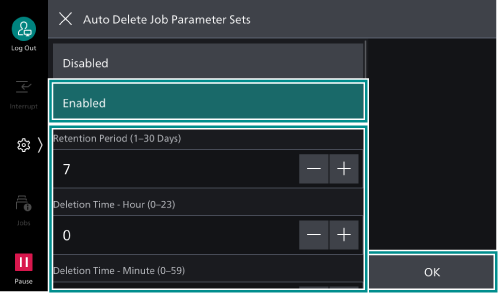
- Tap on [Auto Delete Job Parameter Sets].
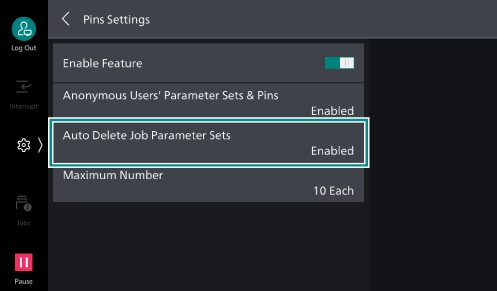
- Select [Enabled], set the retention period as well as when to delete, and tap on [OK].
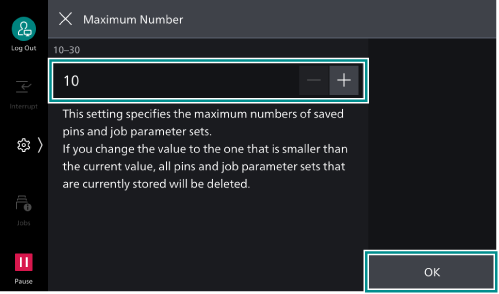
- Tap on [Maximum Number].
- Set the maximum number, and tap on [OK].
- Press the <Home> button.
- Tap on [Restart Now].
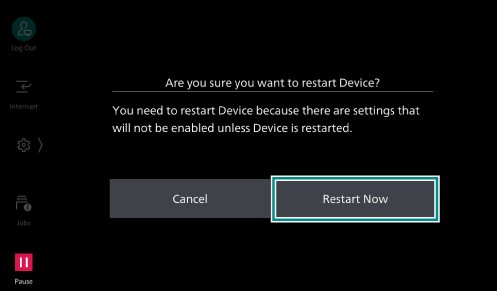
The machine restarts and then the settings are enabled.
Creating Pins From Job History
Setting [Create Pin] to the frequently used job parameter set pins it to the upper part of the job history list. The created Pins can be saved also on the Home screen ([Apps] screen).
A pinned job can be started without needing to launch the app screen.
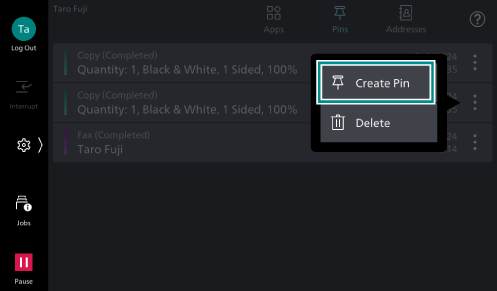
- Tap on [Pins] on the Home screen.

- Tap on for the history record you want to pin, and from the displayed menu select [Create Pin].
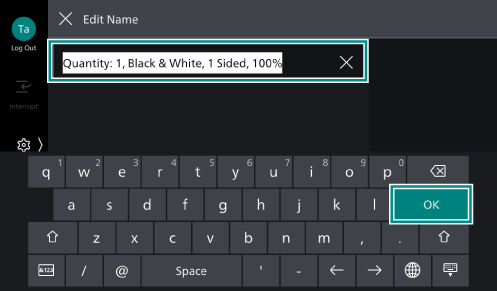
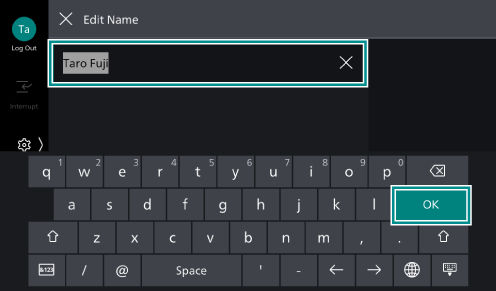
- Enter a name to save the history record in [Edit Name], and tap on [OK].
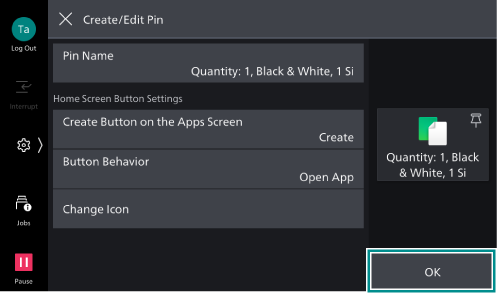
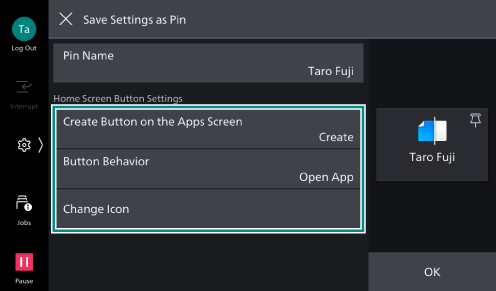
- If you create a Pin button on the Home screen ([Apps] screen), perform the following steps.
- Tap on [Create Button on the Apps Screen] and select [Create].

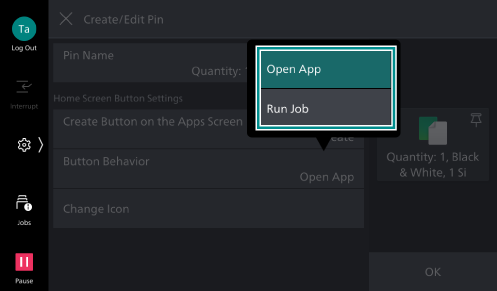
- Tap on [Button Behavior] to select what happens when the Pin button is tapped.
Note
For Fax or Internet Fax jobs, the [Run Job] option is not available in order to prevent mistransmission.
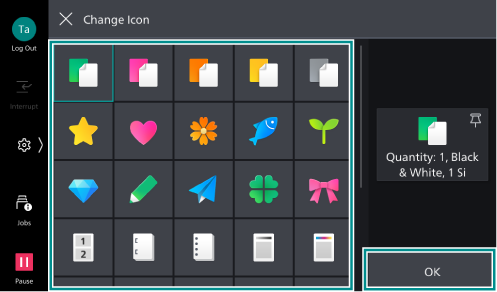
- Tap on [Change Icon].
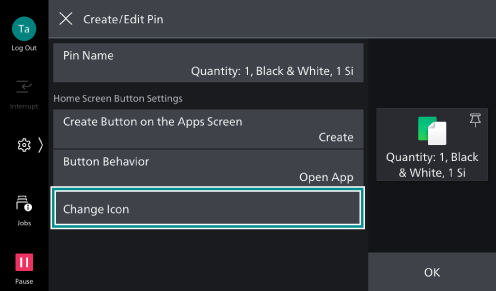
- Select an icon to be placed, and tap on [OK].
- Tap on [Create Button on the Apps Screen] and select [Create].
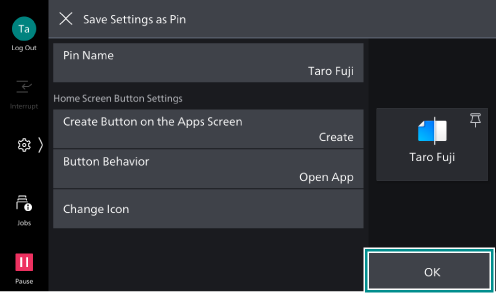
- Tap on [OK] to save the Pin.
Note
The original job entry will be changed to a Pin.
A Pin created in Administrator Mode will be a “Shared Pin” and displayed on the [Pins] screen and the Home screen of all users.
Saving Jobs Before Execution as Pins
On each app screen, you can create a pin of a job without executing it by saving the destination information and the features list settings.
Note
[Save as Pin] may not be displayed on the feature list screen if the following is configured in Administrator Mode.
When [Permissions] > [Permissions] > [Access Control] > [Personalization Restrictions] > [Pins] is set to [Restrict] in Internet Services
When
> [Device] > [System Settings] > [Pins Settings] > [Anonymous Users' Parameter Sets & Pins] is disabled
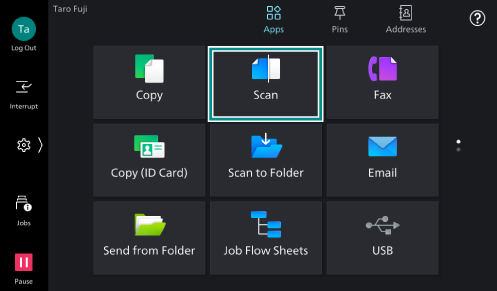
- Tap on [Scan] on the Home screen.
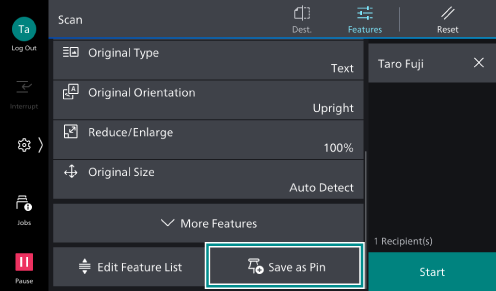
- Configure the destination and features list settings, and tap on [Save as Pin].
Note
You can create a Pin without specifying a destination. In that case, the destination is specified at the timing of starting the job.
- Enter a name of the Pin in [Edit Name], and tap on [OK].
- If you create a Pin button on the Home screen ([Apps] screen), set [Create Button on the Apps Screen] to [Create] and configure the details, including the button behavior.
For details, refer to the step 4 of Creating Pins From Job History.
- Tap on [OK] to save the Pin.
Note
A Pin created in Administrator Mode will be a “Shared Pin” and displayed on the [Pins] screen and the Home screen of all users.
Starting Jobs From [Pins]
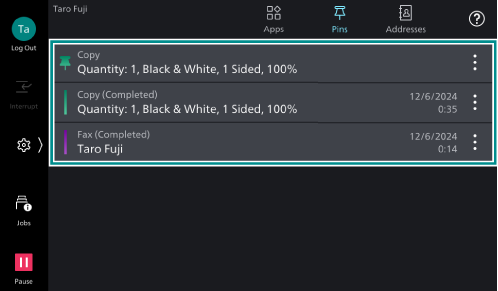
Selecting a previously executed job or a Pinned one from the job history list on [Pins] opens the app screen, enabling you to start the job with the same settings.
- Tap on [Pins] on the Home screen.
- Tap on a job entry or a Pin you want to start.
- After the app screen is displayed, tap on [Start].
Note
The job details can be modified on the app screen before started.
For the copy, scan, and Email jobs among pinned jobs, tapping on
and select [Start Now] from the displayed menu allows you to start the job without needing to launch an app. To use this option, the job needs to contain the destination.
For Fax or Internet Fax jobs, executing [Start Now] is not allowed due to the reason of preventing mistransmission.
The submitted job is recorded as a new job entry.
Starting Jobs From the Pin Button on the Home Screen
- On the Home screen, tap on the Pin button for the job you want to start.
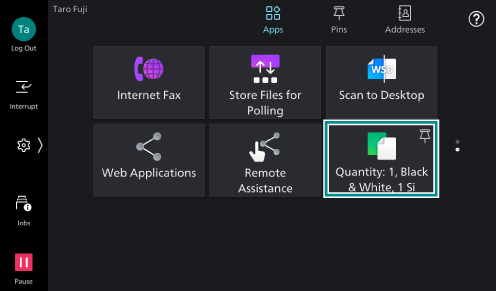
- After the app screen is displayed, tap on [Start].
Note
The job details can be modified on the app screen before started.
A job that [Button Behavior] is set to [Run Job] displays
 over its button. This type of job immediately starts without launching an app.