Scan
Scan your document on the machine and saves the data to a shared folder on a client computer.
Note
If you have logged on to Windows on your client computer for which no password is set, you cannot access the saved data from the machine.
Registering Destinations
Destinations for saving documents can be registered with the Address Book in advance.
Note
Depending on the settings configured by the system administrator, or on the number of destinations already registered, you may not be able to add destinations. In this case, contact your system administrator about the settings or the maximum allowed number of destinations.
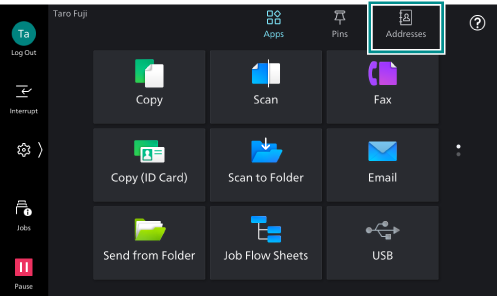
- Tap on [Addresses] on the Home screen.
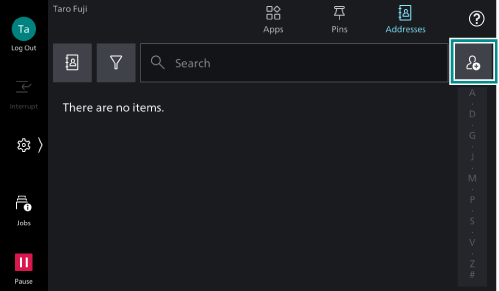
- Tap on
 .
.
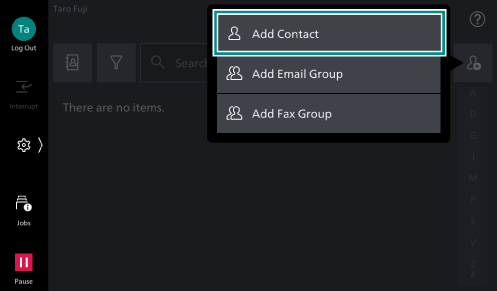
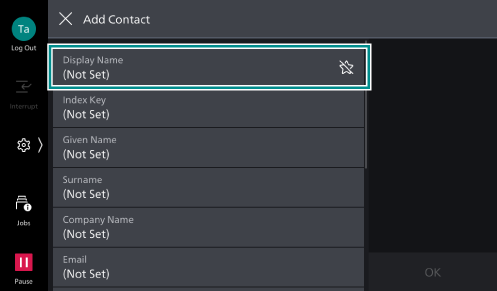
- Tap on [Add Contact].
- Tap on [Display Name].
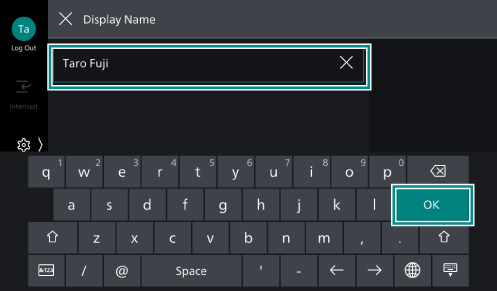
- Enter a name to be displayed, and tap on [OK].
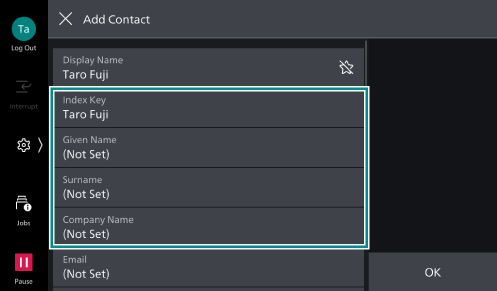
- Enter [Index Key], [Surname], [Given Name], and [Company Name] as needed.
Note
[Index Key] is populated by the system, but can be changed.
If you plan to use the index of the Address Book, index key (kana characters indicating the pronunciation of the name) is required. Make sure you set [Index Key].
[Display Name], [Index Key], [Surname], [Given Name], and [Company Name] can all be used as search keywords when searching the Address Book. We therefore recommend that you set easy-to search characters.
- Depending on the save destination, tap on [SMB], [FTP], or [SFTP].
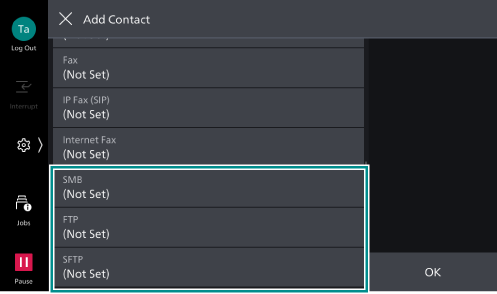
- In each item for [Save Location], enter information you checked in Create the Transfer Destination Folder.
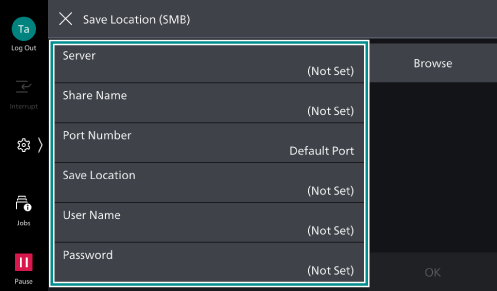
Note
If you tap on [Browse], the hierarchical structure of the names of the save destination servers and folders is displayed so that you can trace through the hierarchy to specify the save destination. If the hierarchical structure is not displayed, enter in the fields directly.
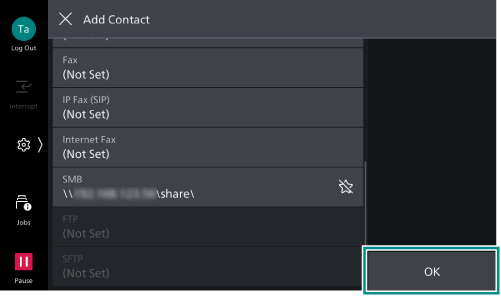
- Add other destination as necessary.
- After completing the settings, tap on [OK] on the [Add Contact] screen.
Transmitting a Document
This section explains the steps for transmitting a document by selecting a recipient registered with the Address Book.
- Load a document to scan.
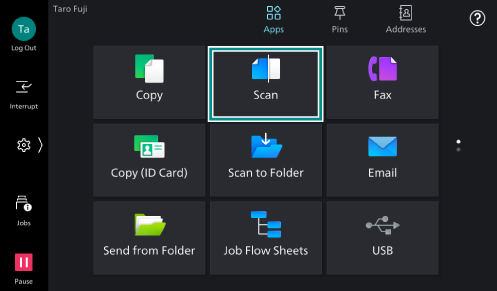
- Tap on [Scan] on the Home screen.
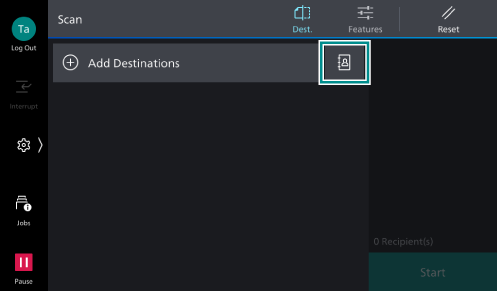
- Tap on
 .
.
Refer
For information on how to specify recipients using one-touch buttons, refer to Specifying a Recipient with a One-Touch Button.
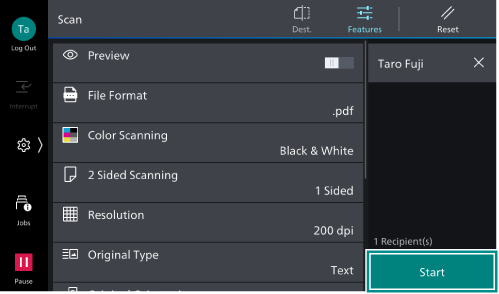
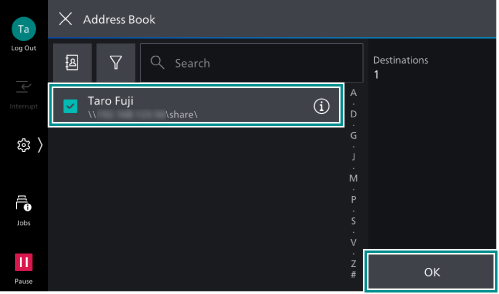
- Select a save destination for the document to be scanned, tap on [OK].
- Tap on
 ([Features]) at the top of the screen, and set each item.
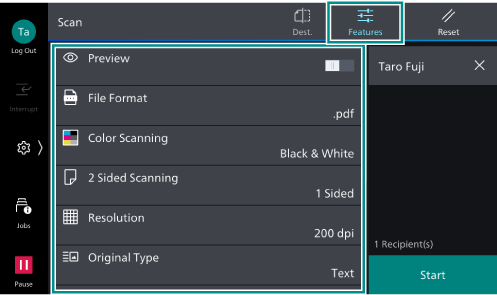
Note
If you want to restore the initial settings, tap on
 ([Reset]).
- Tap on [Start].