To Register/Modify/Delete Address Book Data Such as Recipients
Frequently used recipients can be registered with the Address Book.
Multiple destination types can be registered for each recipient. The following destination types can be registered:
Email
Fax
Internet Fax
SMB/FTP/SFTP
SIP Fax (only when the SIP Fax feature is available)
Note
Whenever you register recipients with the Address Book, make sure you select the right destination type in accordance with the feature to be used. If you assign an incorrect destination type to an address, the address cannot be invoked from the feature you intend.
If you are restricted to registering/editing the Address Book, log in to Administrator Mode, or contact your system administrator.
When Setting on the Control Panel
Registering Information with Address Book
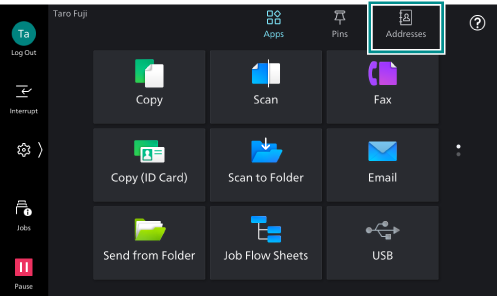
- Tap on [Addresses] on the Home screen.
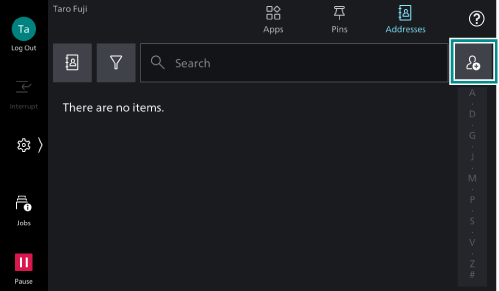
- Tap on
 .
.
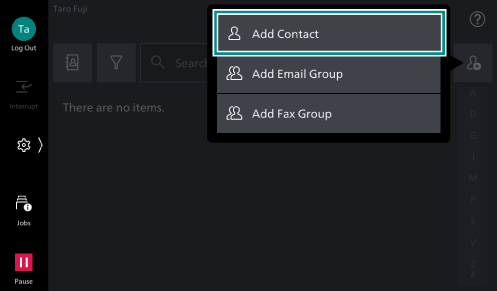
- Tap on [Add Contact].
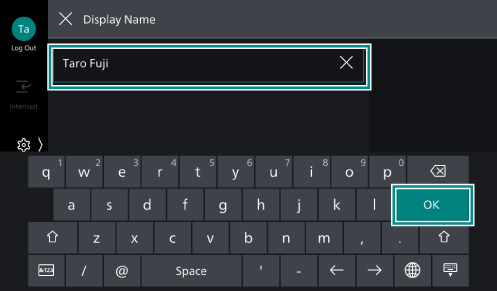
- Tap on [Display Name].
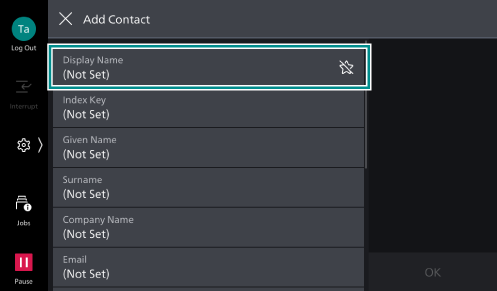
- Enter a name to be displayed, and tap on [OK].
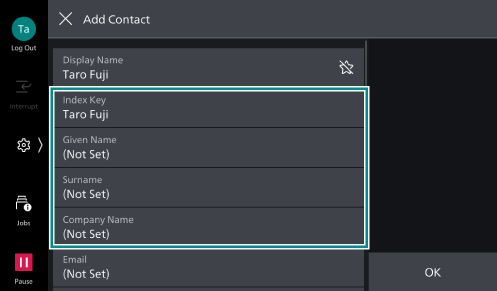
- Enter [Index Key], [Surname], [Given Name], and [Company Name] as needed.
Note
[Index Key] is populated by the system, but can be changed.
If you plan to use the index of the Address Book, setting of [Index Key] is required.
[Display Name], [Index Key], [Surname], [Given Name], and [Company Name] can all be used as search keywords when searching the Address Book. We therefore recommend that you set easy-to search characters.
- Tap on the destination type you want to set.
The following steps explains the example of setting [Email].
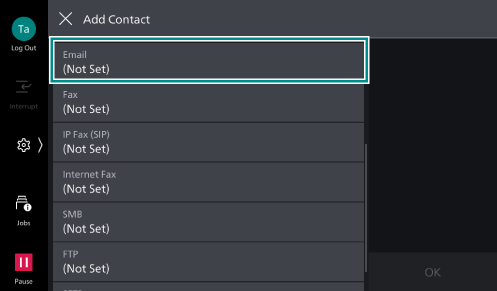
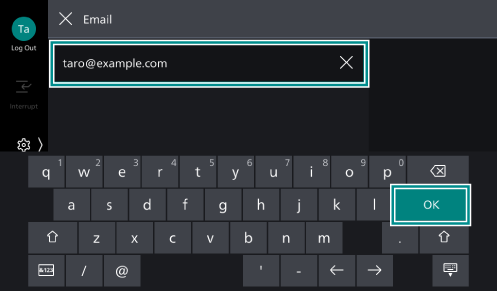
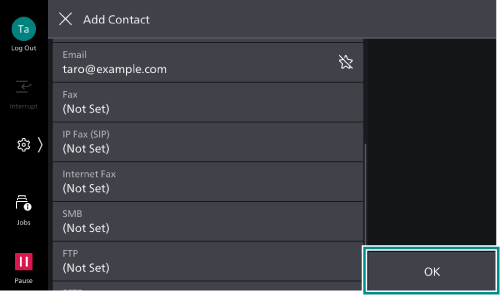
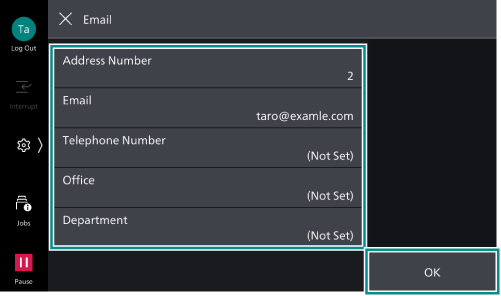
- Tap on [Email].
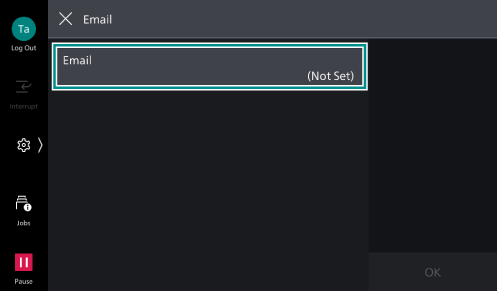
- Enter the email address using the keyboard displayed, and tap on [OK].
Note
When
 > [Device] > [App Settings] > [Address Book Settings] > [Display Address Number] is set to [On] in Administrator Mode, the screen for registering the number to be tied to the destination appears. You can view destinations in the order of the registered numbers when the Address Book to be displayed in each app is set to [Address Book (Address No.)].
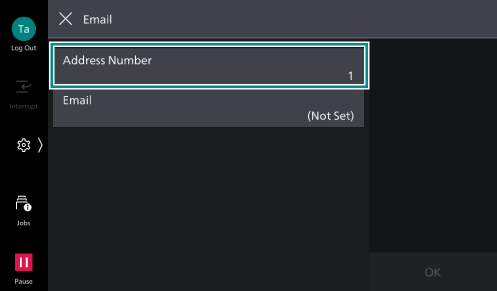
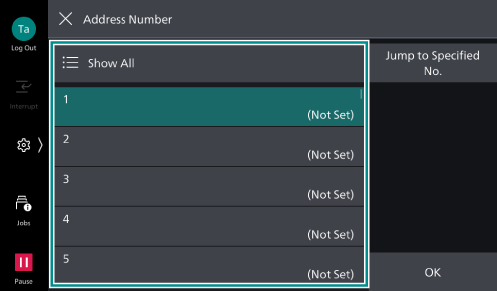
You can select the number from the displayed list, or tap on [Show All] > [Show Available Numbers] to display the list of unused numbers and select one from the list.
- Set each item as needed, and tap on [OK].
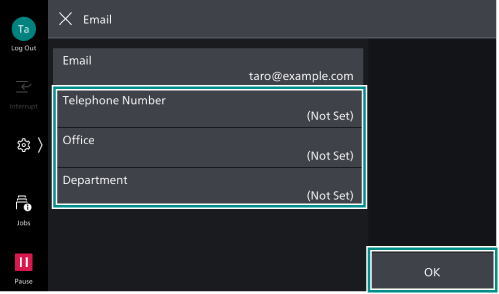
- If there are more items you need to set, repeat steps 7 to 10.
- After completing the settings, tap [OK].
Note
To register as [Favorites], tap on
 .
.
Changing Information in Address Book
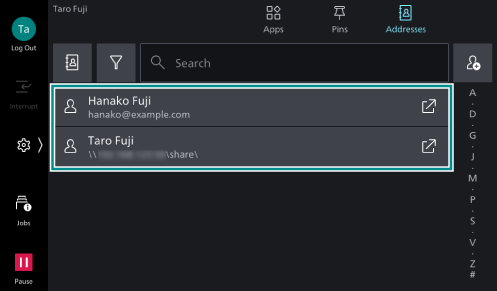
- Tap on [Addresses] on the Home screen.
- Select the destination whose information you want to modify.
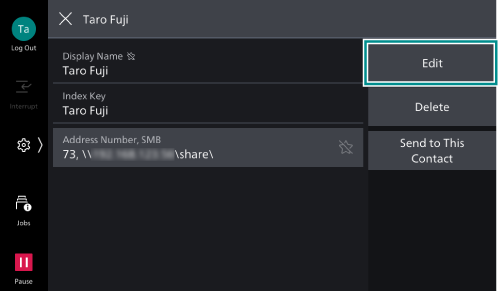
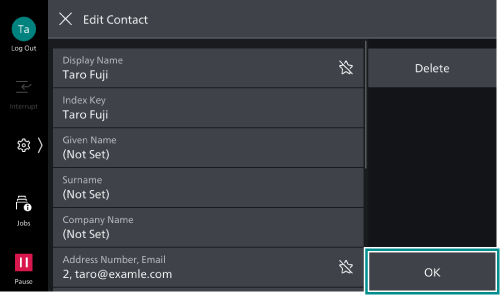
- Tap on [Edit].
- Tap on the item you want to modify.
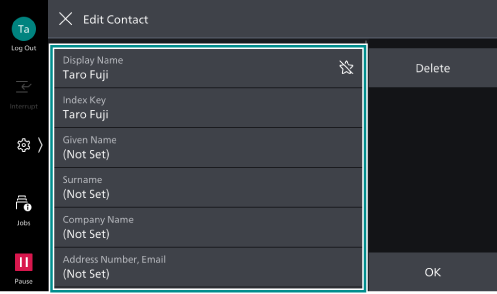
- Modify information, and tap on [OK].
Note
When
> [Device] > [App Settings] > [Address Book Settings] > [Display Address Number] is set to [On] in Administrator Mode, you can edit the numbers tied to destinations. You can view destinations in the order of the registered numbers when the Address Book to be displayed in each app is set to [Address Book (Address No.)].
- After completing the settings, tap [OK].
Deleting Information from Address Book
- Tap on [Addresses] on the Home screen.
- Select the destination whose information you want to delete.
- Tap on [Delete].
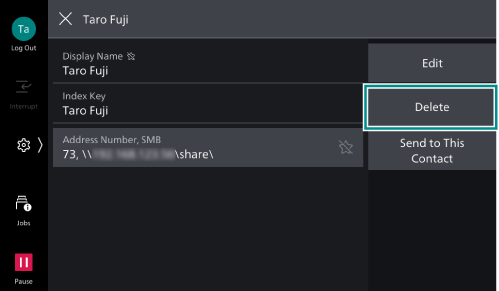
- Tap on [Delete] on the delete confirmation screen.
Note
Settings cannot be restored once they are deleted.
When Setting on the Internet Services
Registering Information with Address Book
- Access Internet Services.
Refer
For details, refer to Using Internet Services.
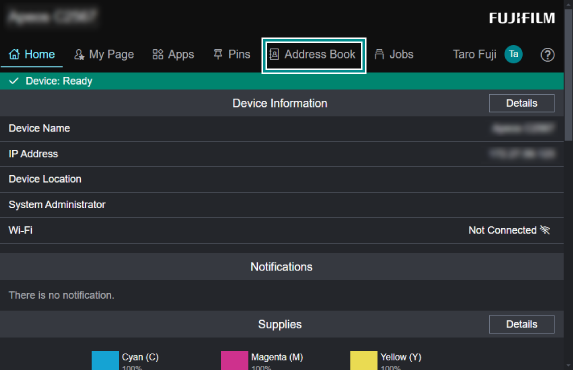
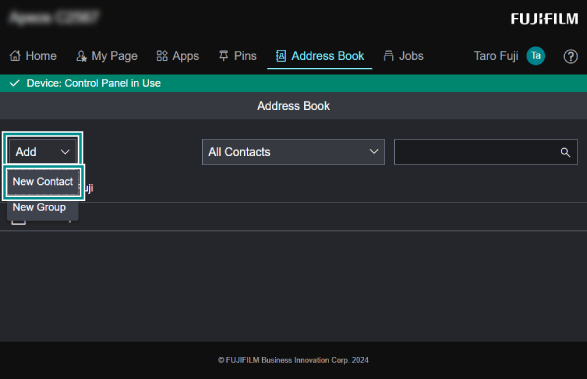
- Click [Address Book].
Note
If a screen appears prompting you to enter a user name and password, enter the user name for the system administrator (Administrator ID) and the password, then click [OK].
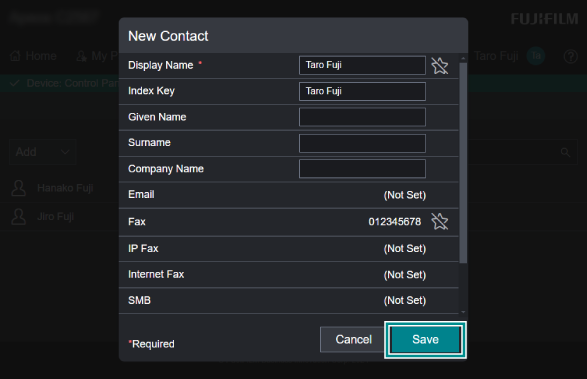
- Click [Add] and select [New Contact].
- Enter [Display Name]. Also, enter [Index Key], [Surname], [Given Name], and [Company Name] as needed.
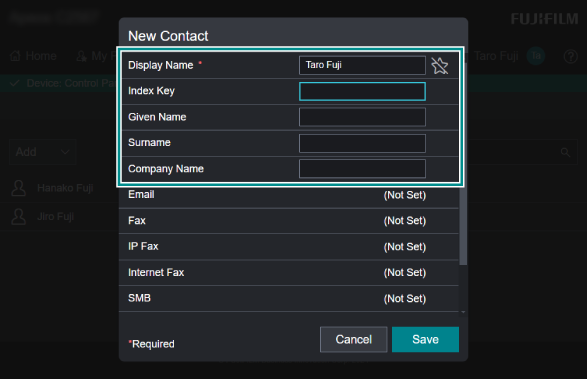
Note
If you plan to use the index of the Address Book, setting of [Index Key] is required.
[Display Name], [Index Key], [Surname], [Given Name], and [Company Name] can all be used as search keywords when searching the Address Book. We therefore recommend that you set easy-to search characters.
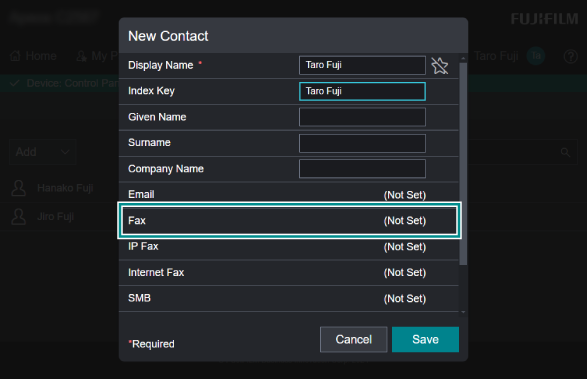
- Click the destination type you want to set.
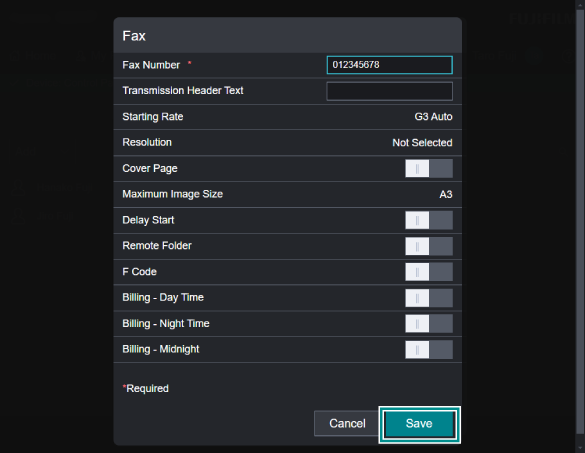
The following steps explains the example of setting [Fax].
- Enter [Fax Number].
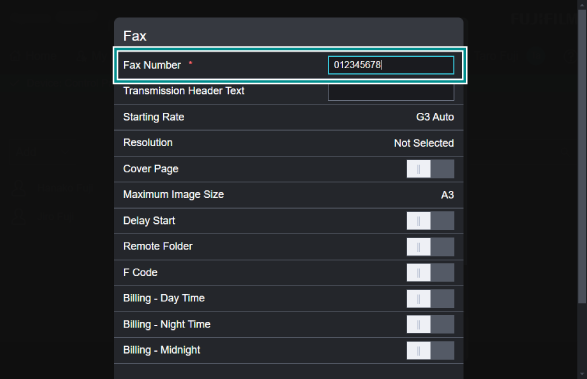
- Configure other items as necessary.
- Click [Save].
- Click [Save].
Changing Information in Address Book
- Access Internet Services.
Refer
For details, refer to Using Internet Services.
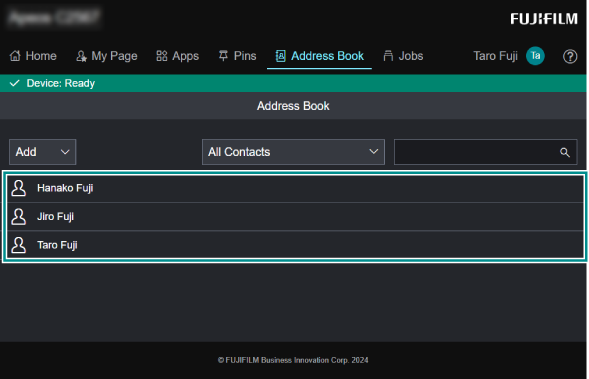
- Click [Address Book].
Note
If a screen appears prompting you to enter a user name and password, enter the user name for the system administrator (Administrator ID) and the password, then click [OK].
- Select the contact whose information you want to modify.
- Change the registered information.
- Select a destination type as needed.
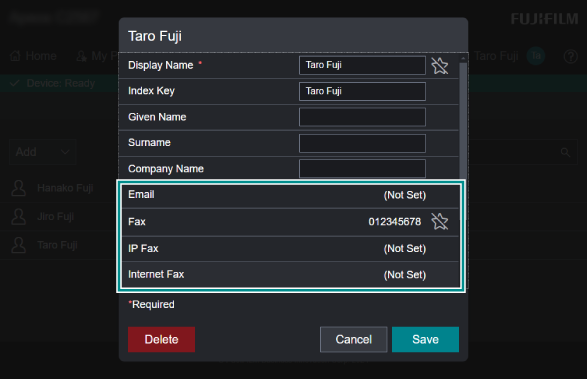
- Change the items displayed on the screen as needed, and click [Save].
- Click [Save].
Deleting Information from Address Book
- Access Internet Services.
Refer
For details, refer to Using Internet Services.
- Click [Address Book].
Note
If a screen appears prompting you to enter a user name and password, enter the user name for the system administrator (Administrator ID) and the password, then click [OK].
- Select the contact you want to delete.
- Click [Delete].
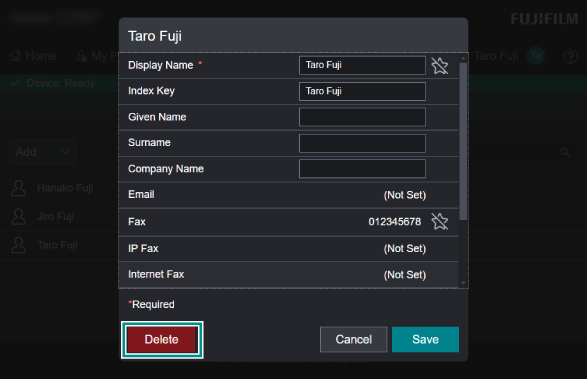
- Click [Delete].