Creating Job Flow Sheets
- Tap on
 > [Device] > [App Settings] > [Job Flow Sheets Settings] > [Create Job Flow Sheet].
Note
A job flow sheet created from [Send from Folder] can only be used for the folder for which the job flow sheet was created. It cannot be used with other folders.
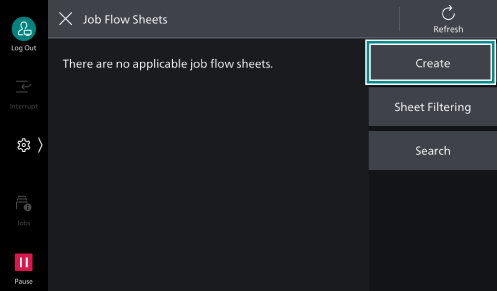
- Tap on [Create].
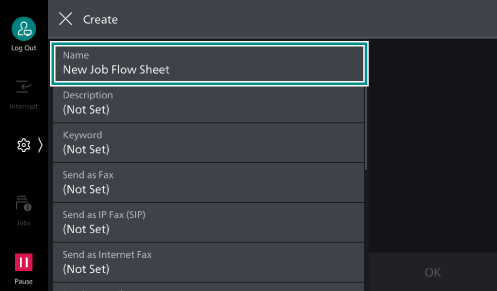
- Enter the job flow sheet name in [Name].
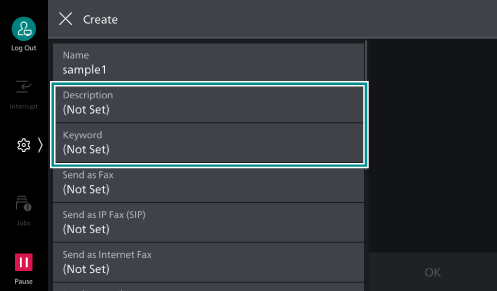
- Set [Description] and [Keyword] as needed.
- Tap on the job flow sheets feature.
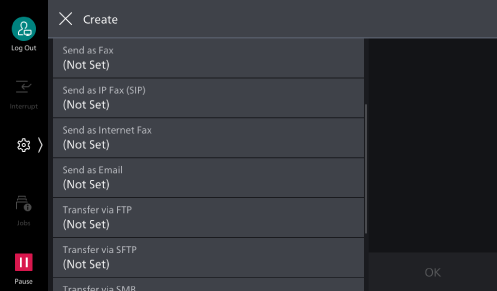
- Set each item.
- Tap on [OK].