Printing Stored Data
Temporarily store the print data sent from the printer driver and print them by operations on the touch panel display.
Note
To save received jobs to the Charge Print or Private Charge Print, the setting in [Authentication] > [Charge/
Private Print Settings ] > [Receive Control] is required. In this case, even if you instruct the Sample Set, Delayed Print, or Secure Print by the printer driver, it may be ignored.When each app is displayed on the Home screen by the customization feature, you can operate directly from such apps.
Sample Set
Prints the remaining number of copies of the file specified for Sample Set (printing one copy for trial).
- Tap on
 > [Jobs] > [Stored Print Jobs] > [Sample Set].
 - Tap on the target user.
- Tap on the file to be printed, to apply a check mark.
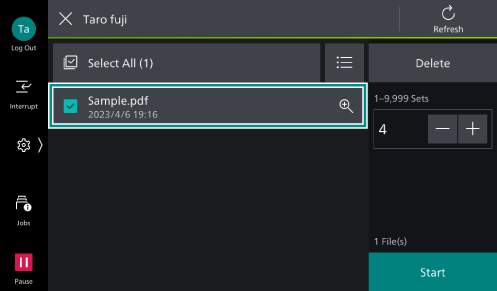
- Change the print quantity as needed.
Note
The print quantity displayed is the print quantity set in the printer driver less one copy.
- Tap on [Start].
Delayed Print
Delayed Print files (files with specified print time) can be printed before the specified time.
- Tap on
 > [Jobs] > [Stored Print Jobs] > [Delayed Print].
 - Tap on the file to be printed.
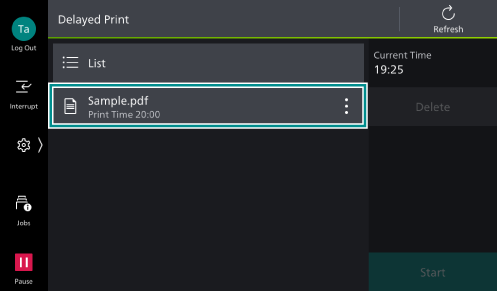
- Tap on [Start].
Secure Print
Print Secure Print files (files with password set).
- Tap on
 > [Jobs] > [Stored Print Jobs] > [Secure Print].
 - Tap on the target user.
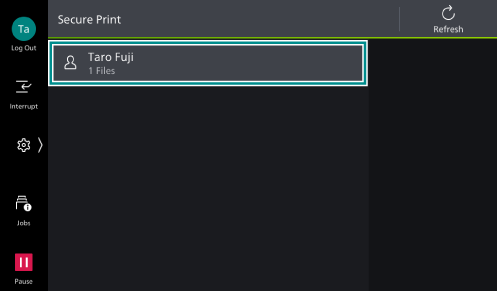
- Enter the password specified in the printer driver, and tap on [OK].
- Tap on the file to be printed, to apply a check mark.
- Change the print quantity as needed.
- Tap on [Start].
Charge Print
Print Charge Print files. Charge Print files are saved for each user ID for storage set in the printer driver. When you do not set the user ID for storage, the file is saved in [(No User ID)].
- Log in to Authentication Mode.
- Tap on
 > [Jobs] > [Stored Print Jobs] > [Charge Print].
 - Tap on the target user.
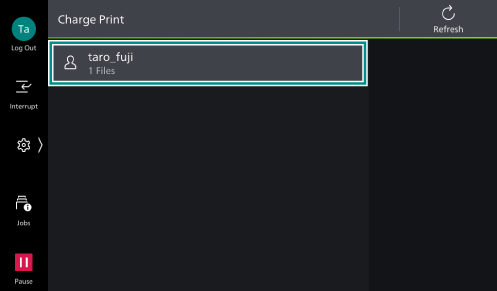
Note
When the Secure Print Passcode is set in the printer driver, the screen to enter the Passcode displays. Enter the Passcode, and tap on [OK].
- Tap on the file to be printed, to apply a check mark.
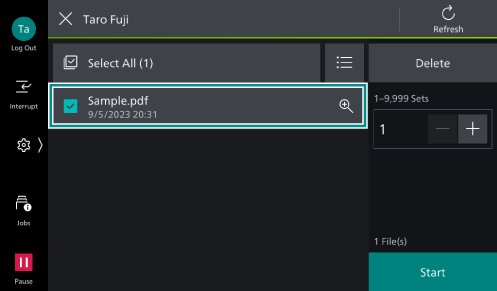
- Change the print quantity as needed.
- Tap on [Start].
Private Charge Print
Print private charge print files. Private charge print files are saved for each user ID.
Note
A separate application is required to use the service that allows you to associate a sub-user with the user ID of an authenticated user. For details, contact your local representative.
This feature is available also for files saved with Server-less On-Demand Print (optional).
- Log in to Authentication Mode.
- Tap on
 > [Jobs] > [Stored Print Jobs] > [Private Charge Print].
Note
Up to 100 files can be printed at a time.
- Tap on the file to be printed, to apply a check mark.
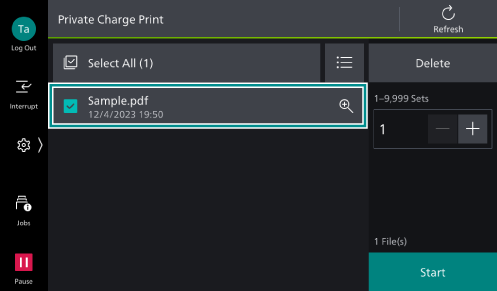
- Change the print quantity as needed.
- Tap on [Start].
Note
When printing with the finisher function specified while in a status where it cannot be used, this specification is deleted and the printing is performed.
This cannot be used when any device except an IC Card reader is connected.