Step 3: Configuring Fax Forwarding Settings (on the Device)
Confirm that FUJIFILM IWpro Capture is installed in the device.
Configure FUJIFILM IWpro Capture (application in the device) to pass the fax documents placed in the folder to the rule of FUJIFILM IWpro (cloud service).
- The faxes are forwarded with the account of the user that configured the settings in step 3.
- If the user that configured the settings in step 3 changes their password, faxes will no longer be forwarded. If that happens, configure the settings in step 1 to step 5 again.
Confirming that FUJIFILM IWpro Capture Is Installed in the Device
- Confirm that [FUJIFILM IWpro Capture] is displayed on the home screen of the device.
- If [FUJIFILM IWpro Capture] is not displayed, download FUJIFILM IWpro Device Setup and register or reconfigure the device to install the Capture function. For details, see "Setting Up Devices".
- Refer to "Managing Authentication Information" to configure the settings for saving the user authentication information.
Configuring the Settings for Forwarding Fax Documents Received on a Device
Configure the settings required for forwarding fax documents received on the device to FUJIFILM IWpro via a folder.
- This setting can be configured when you are logged in with the account of the system administrator.
- This function is only available if your device has the fax function.
- Tap [FUJIFILM IWpro Capture] on the home screen of the device.
- Log in with the account of an administrator for FUJIFILM BI Direct.
- Enable [Auto Login Next Time].
If [Auto Login Next Time] is not displayed, see Managing Authentication Information. - If the account used to log in belongs to multiple tenants, it is necessary to upgrade FUJIFILM IWpro Capture to change the settings.
- For information on logging in, see Logging In in "Getting Started with FUJIFILM IWpro".
- Enable [Auto Login Next Time].
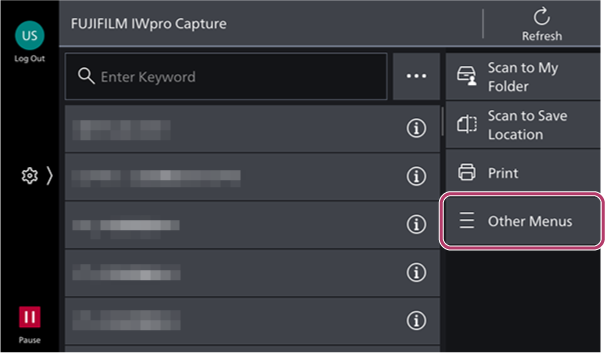
- On the rule selection screen, tap [Other Menus].
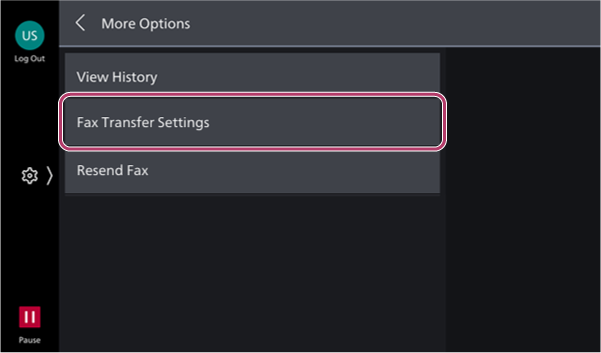
- On the [Other Menus] screen, tap [Fax Transfer Settings].
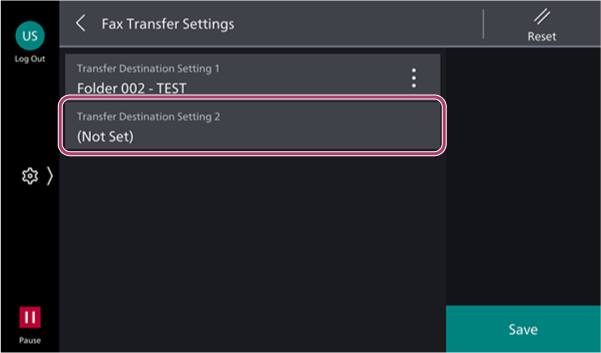
- Tap [Transfer Destination Settings {integer}] on the [Fax Transfer Settings] screen.
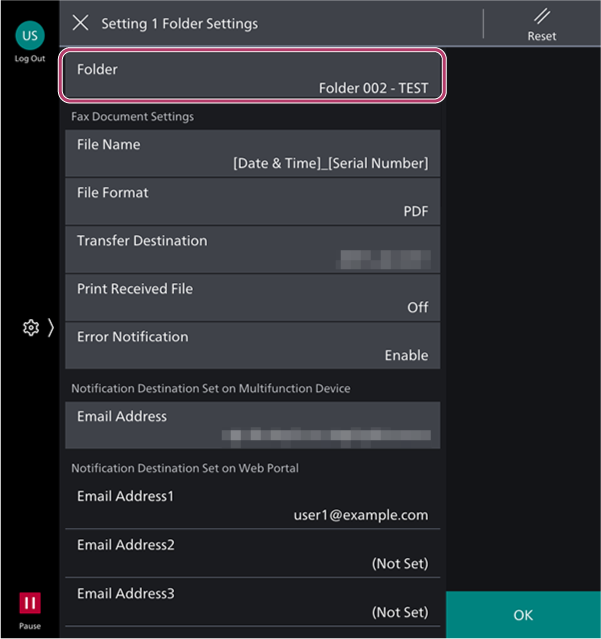
- Tap [Folder] on the [Setting {integer} Folder Settings] screen.
- Select the folder to use for forwarding faxes on the [Folder Selection] screen, and tap [OK].
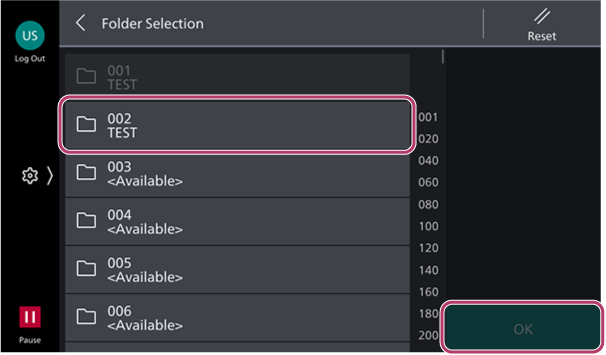 To register a new folder
- Select an unregistered folder.
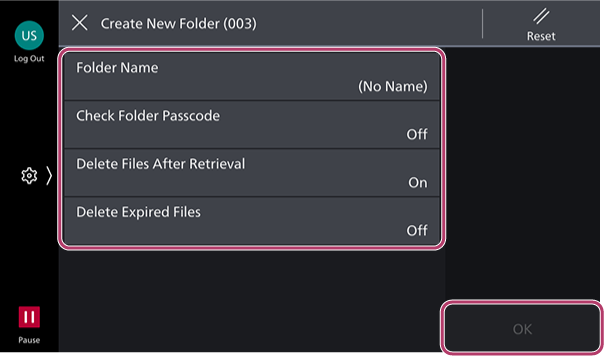
- Configure the various items on the [Create New Folder] screen for the folder, and tap [OK].
- Tap [Transfer Destination] on the [Setting {integer} Folder Settings] screen.
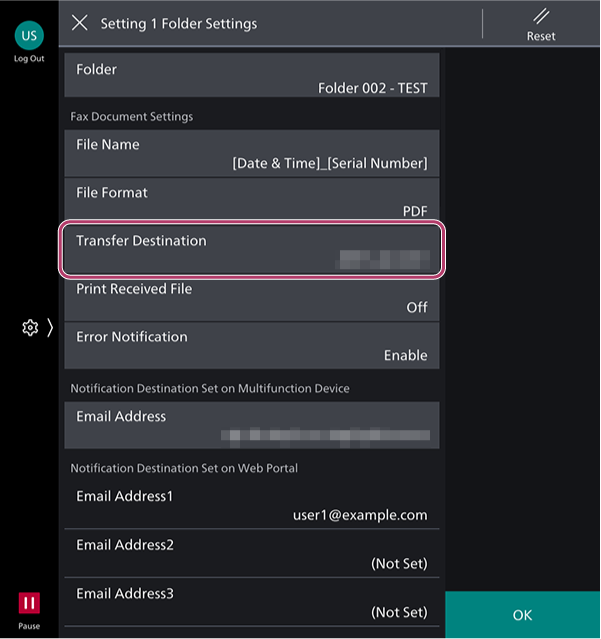
- To also print to paper, set [Print Received File] to [On].
- If the screen for selecting the tenant is displayed after tapping [Transfer Destination], select the tenant to set as the forwarding destination.
- On the [Received Fax Document Transfer Destination] screen, select the rule created in step 2.
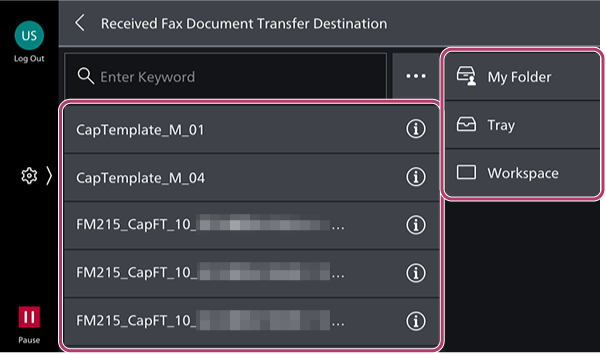 The selected rule is set as the destination for fax forwarding.Configuring Personal Postbox as the Destination for Fax Forwarding
- On the [Received Fax Document Transfer Destination] screen, select [Personal Postbox].
Configuring a Tray as the Destination for Fax Forwarding- On the [Received Fax Document Transfer Destination] screen, select [Tray].
Configuring a Workspace as the Destination for Fax Forwarding- On the [Received Fax Document Transfer Destination] screen, select [Workspace].
- When the settings are complete, tap [OK].
- Tap [Close] on the confirmation screen that is displayed.
- Tap [Save].The settings are saved and the home screen is displayed again.