Google Drive
Configuring Google Drive
Procedures and screens are subject to change without notice.
- This operation is performed by the administrator of Google Workspace.
Creating a Project
- Log in to Google Cloud Platform Console.
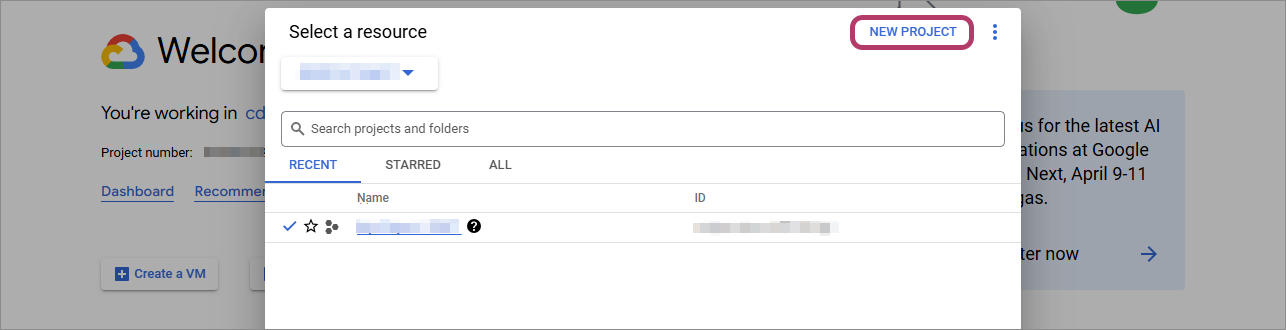
- Click the displayed project name.

- If a project does not exist, displayed as [Select a project] instead of the project name.
- Click [NEW PROJECT].
- Enter "FUJIFILM IWpro" in [Project name], then click [Create].

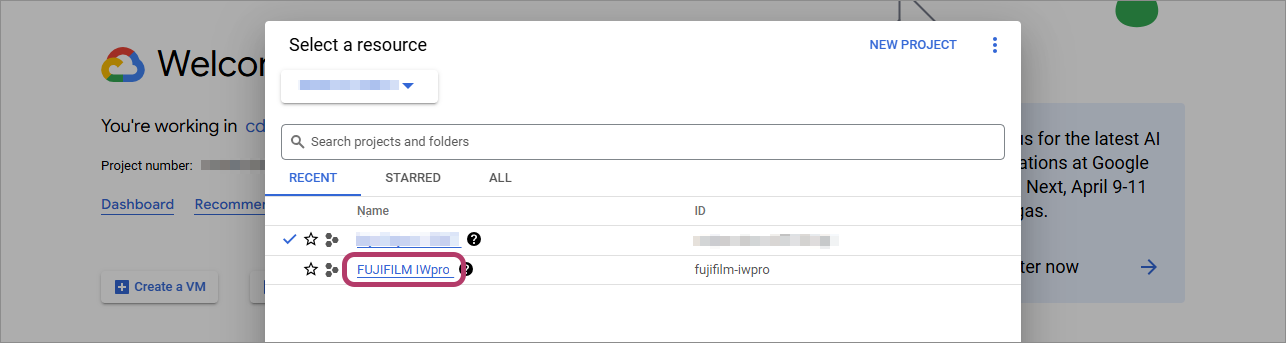
- Click the displayed project name.
- Click [FUJIFILM IWpro].
Enabling the Google Drive API
- Click [
 ] in the navigation menu.
- Click [Dashboard] in [Cloud overview].

- Click [Go to APIs overview].
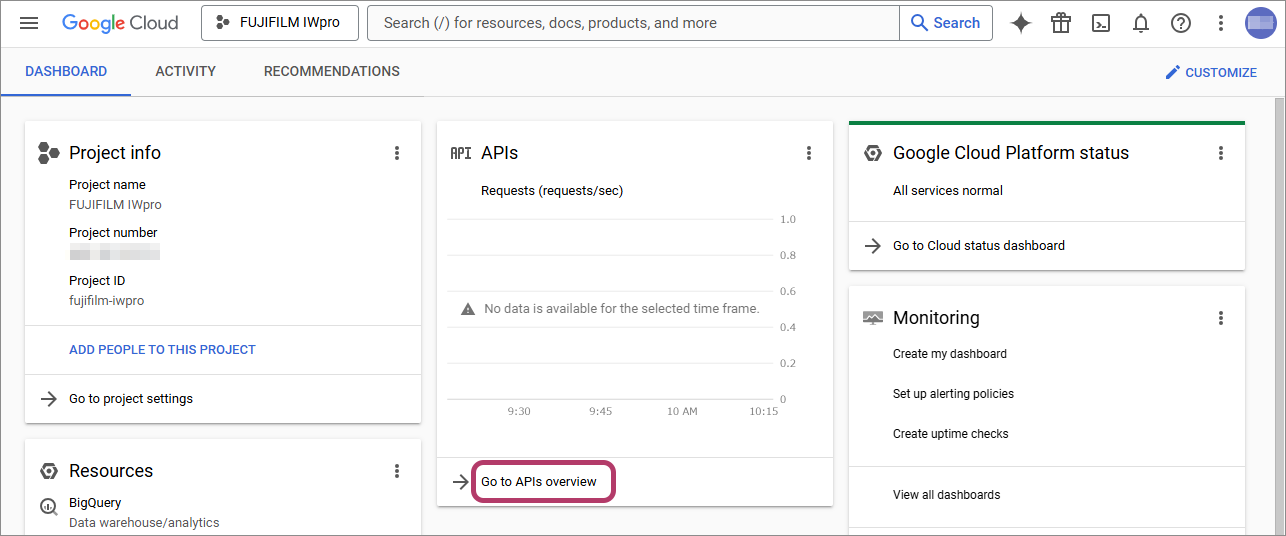 The [APIs & Services] screen is displayed.
 - Click [+Enable APIs and services].
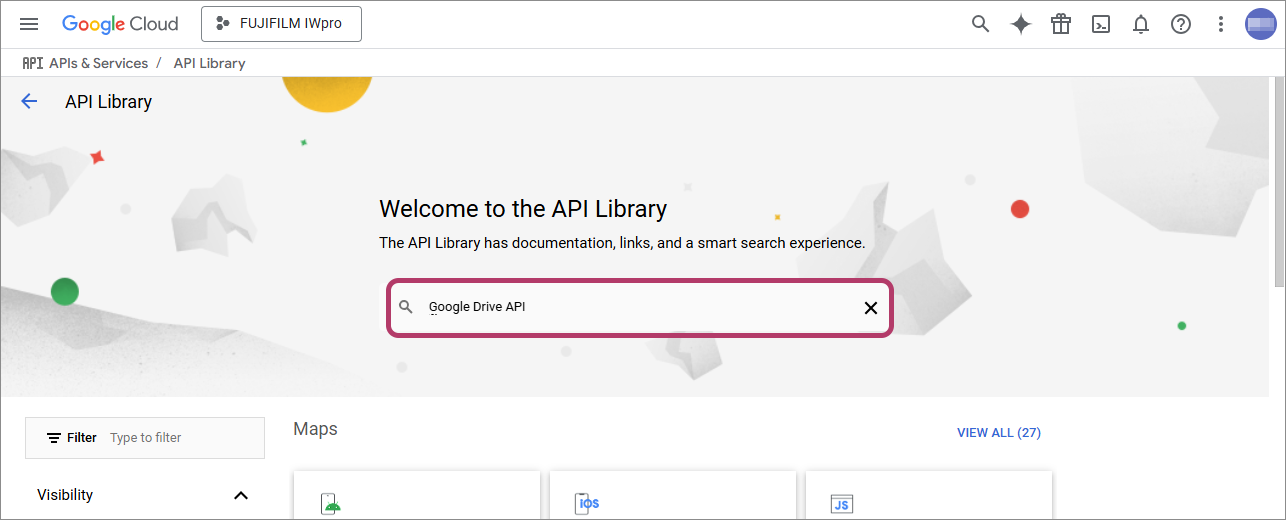
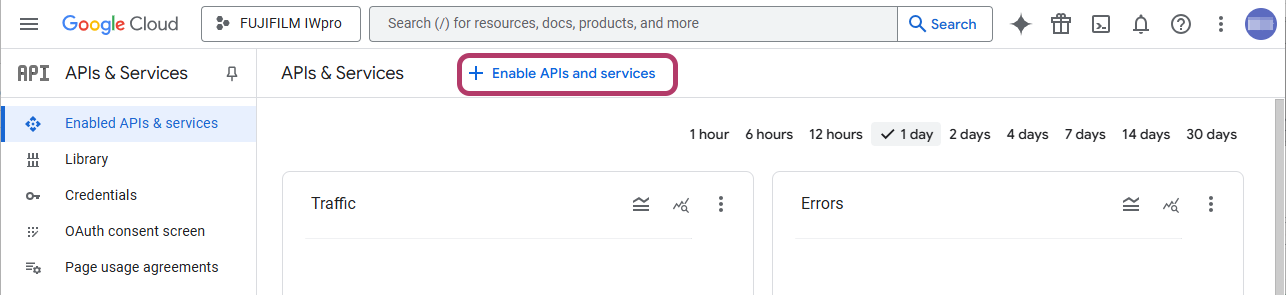 The [API Library] screen is displayed.
 - Enter "Google Drive API" in the search box, then press the <Enter> key.
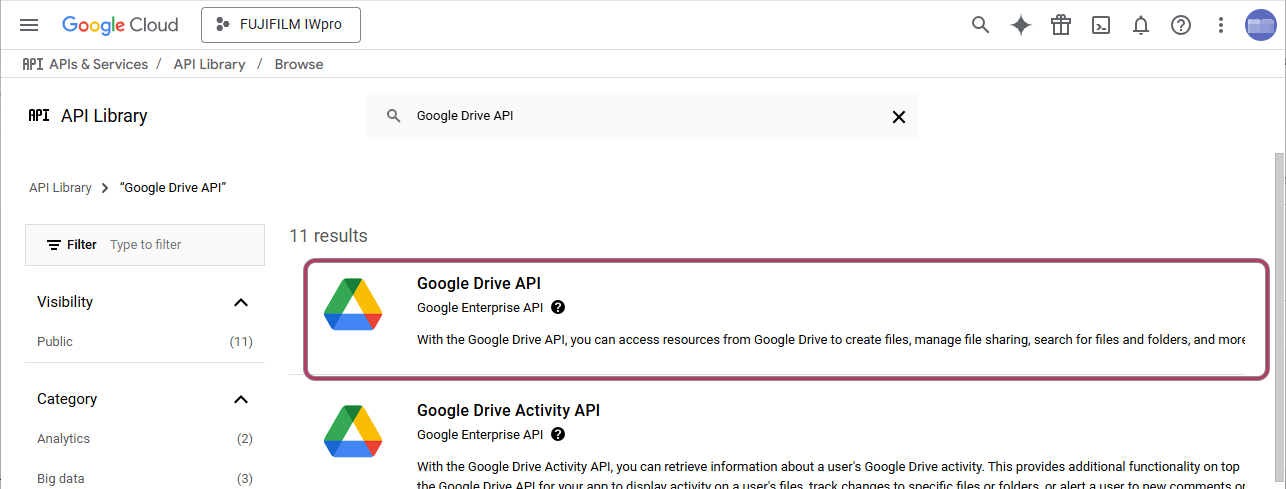
- Select [Google Drive API] from the search results.
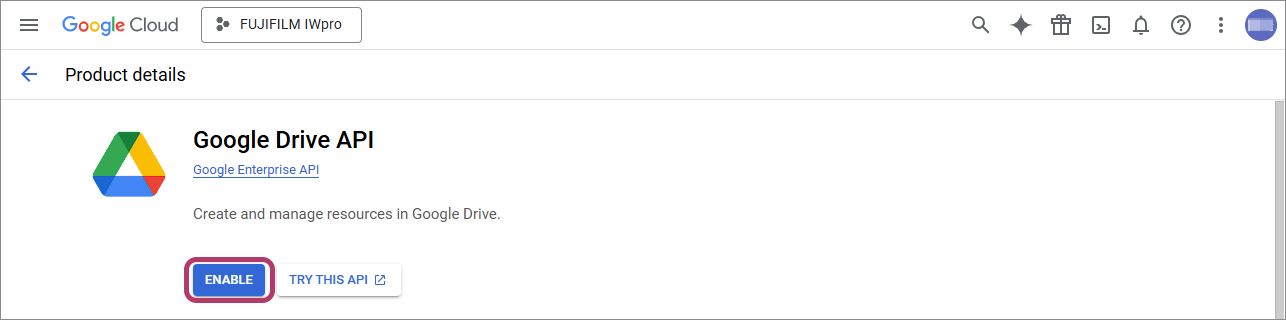
- Click [ENABLE].
 Return to the [APIs & Services] screen.
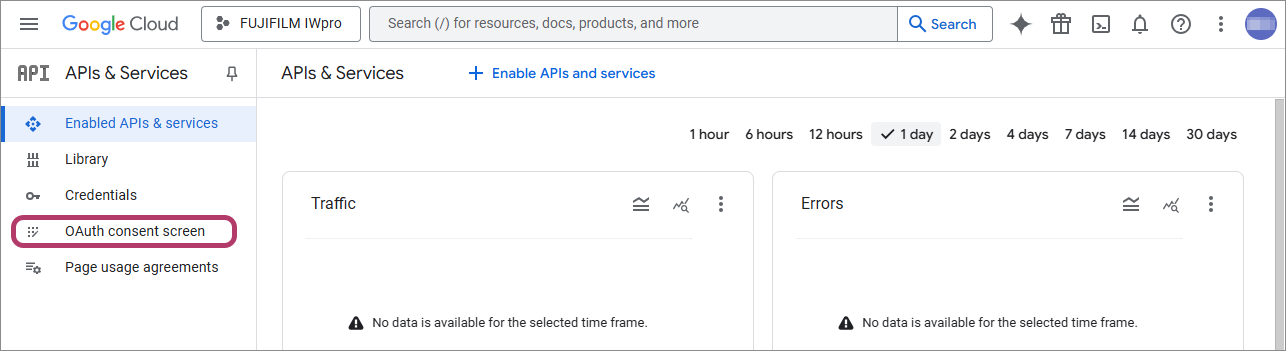
OAuth Consent Screen Settings
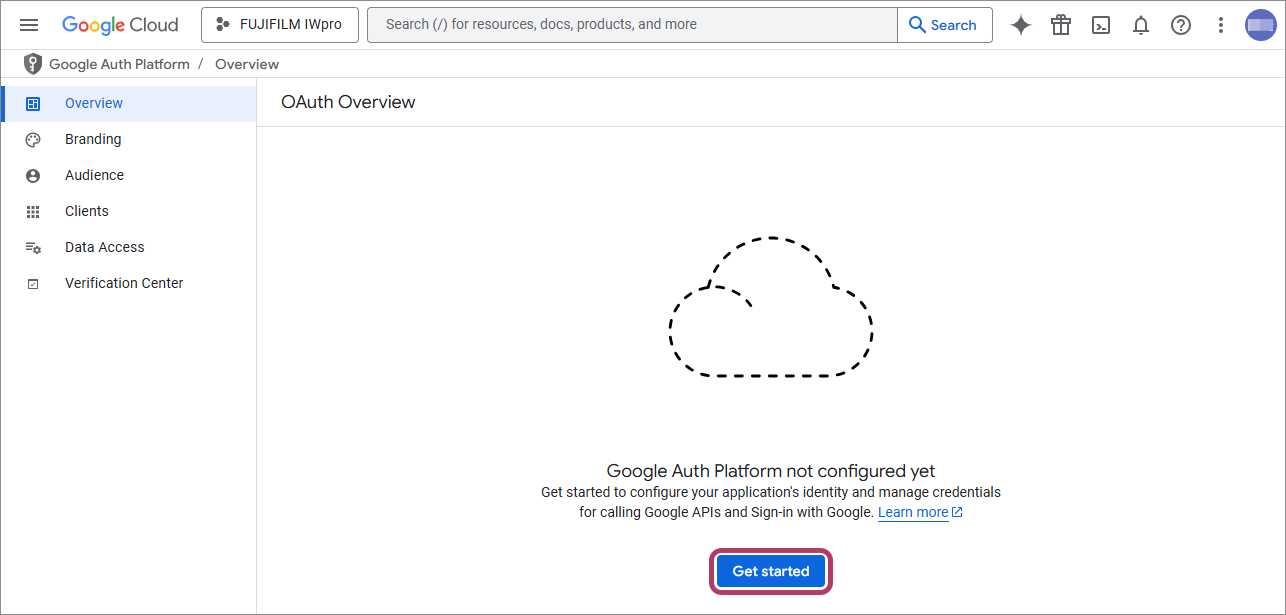
- Click [OAuth consent screen] on the [APIs & Services] screen.
- Click [Get Started].
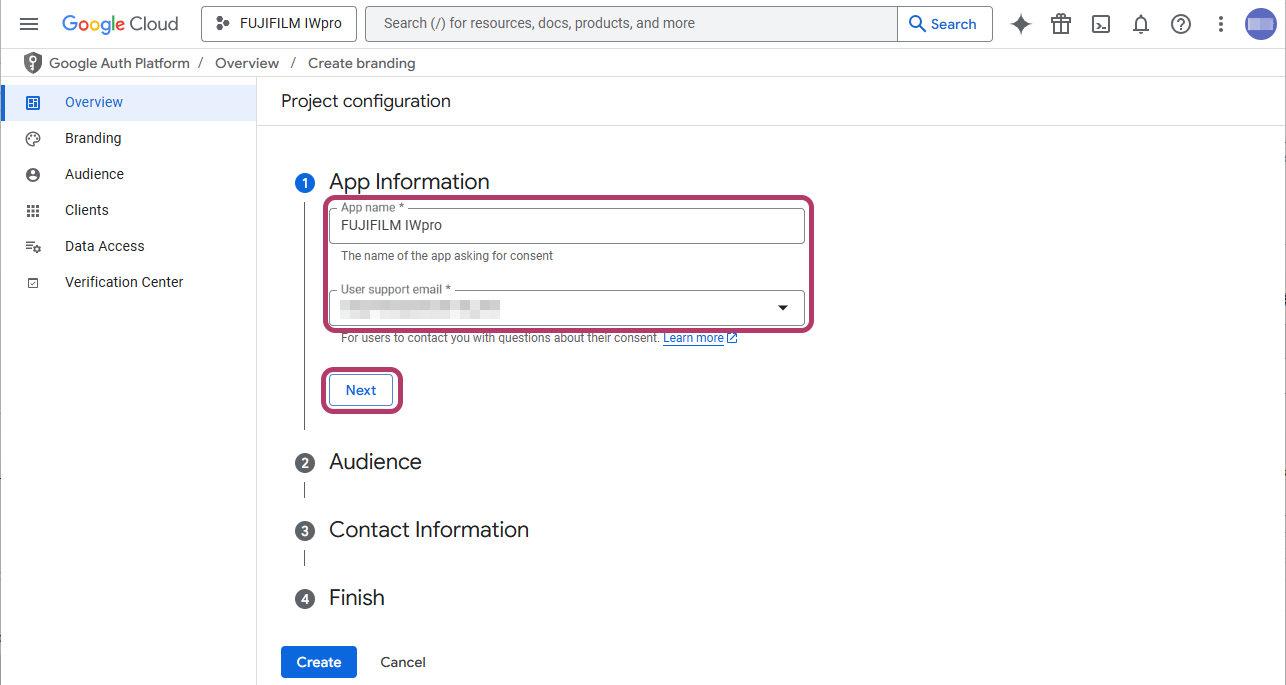
- Enter the app name in [App name] and the e-mail address for user support in [User support email], then click [Next].
Item Input Value App name Enter "FUJIFILM IWpro". User support email Click this and select a displayed e-mail address. - The e-mail address set here is displayed on the OAuth consent screen and used as the e-mail address for user support.
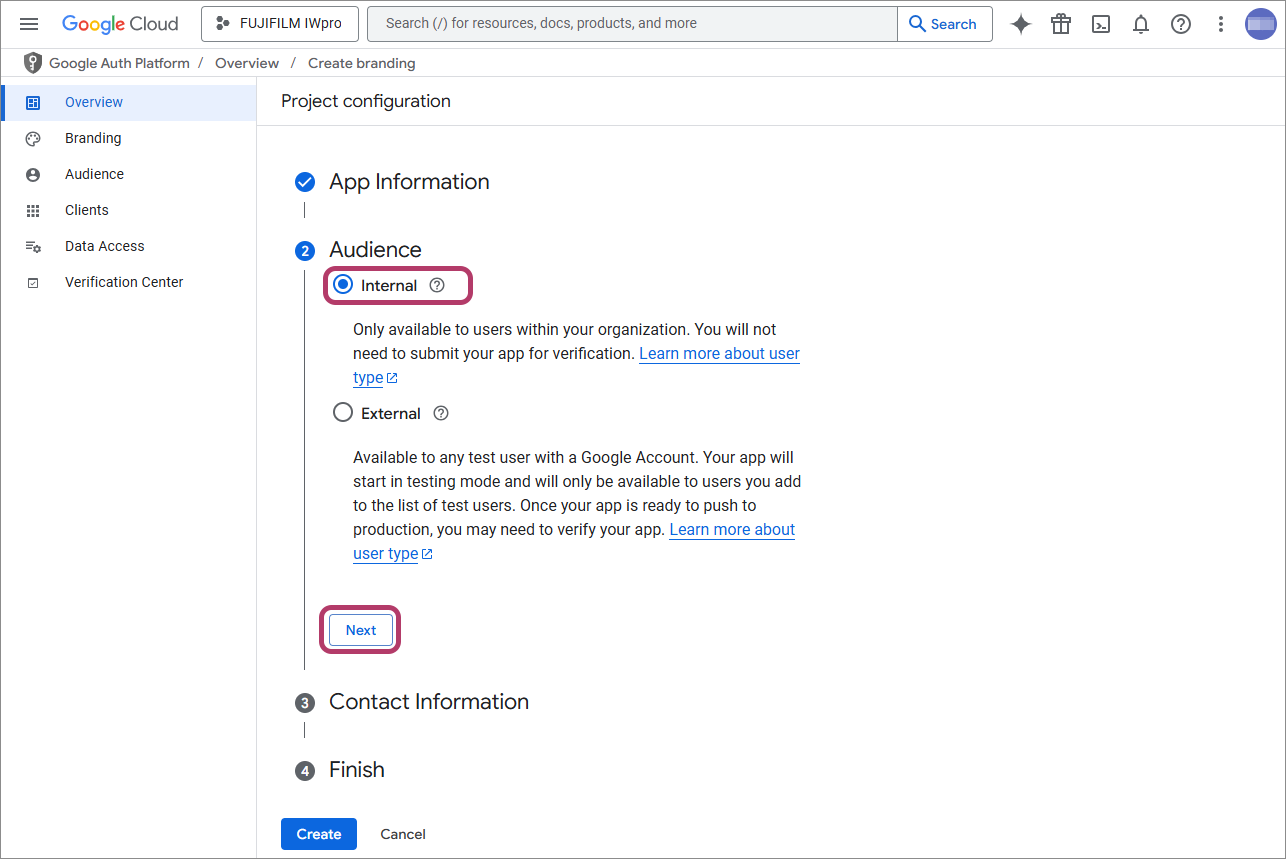
- Select [Internal], then click [Next].
- Enter the e-mail address, then click [Next].
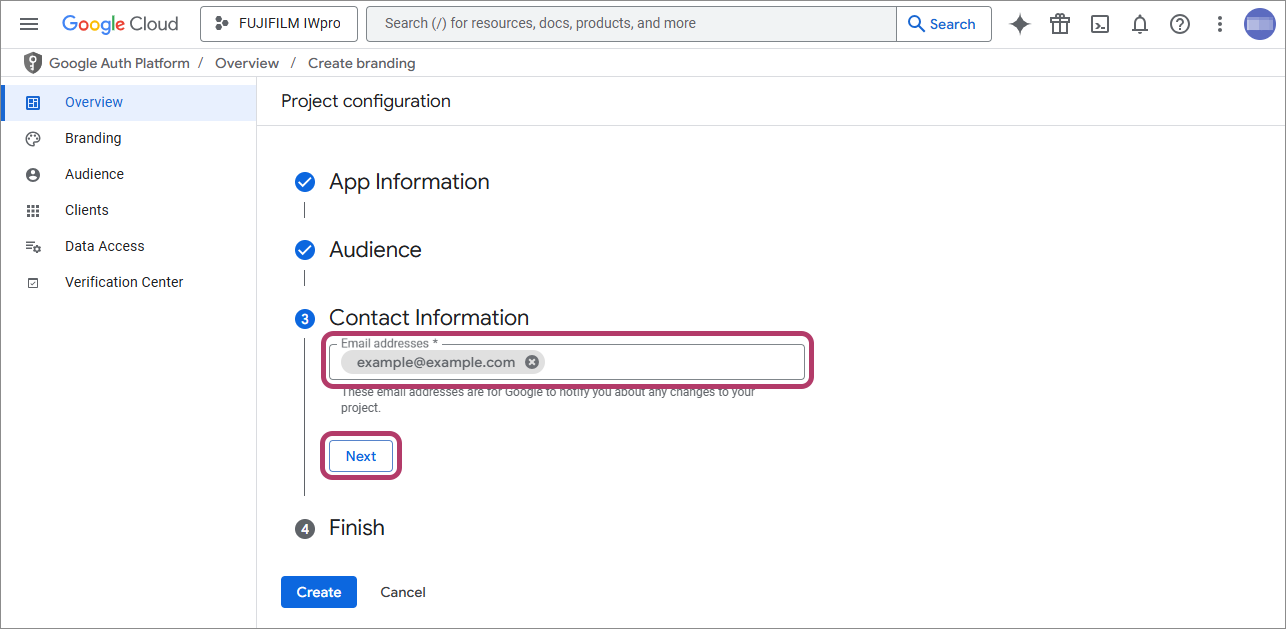
- Notifications regarding project changes from Google are sent to the e-mail address sent here.
- Select the check box, then click [Continue].
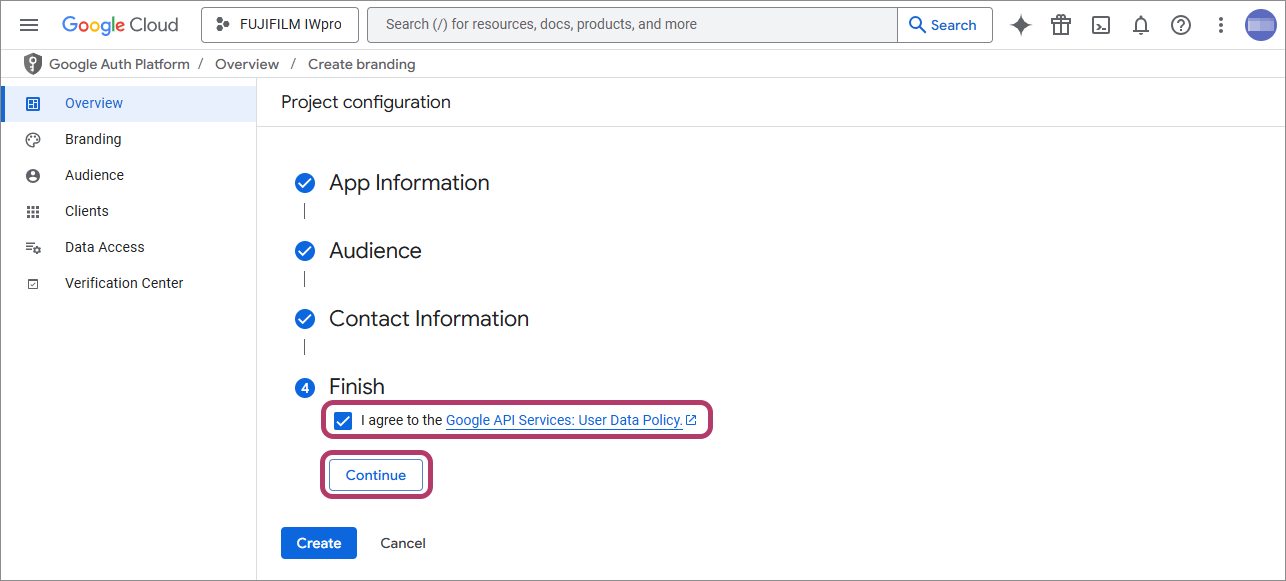
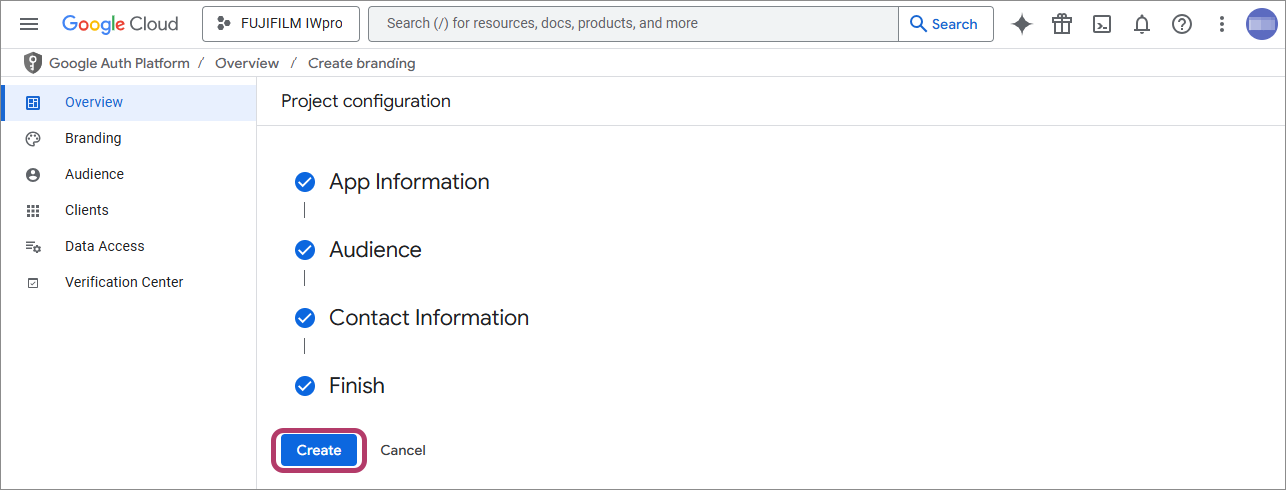
- Click [Create].
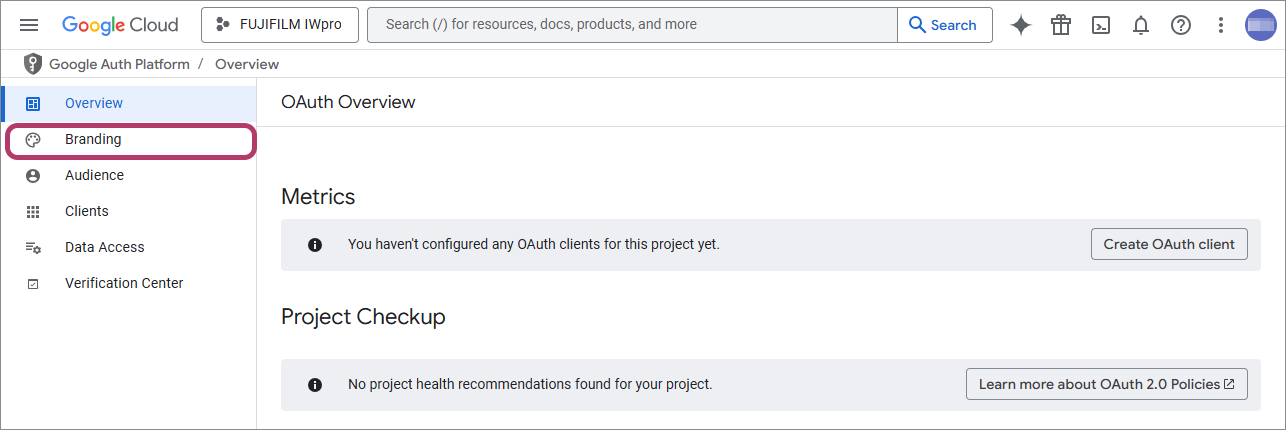
- Configure the authorized domains.
- Click [Branding].
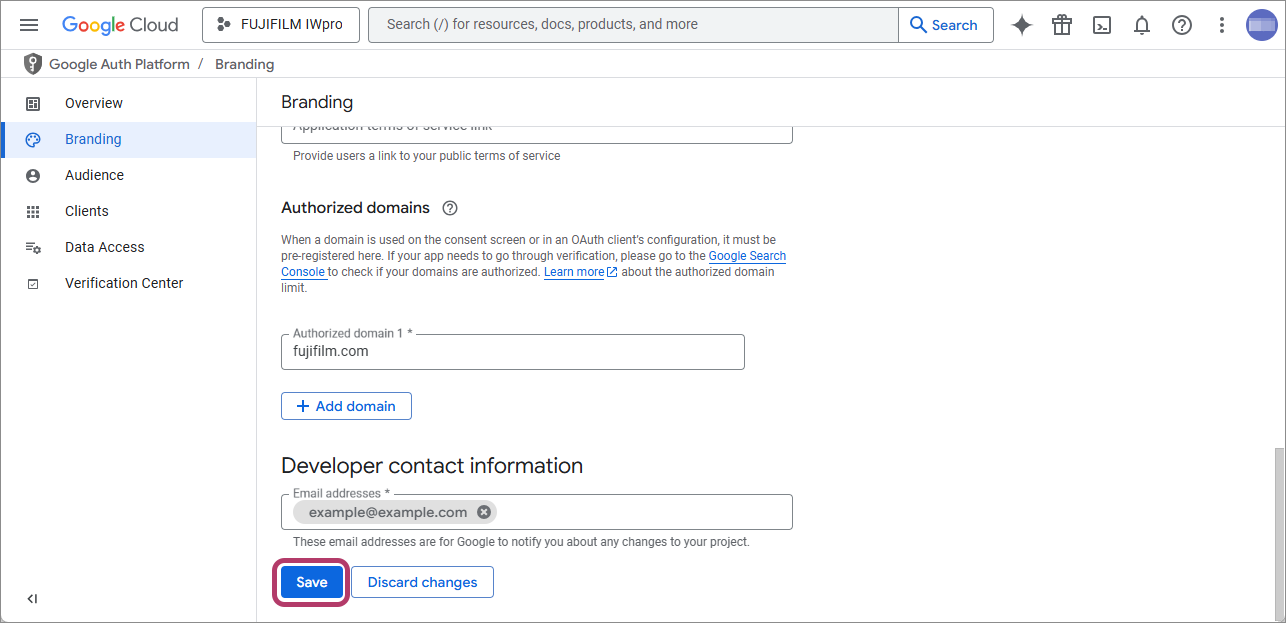
- Click [Add domain] in [Authorized domains], then enter "fujifilm.com" in [Authorized domain 1].

- Click [Save] on the bottom of the screen.
- Click [Branding].
- Configure the scope.
- Click [Data Access], then click [Add or remove scopes].

- Select the check box for the Google Drive API with [.../auth/drive] displayed in the [Scope] column, then click [Update].
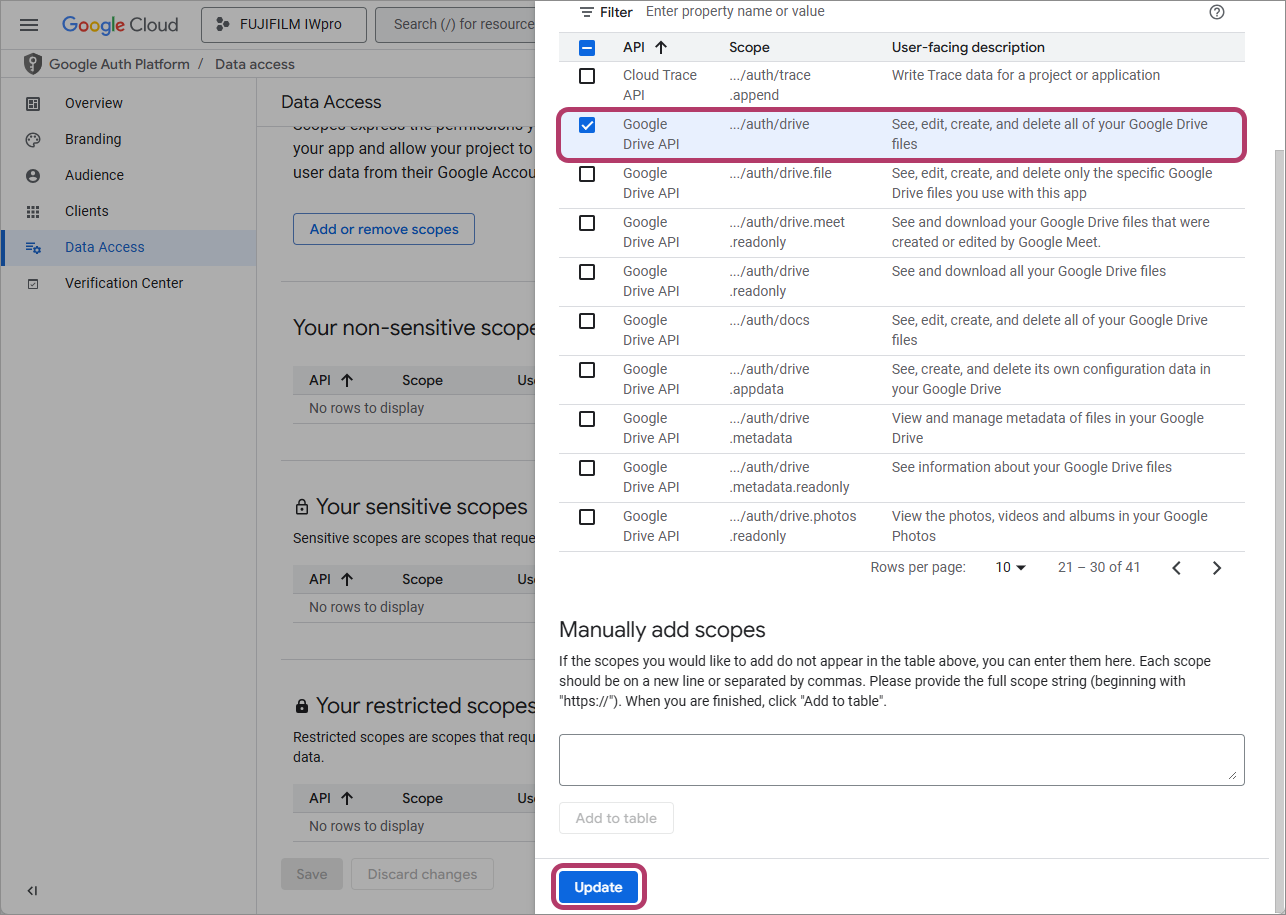
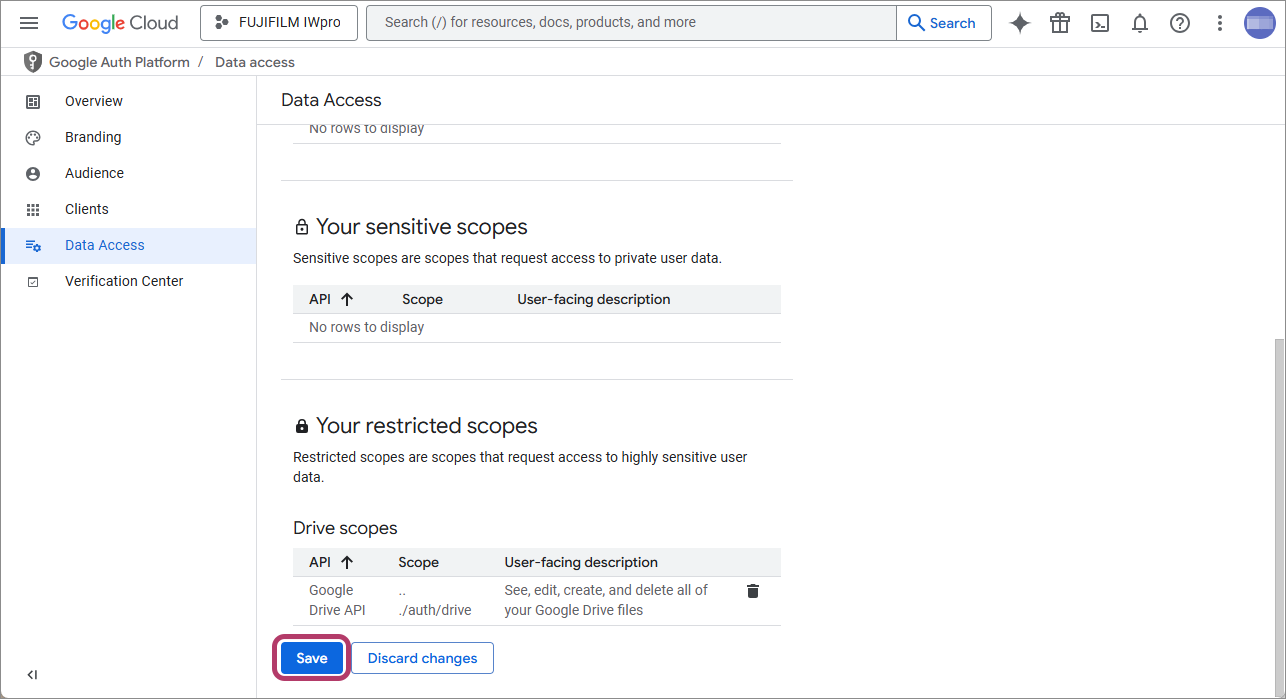
Return to the [Data Access] screen. - Click [Save] on the bottom of the screen.
- Click [Data Access], then click [Add or remove scopes].
Linking FUJIFILM BI Direct with Google Drive
- Click [] in the navigation menu.
- Click [Dashboard] in [Cloud overview].
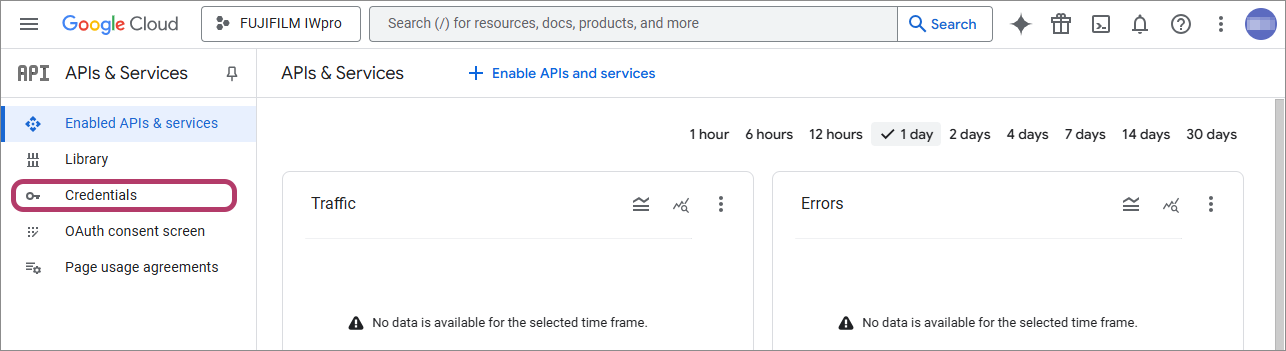
- Click [Go to APIs overview].The [API & Services] screen is displayed.
- Click [Credentials].
- Click [Create credentials] > [OAuth client ID].
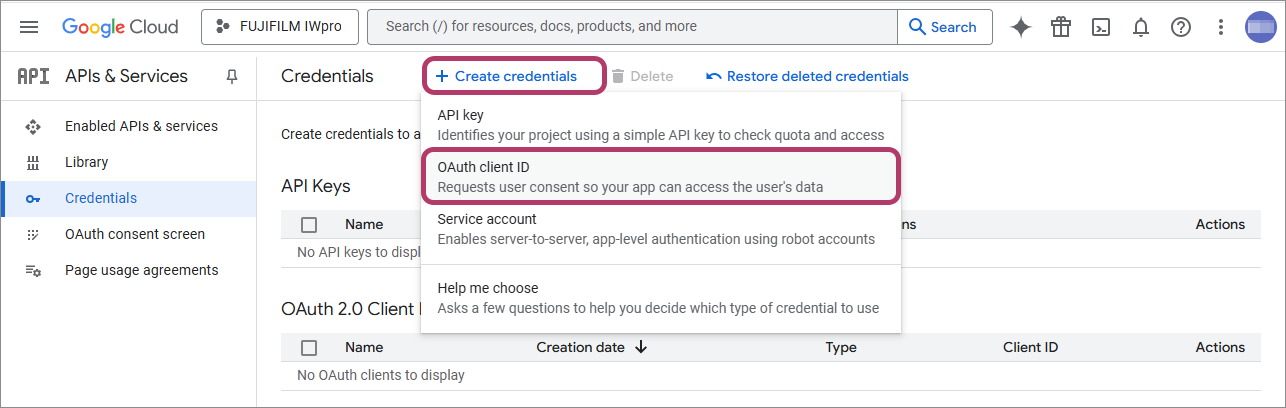
- Configure the following settings, then click [Create].
Item Input Value Application type Web application Name Enter "FUJIFILM IWpro". Authorized redirect URIs Click [Add URI], then enter the following URL.
https://direct-fb.fujifilm.com/ap2/service_tenant/access_cloud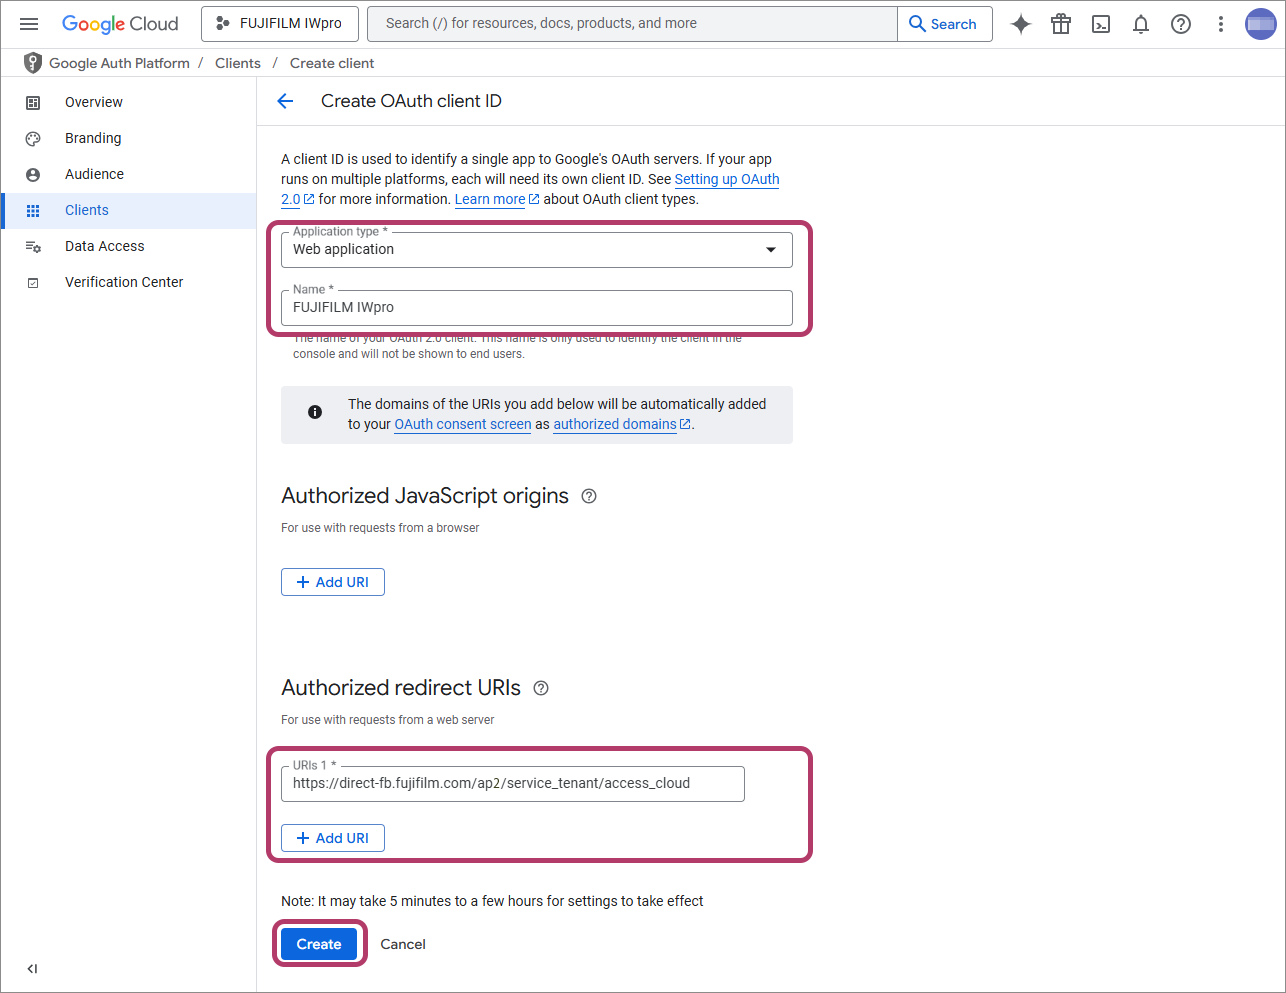
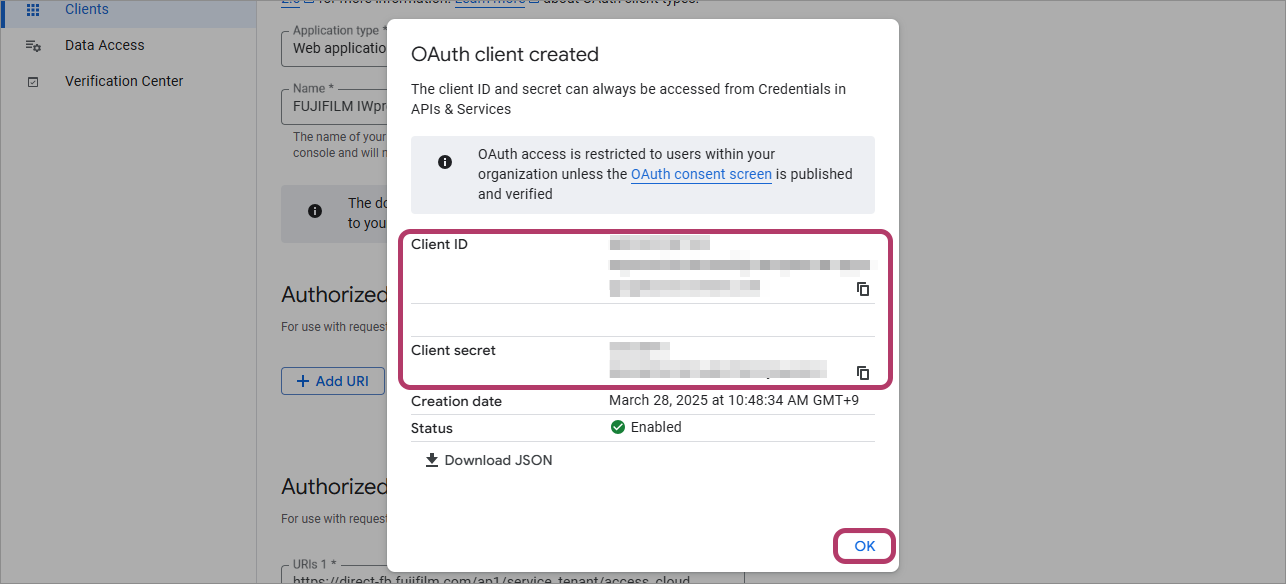
- Make a note of the values in [Client ID] and [Client Secret], then click [OK].
Configuring the FUJIFILM BI Direct Service Administrator Settings
- This operation is performed by the service administrator of FUJIFILM BI Direct.
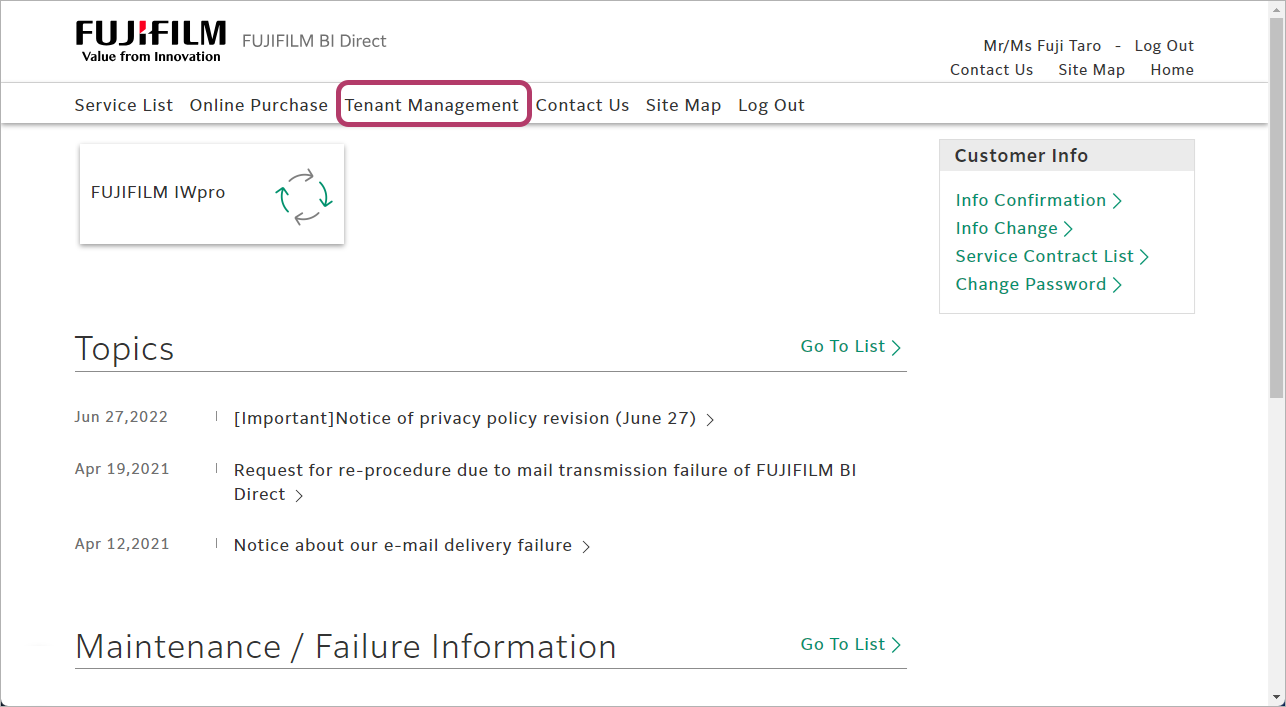
- Log in to FUJIFILM BI Direct.
- Click [Tenant Management].
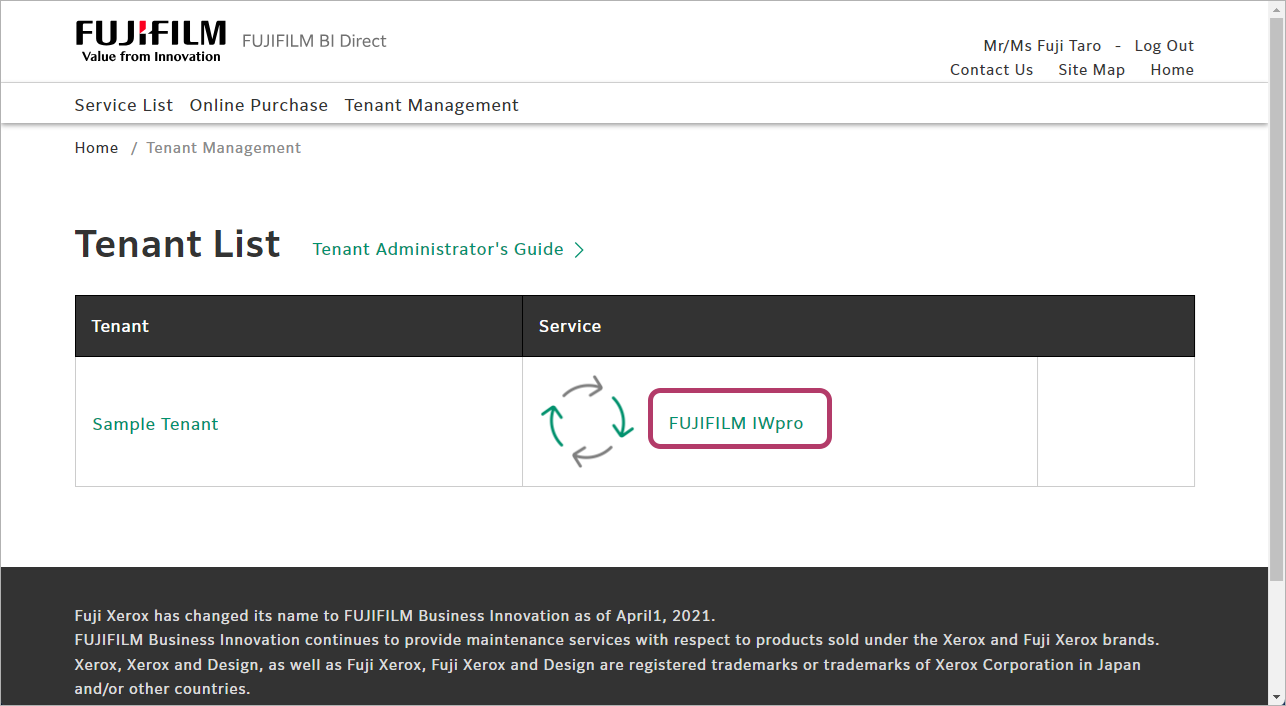
- Click [FUJIFILM IWpro] in the [Service] field.
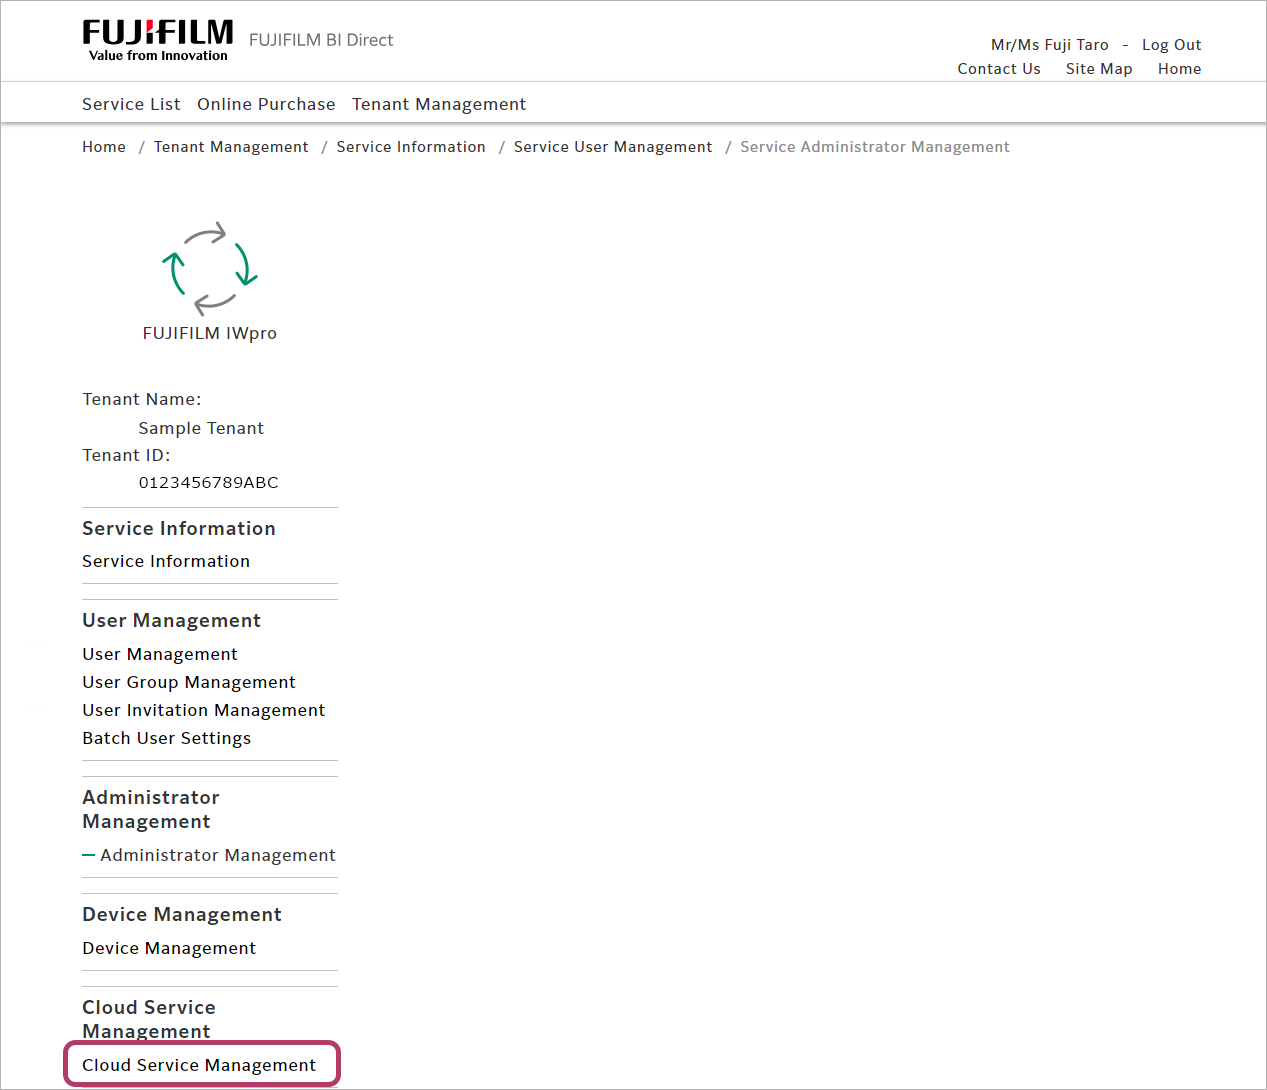
- Select [Cloud Service Management] from the menu.
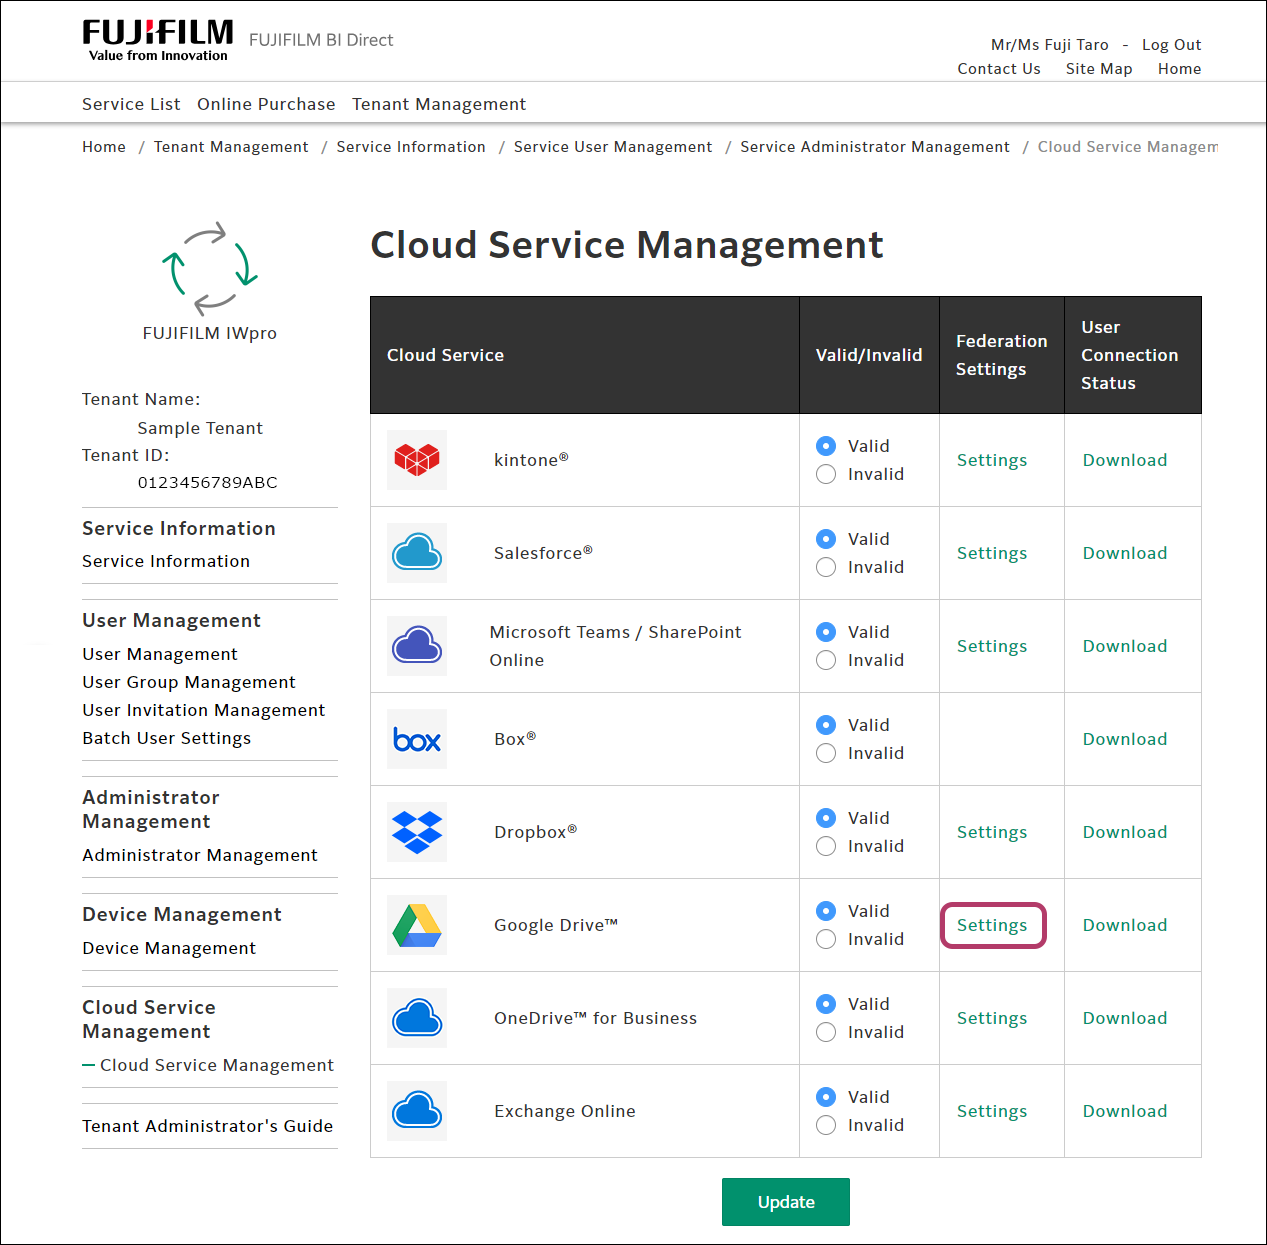
- Click [Settings] for [Google Drive™] in the cloud service management list.
- Configure the following settings, then click [Update].
Item Input Value Application (Client) ID Enter the value in [Client ID]. Client Secret Enter the value in [Client Secret]. 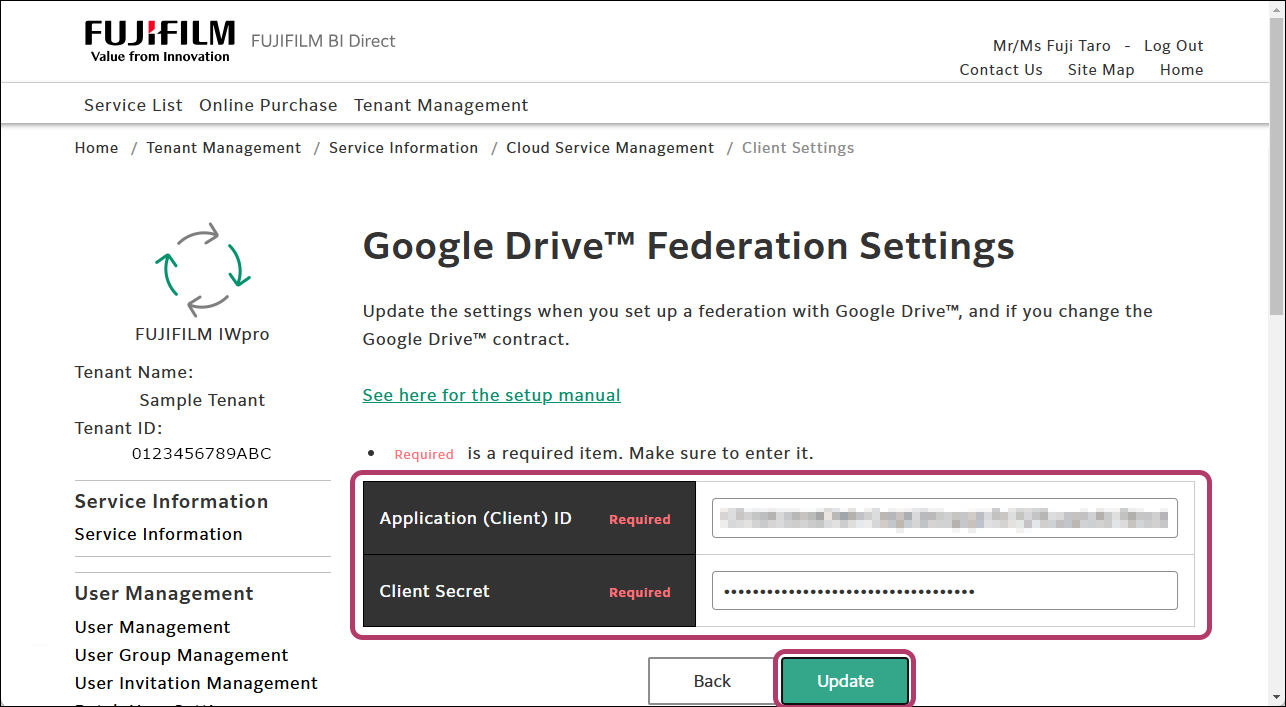
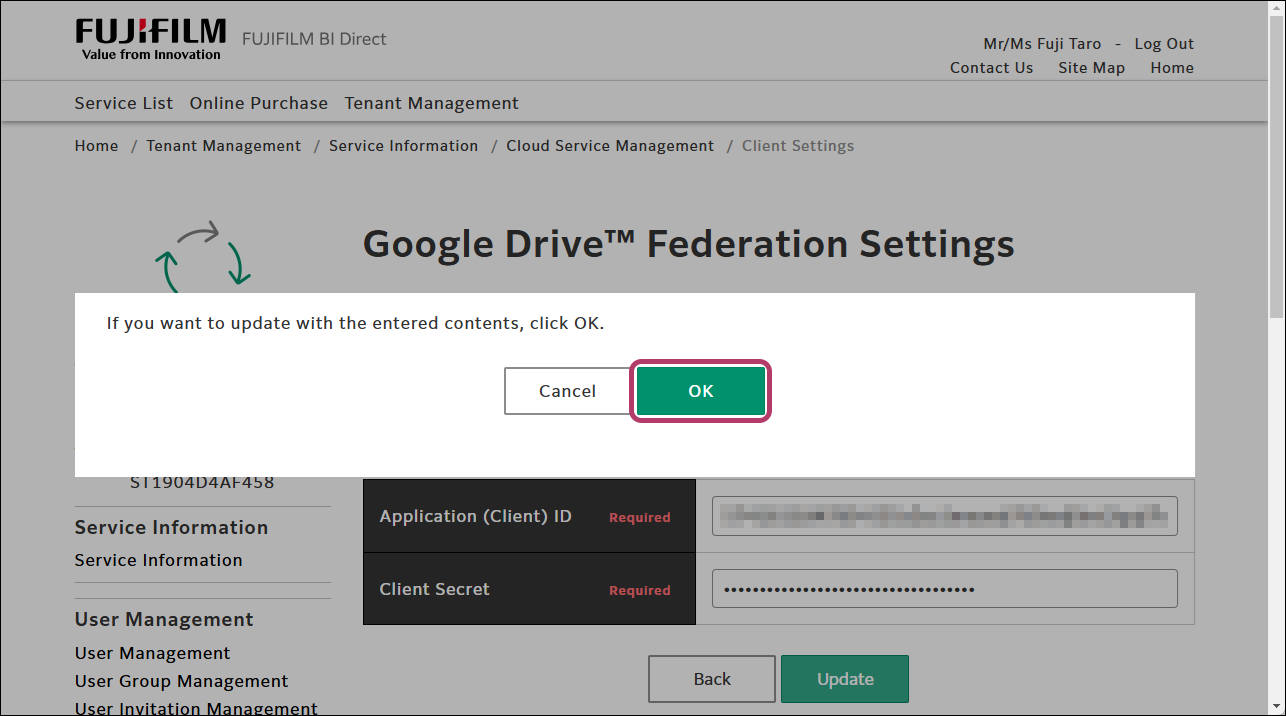
- Click [OK].
User connection settings are required for using Google Drive in FUJIFILM IWpro. For information on the procedure, see User Connection Settings.