Sending a Document
Send a document to one of the following destinations. Up to 100 documents can be sent at a time.
- Workspace
- Folder
- Tray
- Personal Postbox
- Archive
Sending to Personal Postbox or Tray from the Quick Menu
Refer
For information on the quick menu, refer to "Quick Menu".
Procedure
1.
Select the document to send, and select [Send to Personal Postbox, Tray] from the quick menu.
This step can also be done using the following menus:
- The context menu displayed when you right-click the document
 in list view
2.
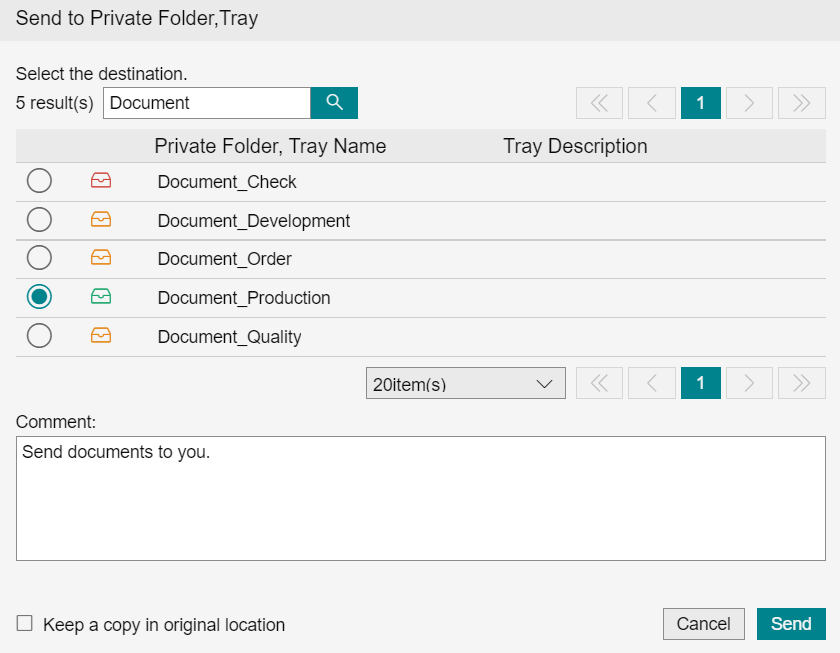
On the [Send to Personal Postbox, Tray] screen, select the personal postbox or tray of the send destination, and click [Send].
If necessary, enter [Message] within 500 characters.
To send a copied document, check the [Keep a copy in original location] check box.
To send a copied document, check the [Keep a copy in original location] check box.
Note
If there is an existing message in the document to be sent, it will be displayed in [Message].
Delete or change the existing message as necessary.
If you are sending multiple documents, the existing messages will not be displayed.
Delete or change the existing message as necessary.
If you are sending multiple documents, the existing messages will not be displayed.
Sending to Personal Postbox or Tray Using a Batch Operation
Procedure
1.
In list view, select the check boxes for the documents to send, and select [Send to Personal Postbox, Tray] from [Batch Operation].
2.
On the [Send to Personal Postbox, Tray] screen, select the personal postbox or tray of the send destination, and click [Send].
If necessary, enter [Message] within 500 characters.
To send a copied document, check the [Keep a copy in original location] check box.
To send a copied document, check the [Keep a copy in original location] check box.
Sending to Tray Using Drag-and-Drop
Procedure
1.
Drag-and-drop the document to send onto a tray.
2.
On the [Send to Personal Postbox, Tray] screen, click [Send].
If necessary, enter [Message] within 500 characters.
Note
If there is an existing message in the document to be sent, it will be displayed in [Message].
Delete or change the existing message as necessary.
If you are sending multiple documents, the existing messages will not be displayed.
Delete or change the existing message as necessary.
If you are sending multiple documents, the existing messages will not be displayed.
Sending to Workspace from the Quick Menu
Refer
For information on the quick menu, refer to "Quick Menu".
Procedure
1.
Select the document to send, and select [Send to Workspace] from the quick menu.
This step can also be done using the following menus:
- The context menu displayed when you right-click the document
- in list view
2.
In the [Send to Workspace] dialog, select the destination workspace, and click [Send].
To send a copied document, check the [Keep a copy in original location] check box.
Note
If you click on a workspace name, the folders in that workspace will be displayed.
You can send to a folder by selecting the folder.
You can send to a folder by selecting the folder.
Sending to Archive
Procedure
1.
Select the document to send, and select [Send to Archive] from the quick menu.
Alternatively, in list view, select the check boxes for the documents to send, and select [Send to Archive] from [Batch Operation].
Alternatively, in list view, select the check boxes for the documents to send, and select [Send to Archive] from [Batch Operation].
This step can also be done using the following menus:
- The context menu displayed when you right-click the document
- in list view
2.
Select the destination on the [Send to Archive] screen, and click [Send].
To delete the documents after they have been sent, check the check box for [Delete documents that have been successfully sent.]. The results of both sending and deleting are displayed.