4.1 Creating a Business Item Definition
1.
Click  in the upper left corner of the screen and click [File Management] in the Admin menu.
in the upper left corner of the screen and click [File Management] in the Admin menu.2.
From the menu, go to [Process], and click [Business Item Operation].
The [Business Item List] screen appears.
3.
Click [Contract Management].

The [Manage Business Item] screen appears.
4.
On the [Manage Business Item] screen of the “Contract Management” business item, click the [Manage Business Item Definitions] tab and then click [Create New].
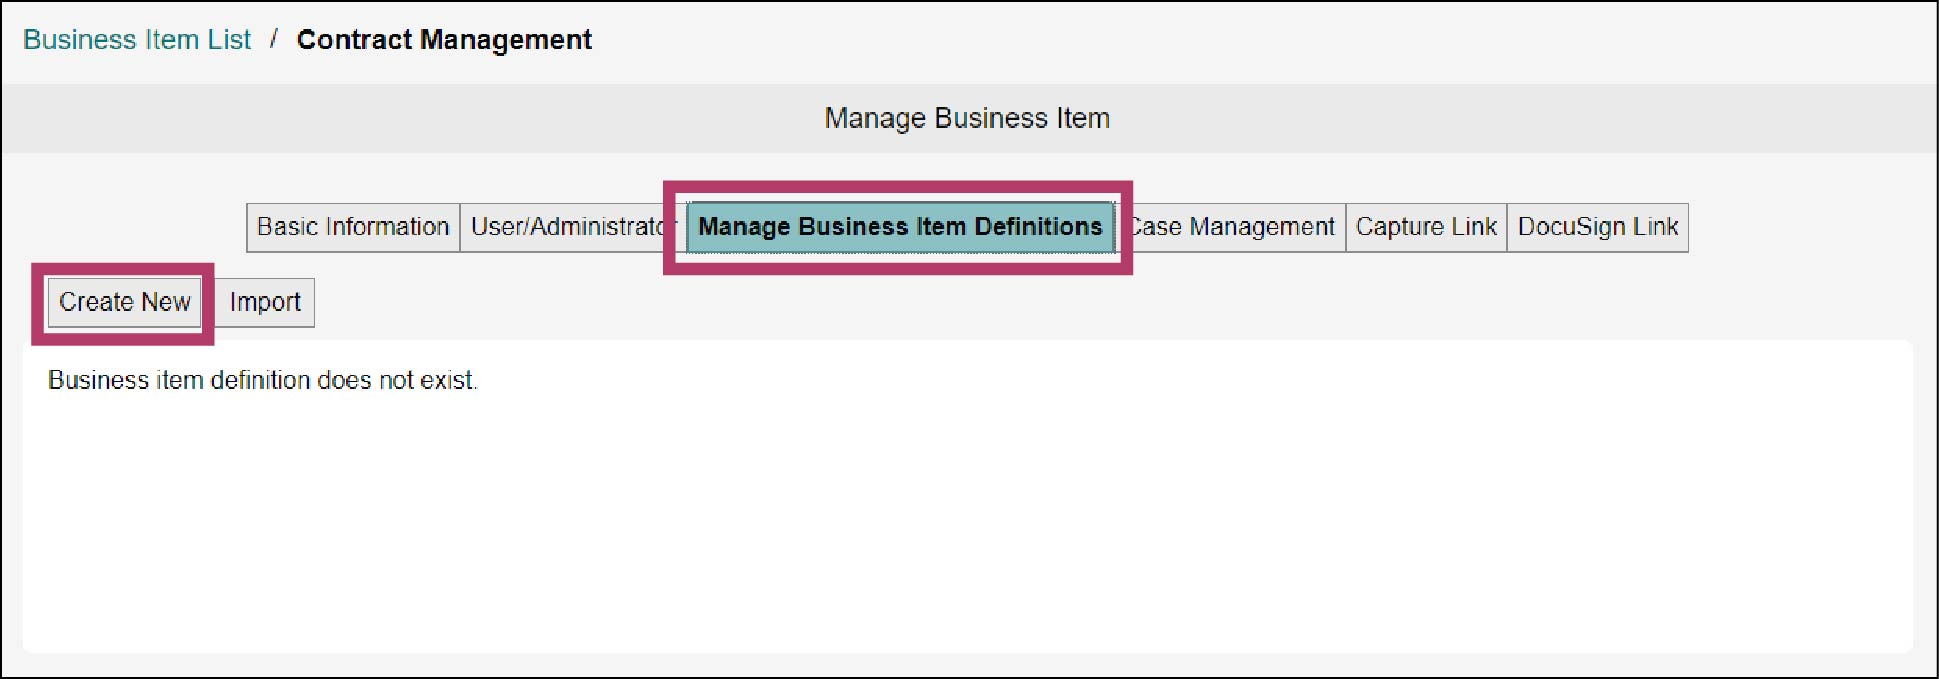
The [Create New Business Item Definition] screen appears.
5.
Click [OK].
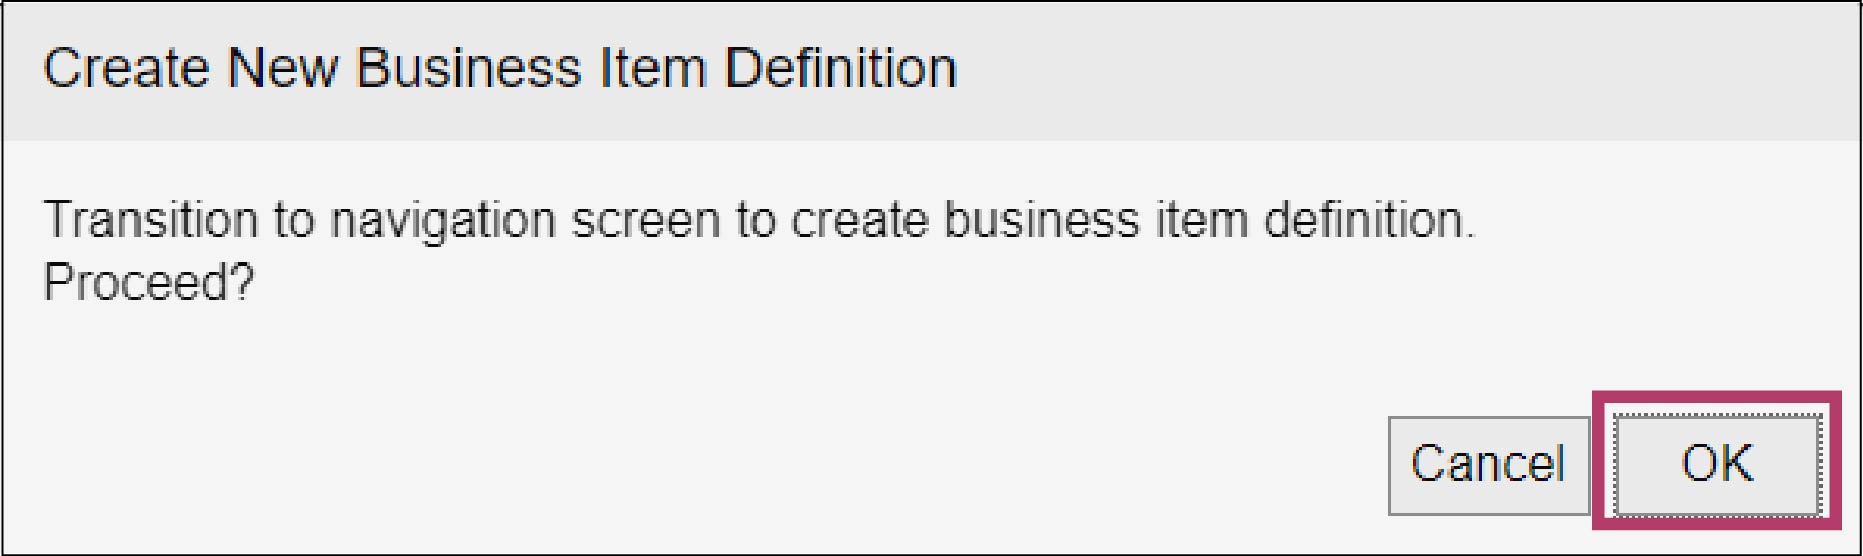
The [Summary] screen appears.
6.
Click [Next].
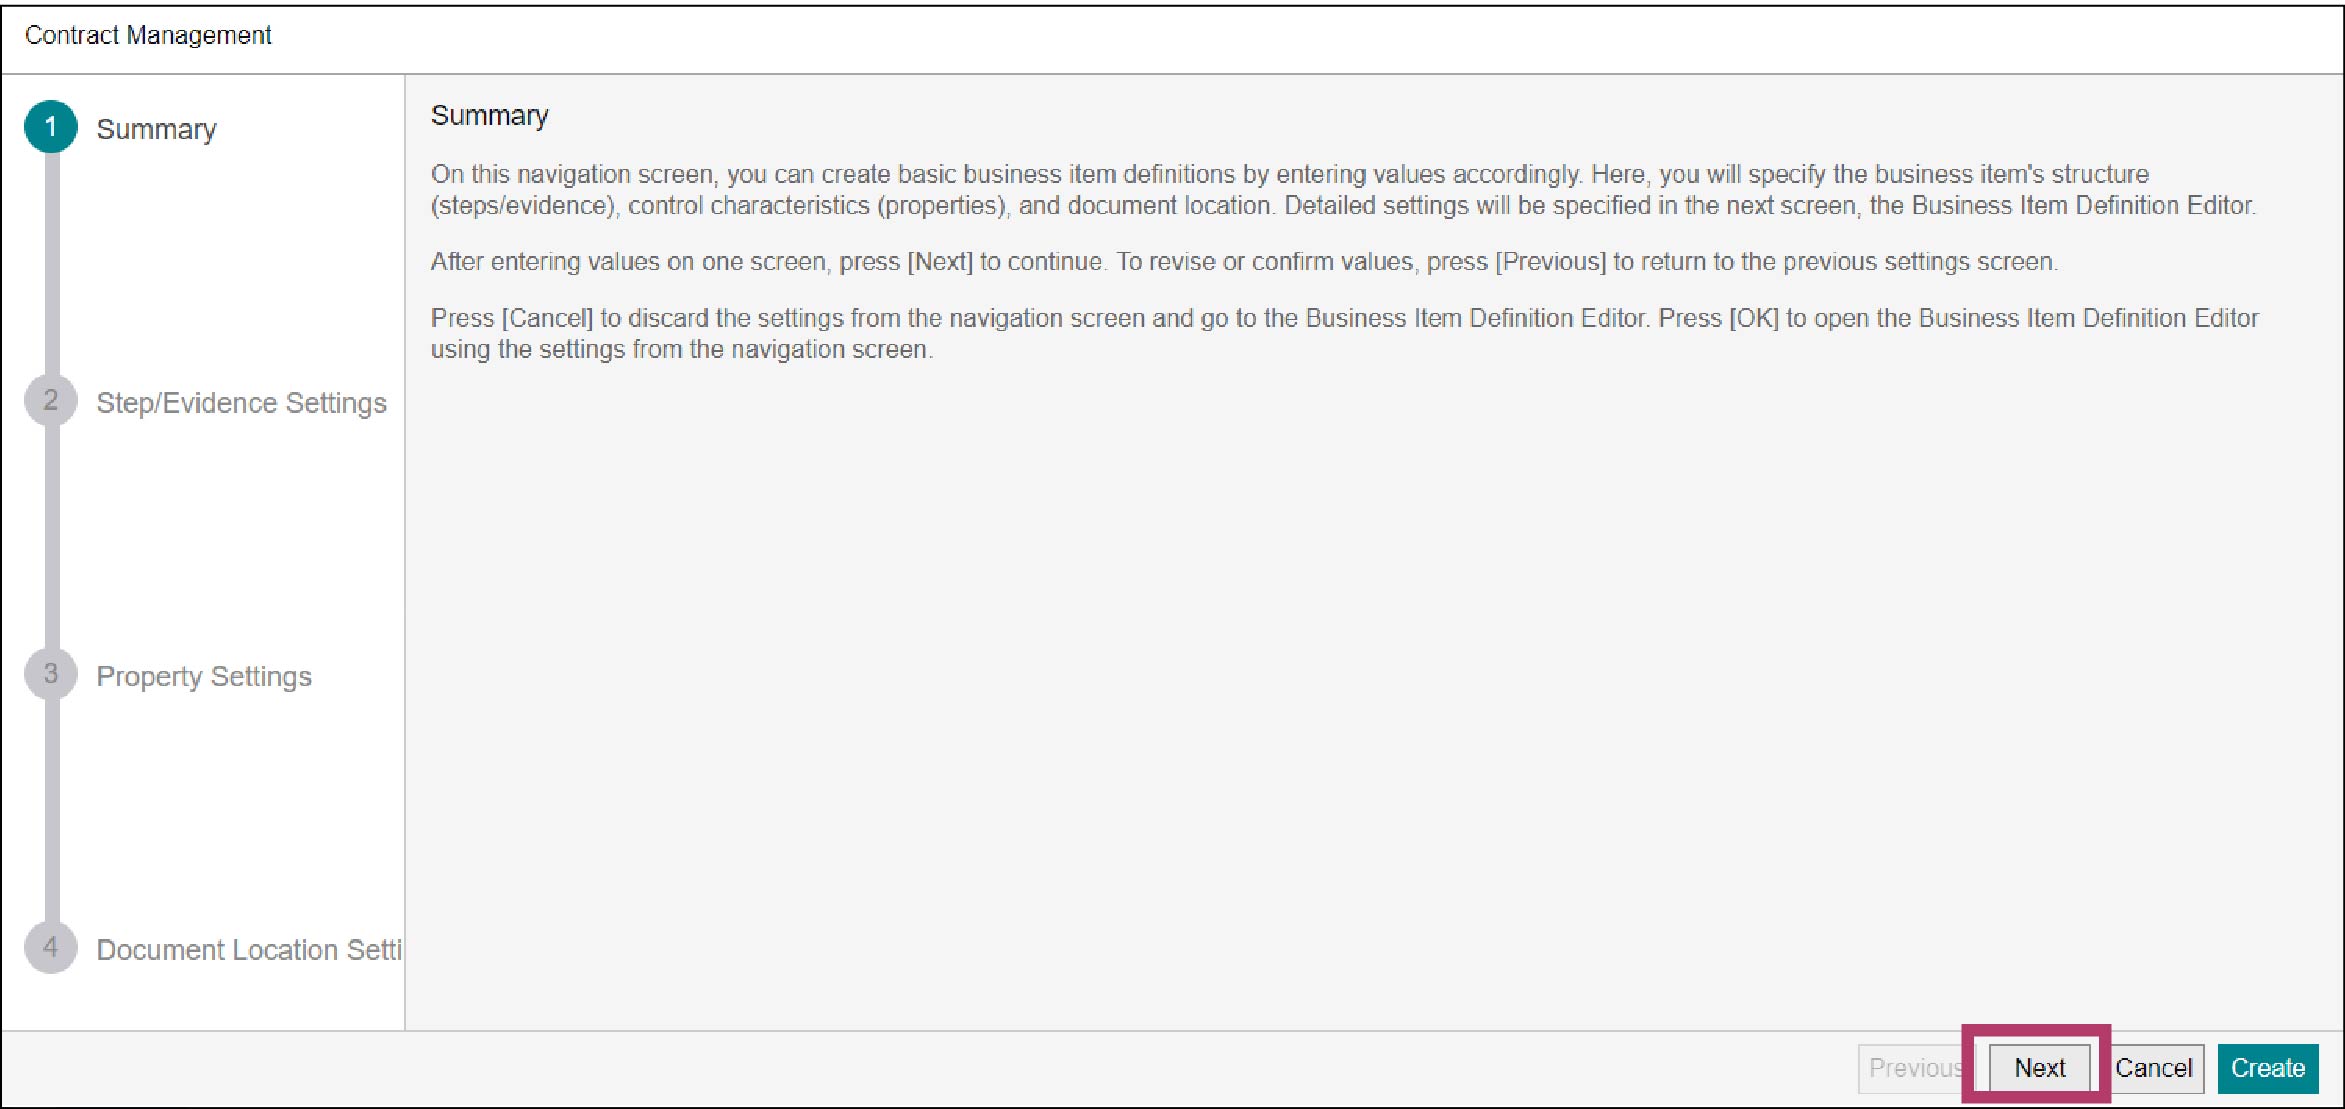
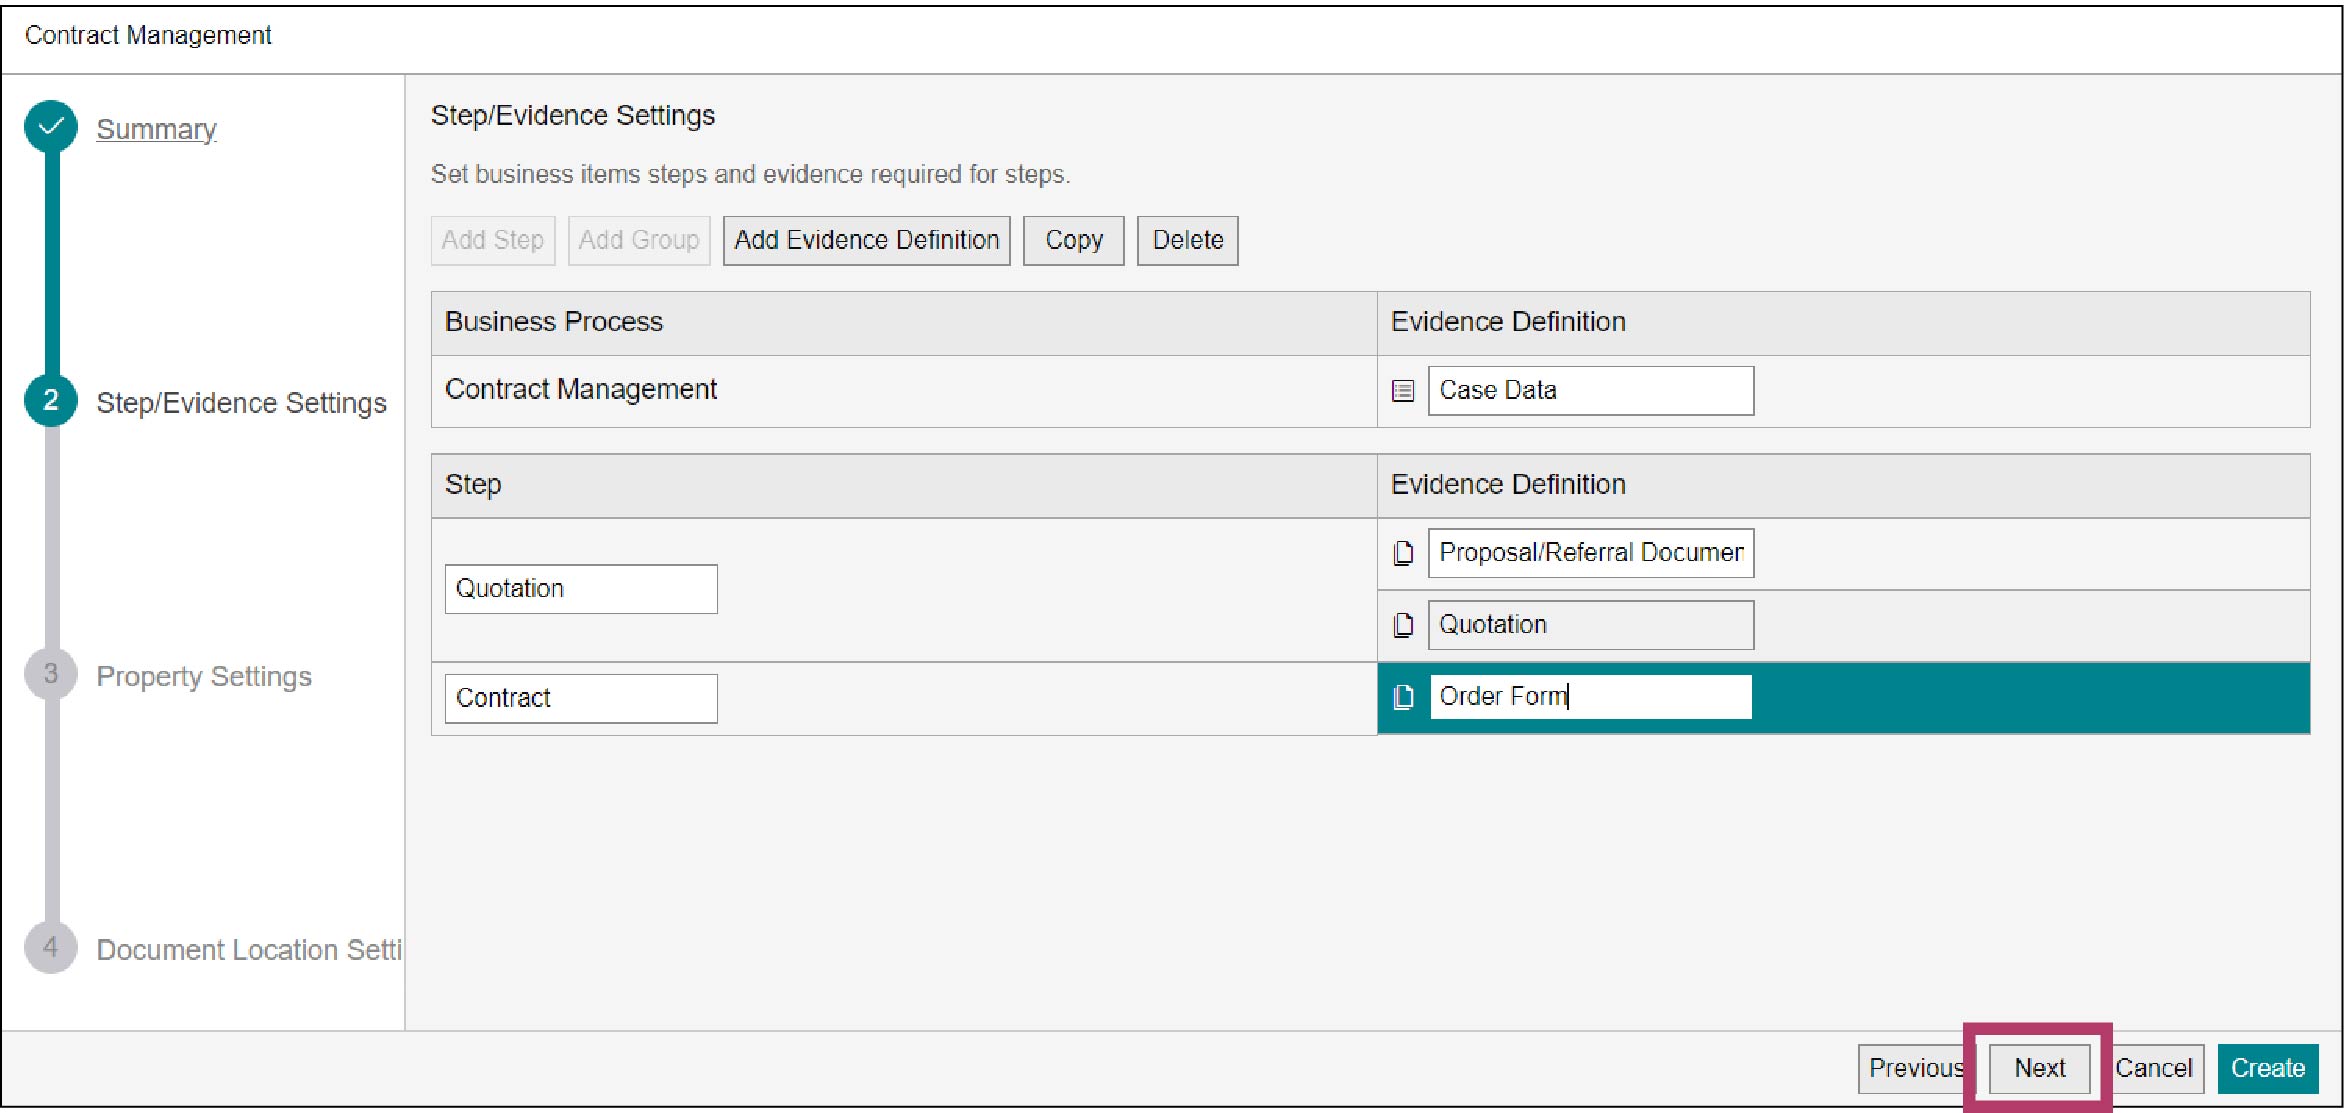
The [Step/Evidence Settings] screen appears.
7.
Create a step named “Quotation”.
1) Click [Add Step].
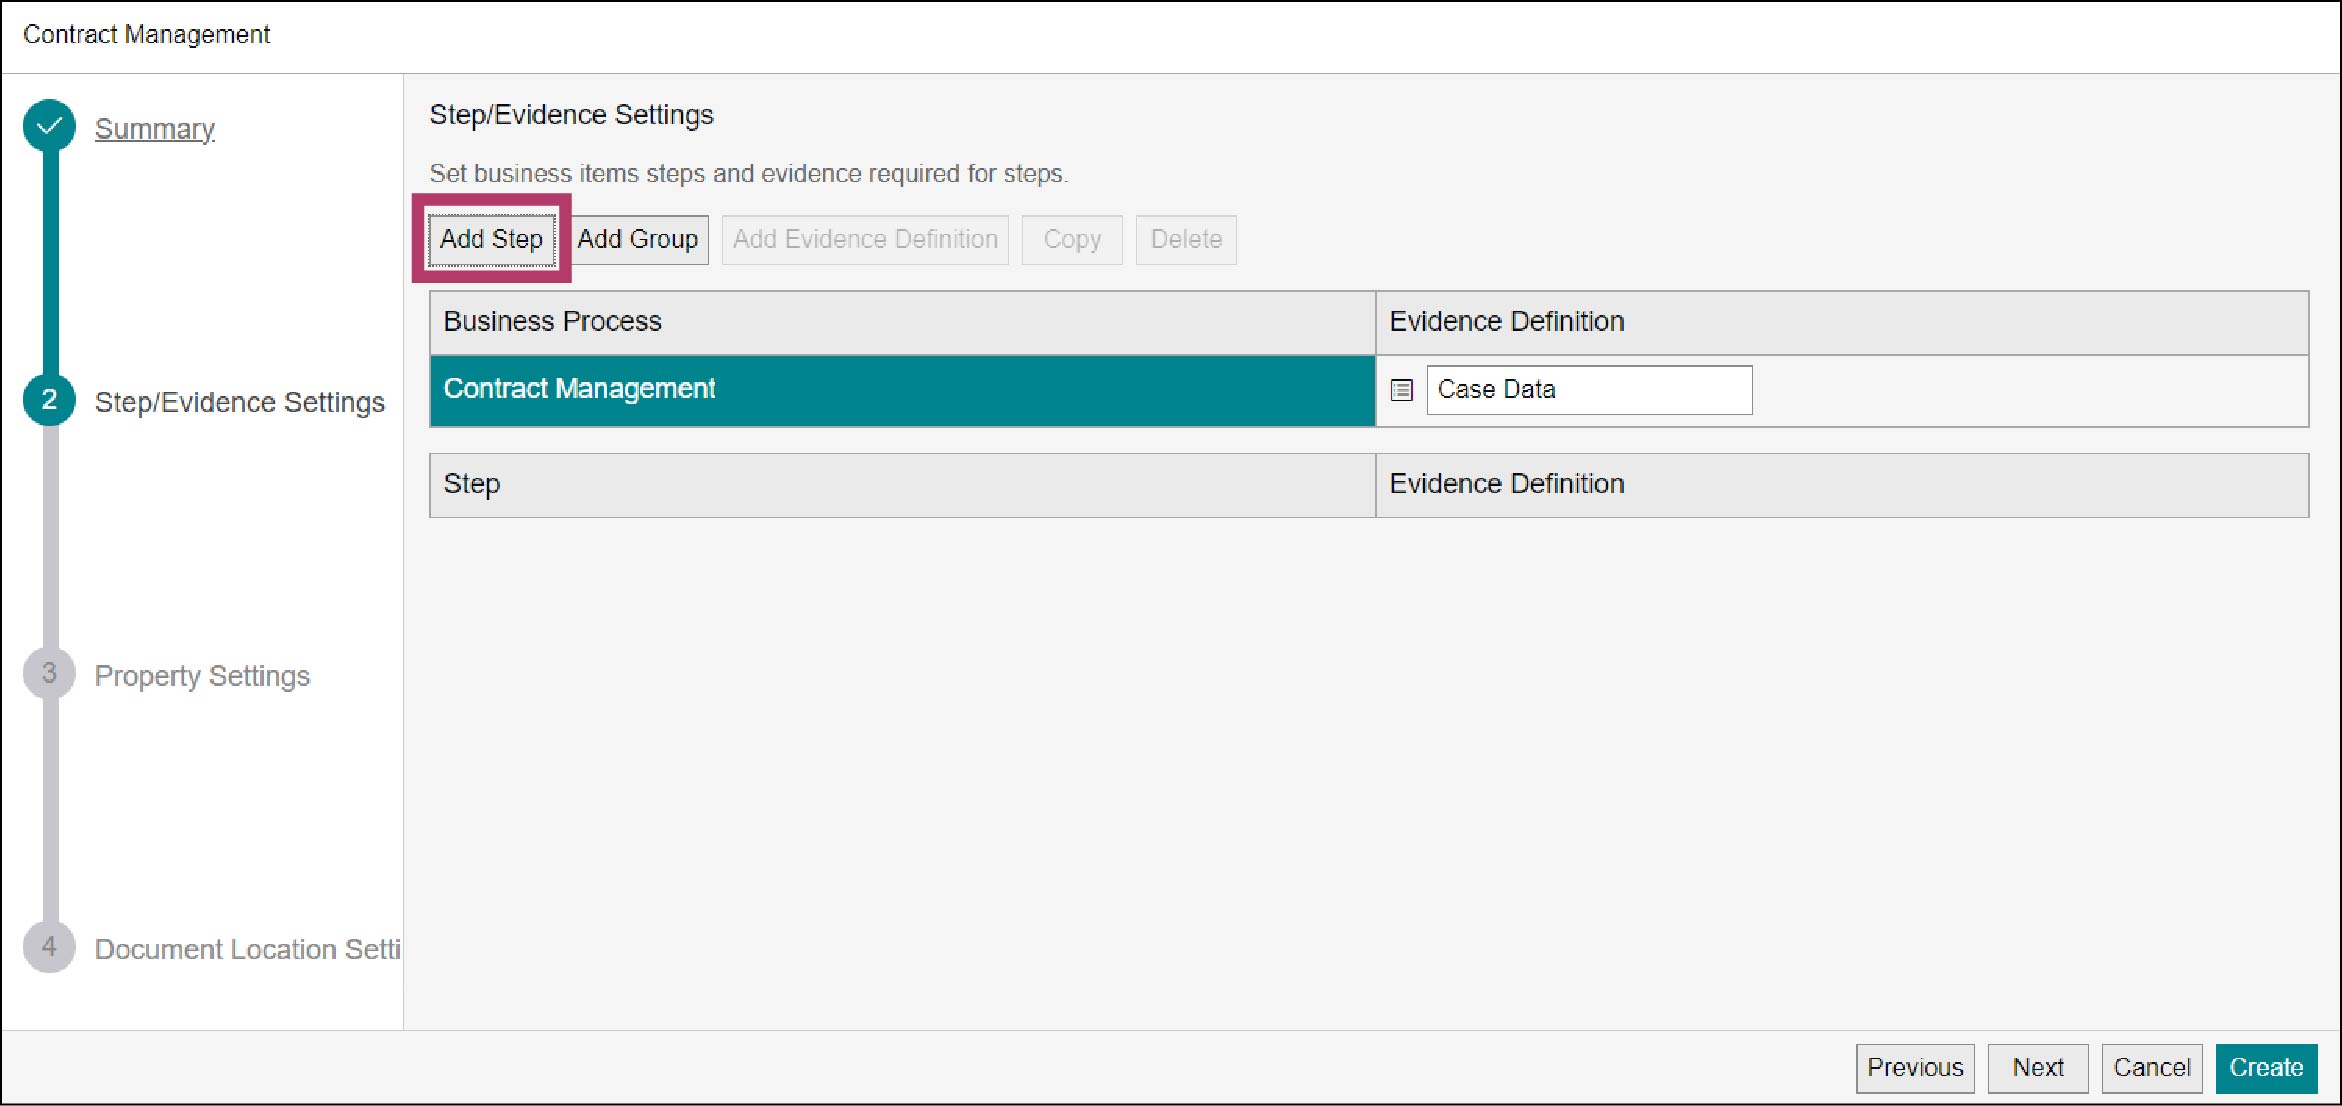
The step is added.
2) Change the step name “Step 1” to “Quotation”.
3) Click [Add Evidence Definition].
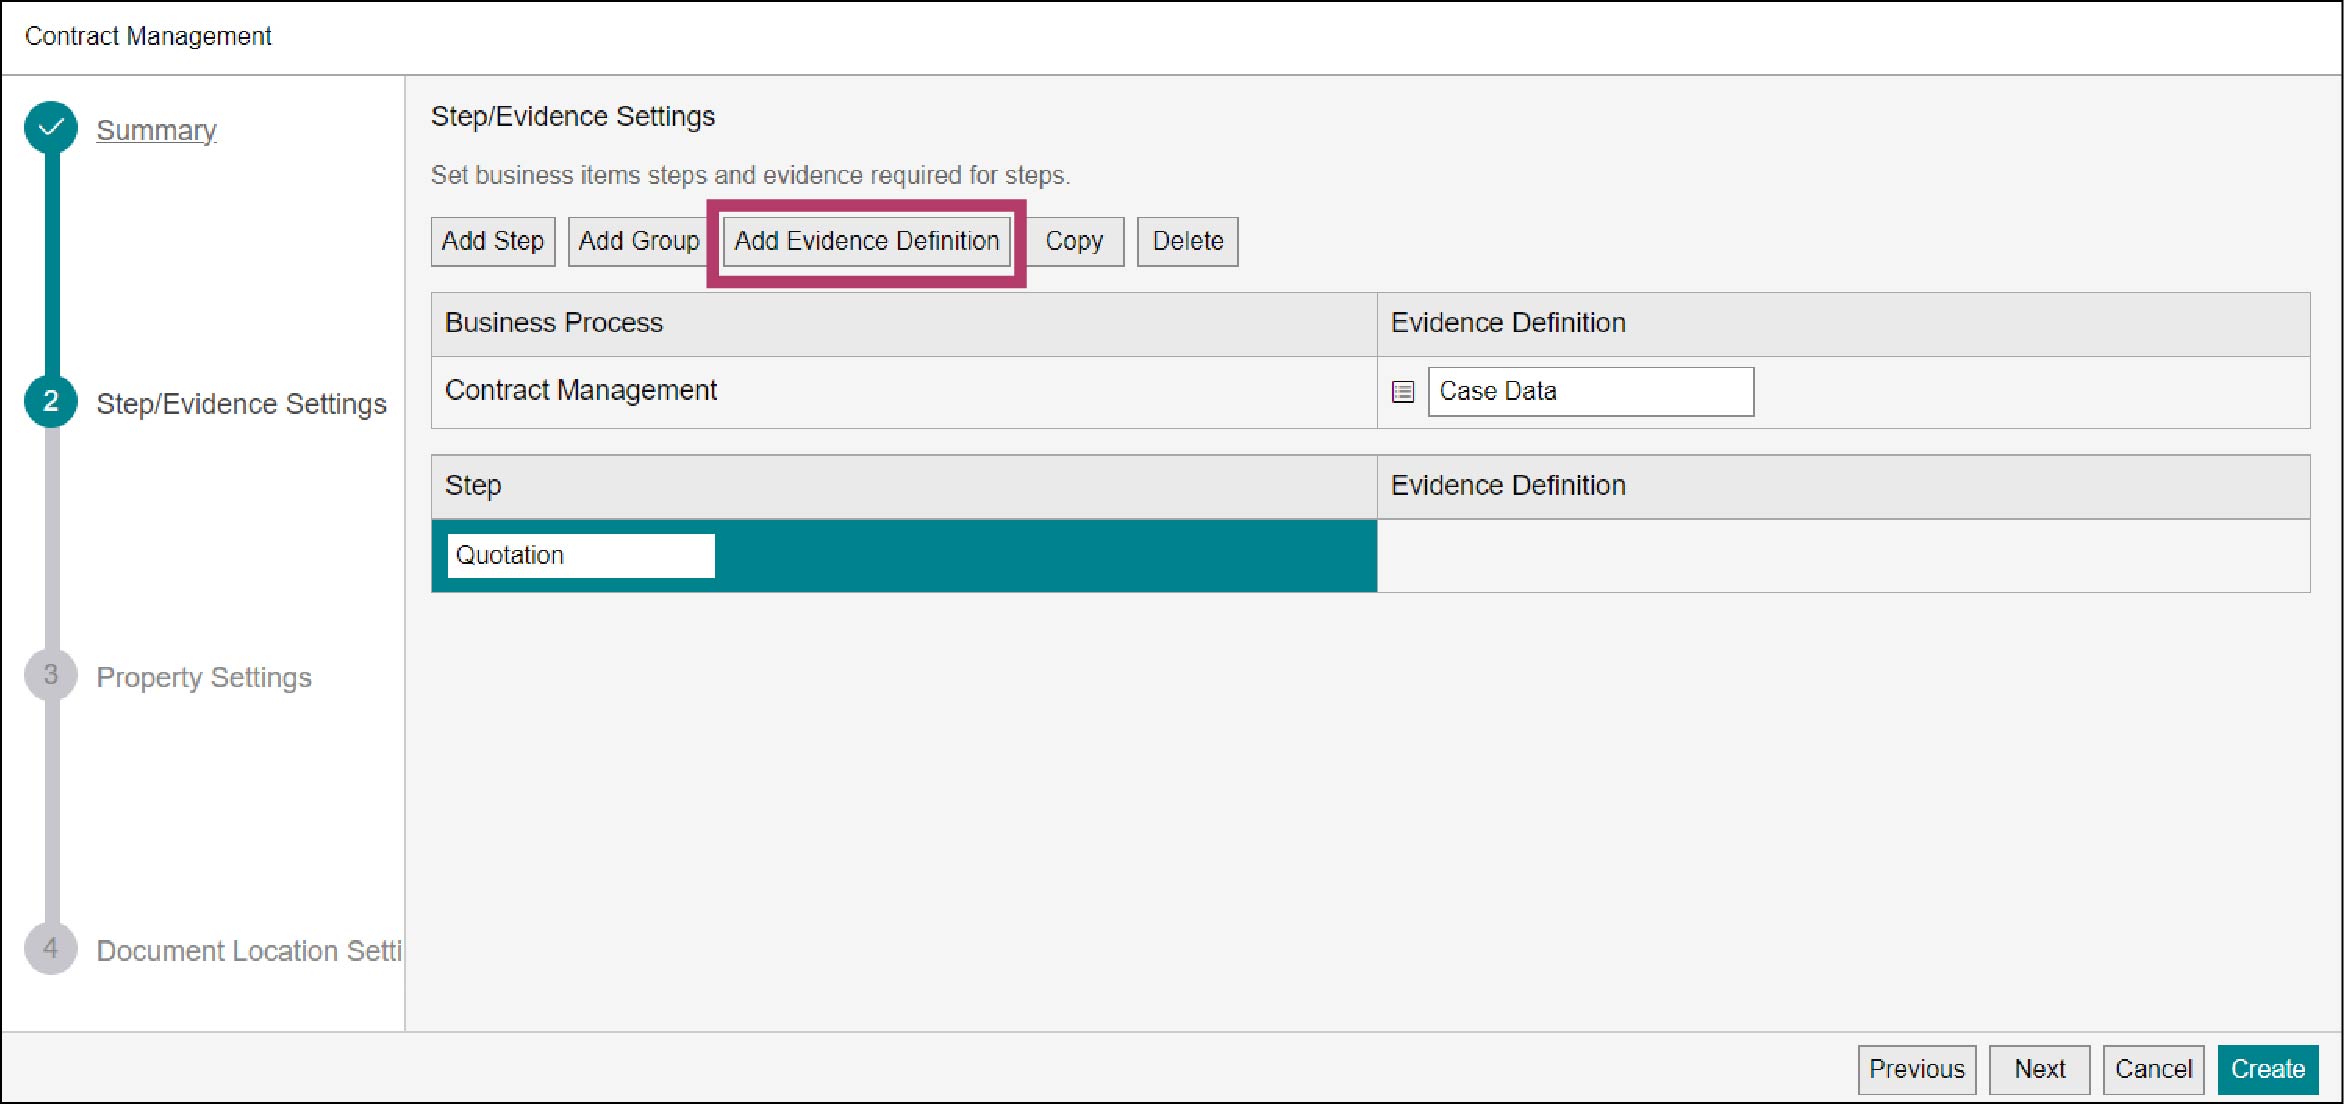
“Evidence 1” is added as the evidence definition for the “Quotation” step.
Note
When [Add Evidence Definition] is not clickable, select the “Quotation” step, then [Add Evidence Definition] can be clicked.
4) Change the evidence definition name “Evidence 1” to “Proposal/Referral Documents”.
5) Click [Add Evidence Definition].

“Evidence 2” is added as the evidence definition for the “Quotation” step.
6) Change the evidence definition name “Evidence 2” to “Quotation”.
8.
Create a step named “Contract”.
1) Select the “Quotation” step, and click [Add Step].
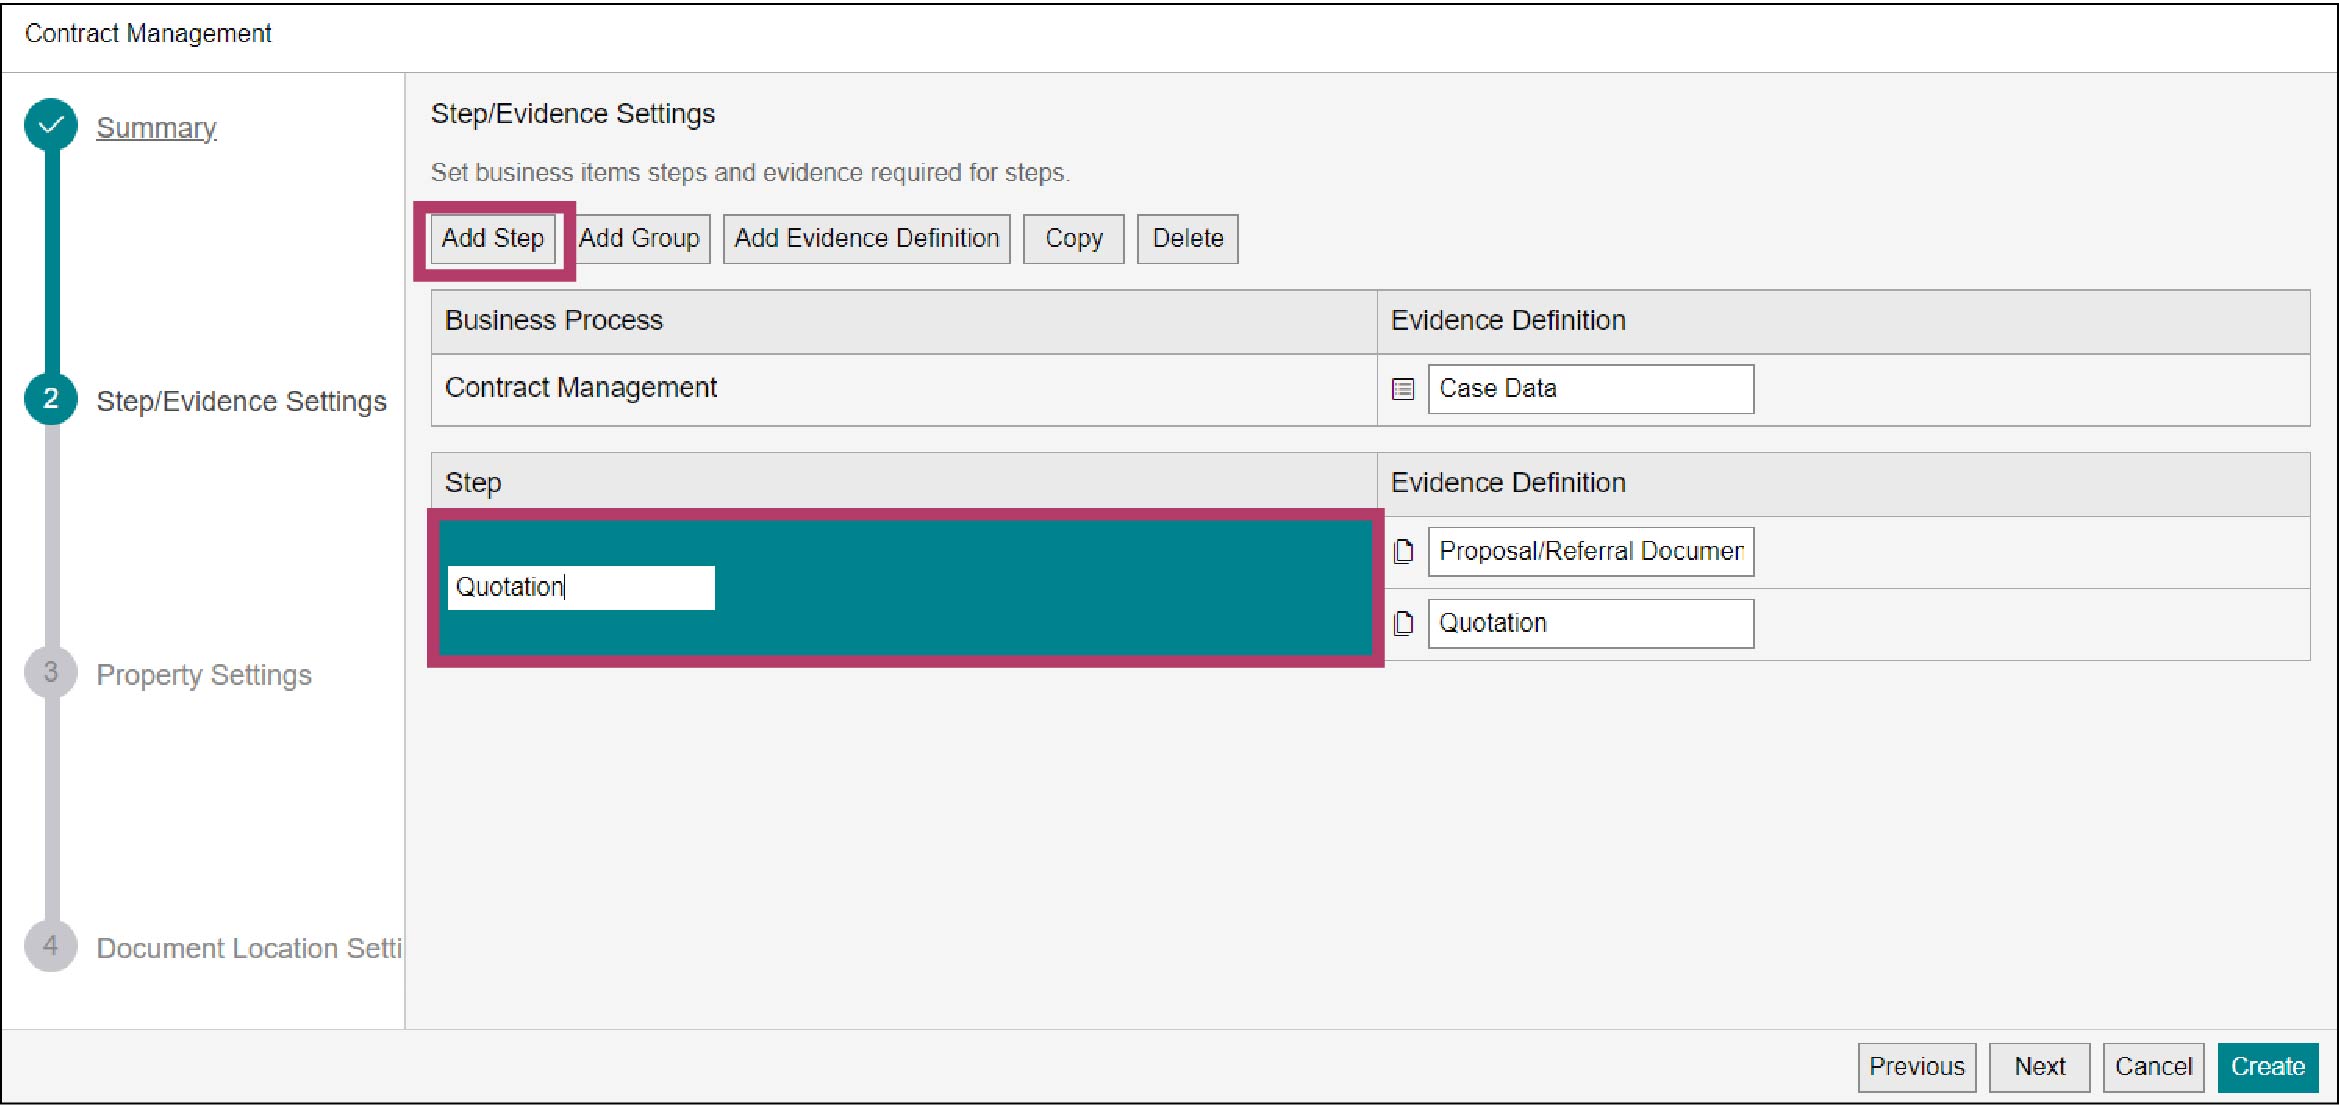
The step is added.
2) Change the step name “Step 2” to “Contract”.
3) Click [Add Evidence Definition].
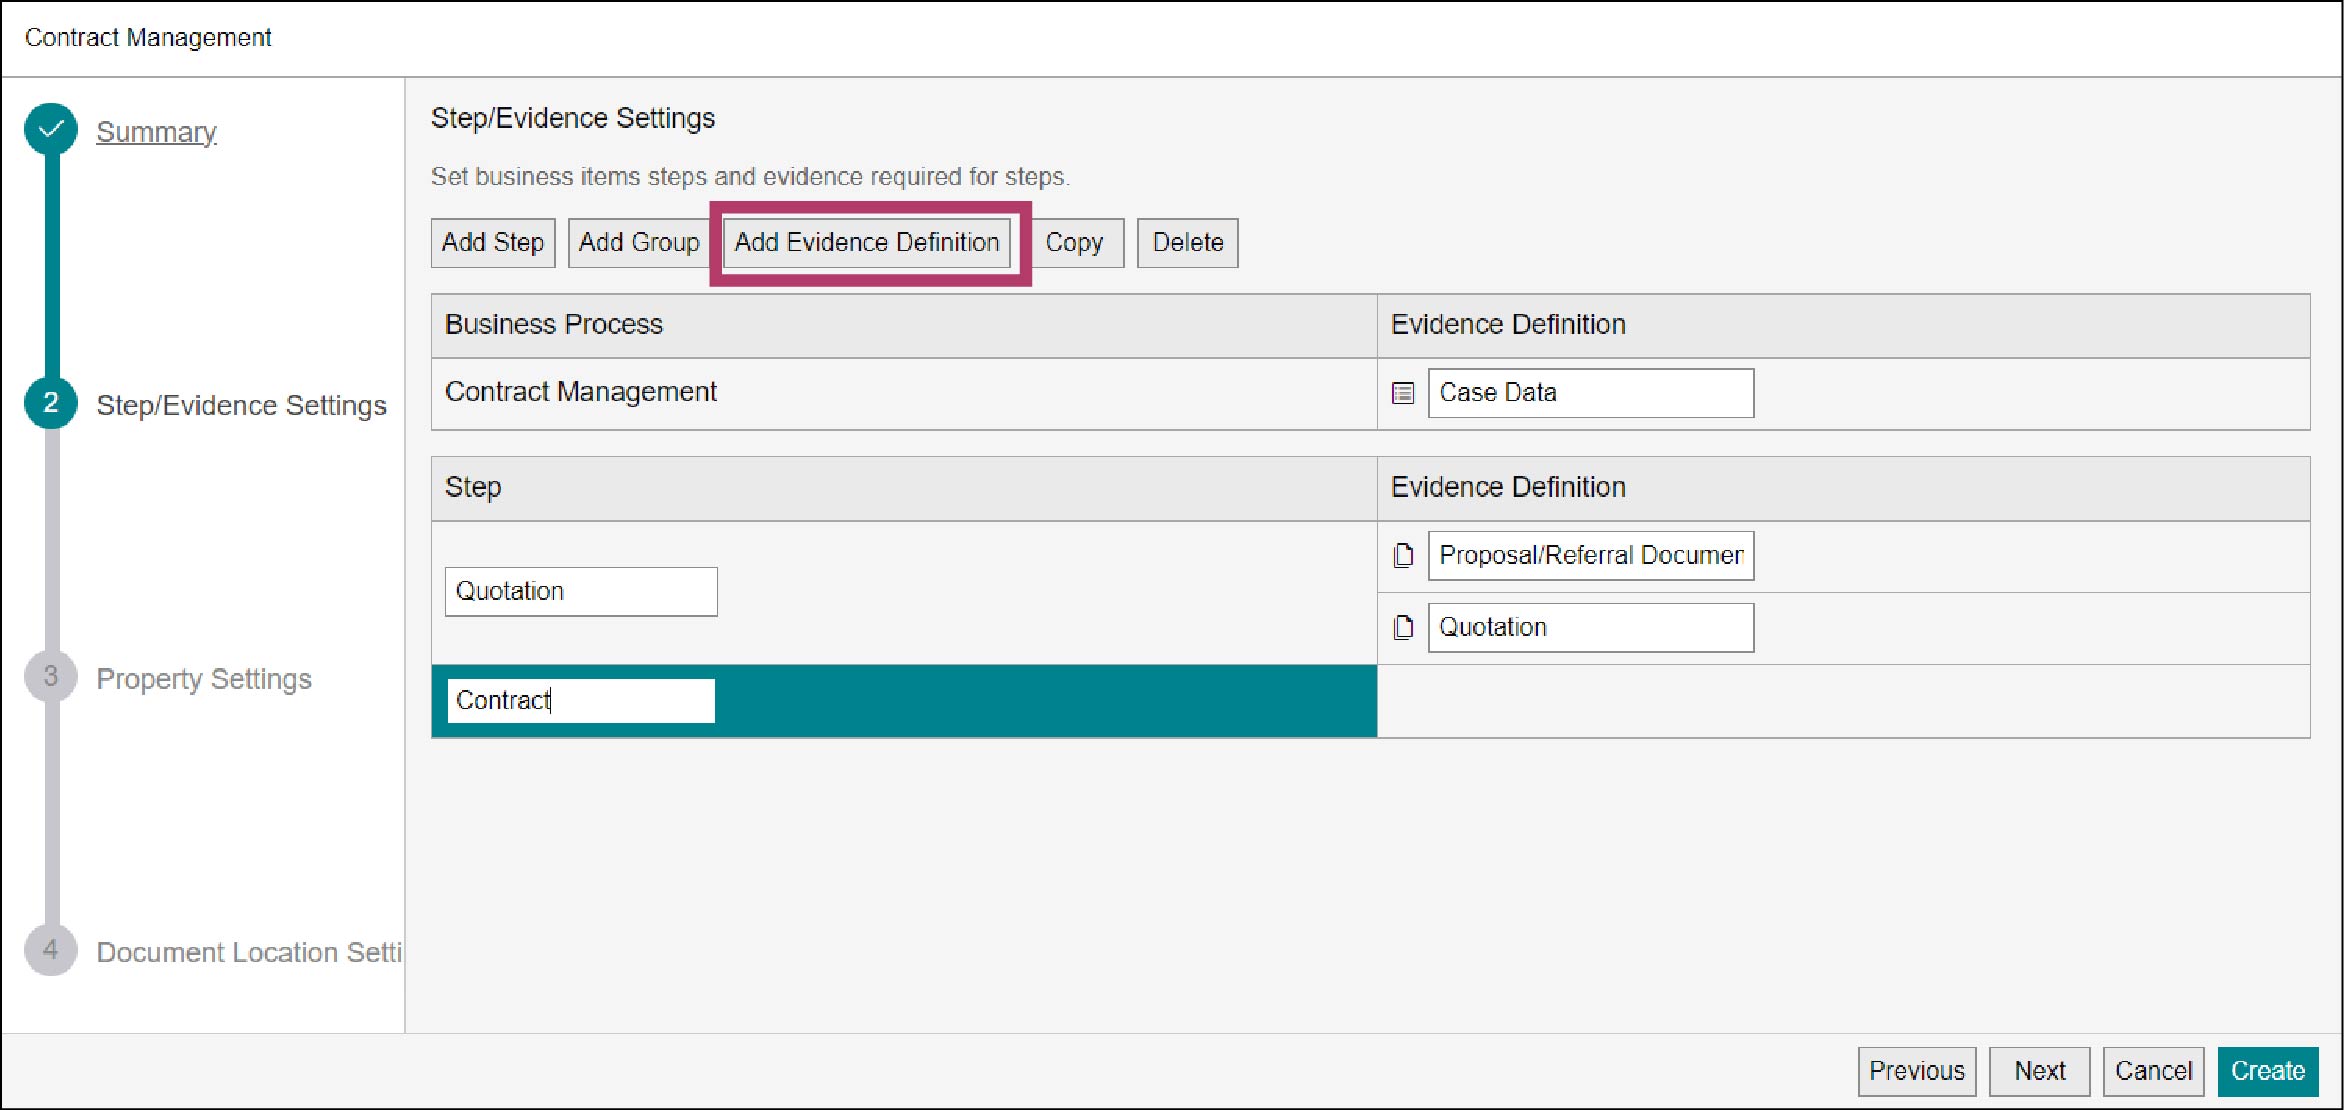
“Evidence 3” is added as the evidence definition for the “Contract” step.
Note
When [Add Evidence Definition] is not clickable, select the “Contract” step, then [Add Evidence Definition] can be clicked.
4) Change the evidence definition name “Evidence 3” to “Order Form”.
9.
Click [Next].
The [Property Settings] screen appears.
10.
Click [Next].
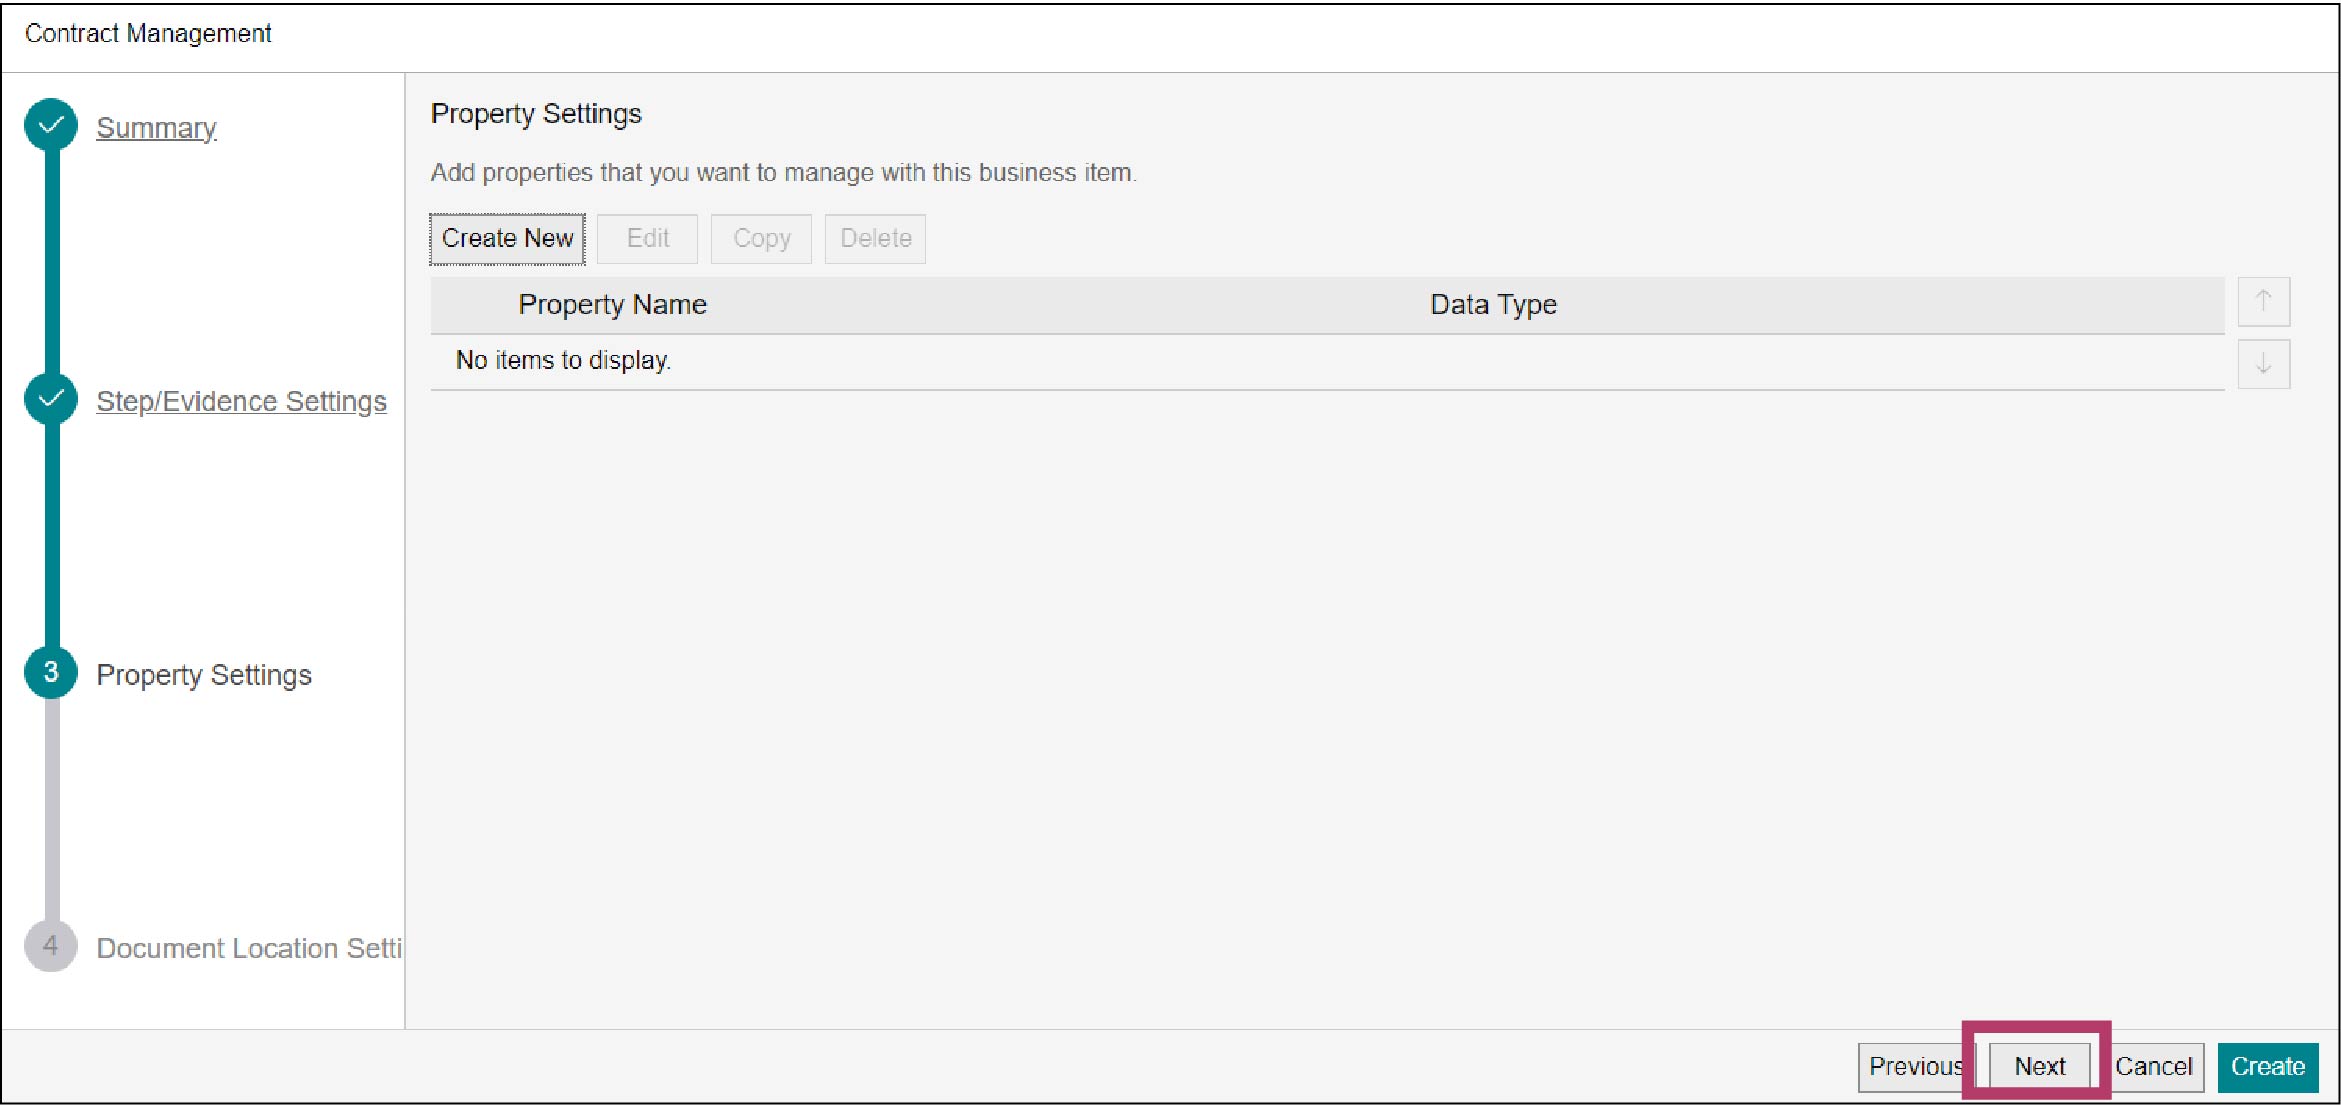
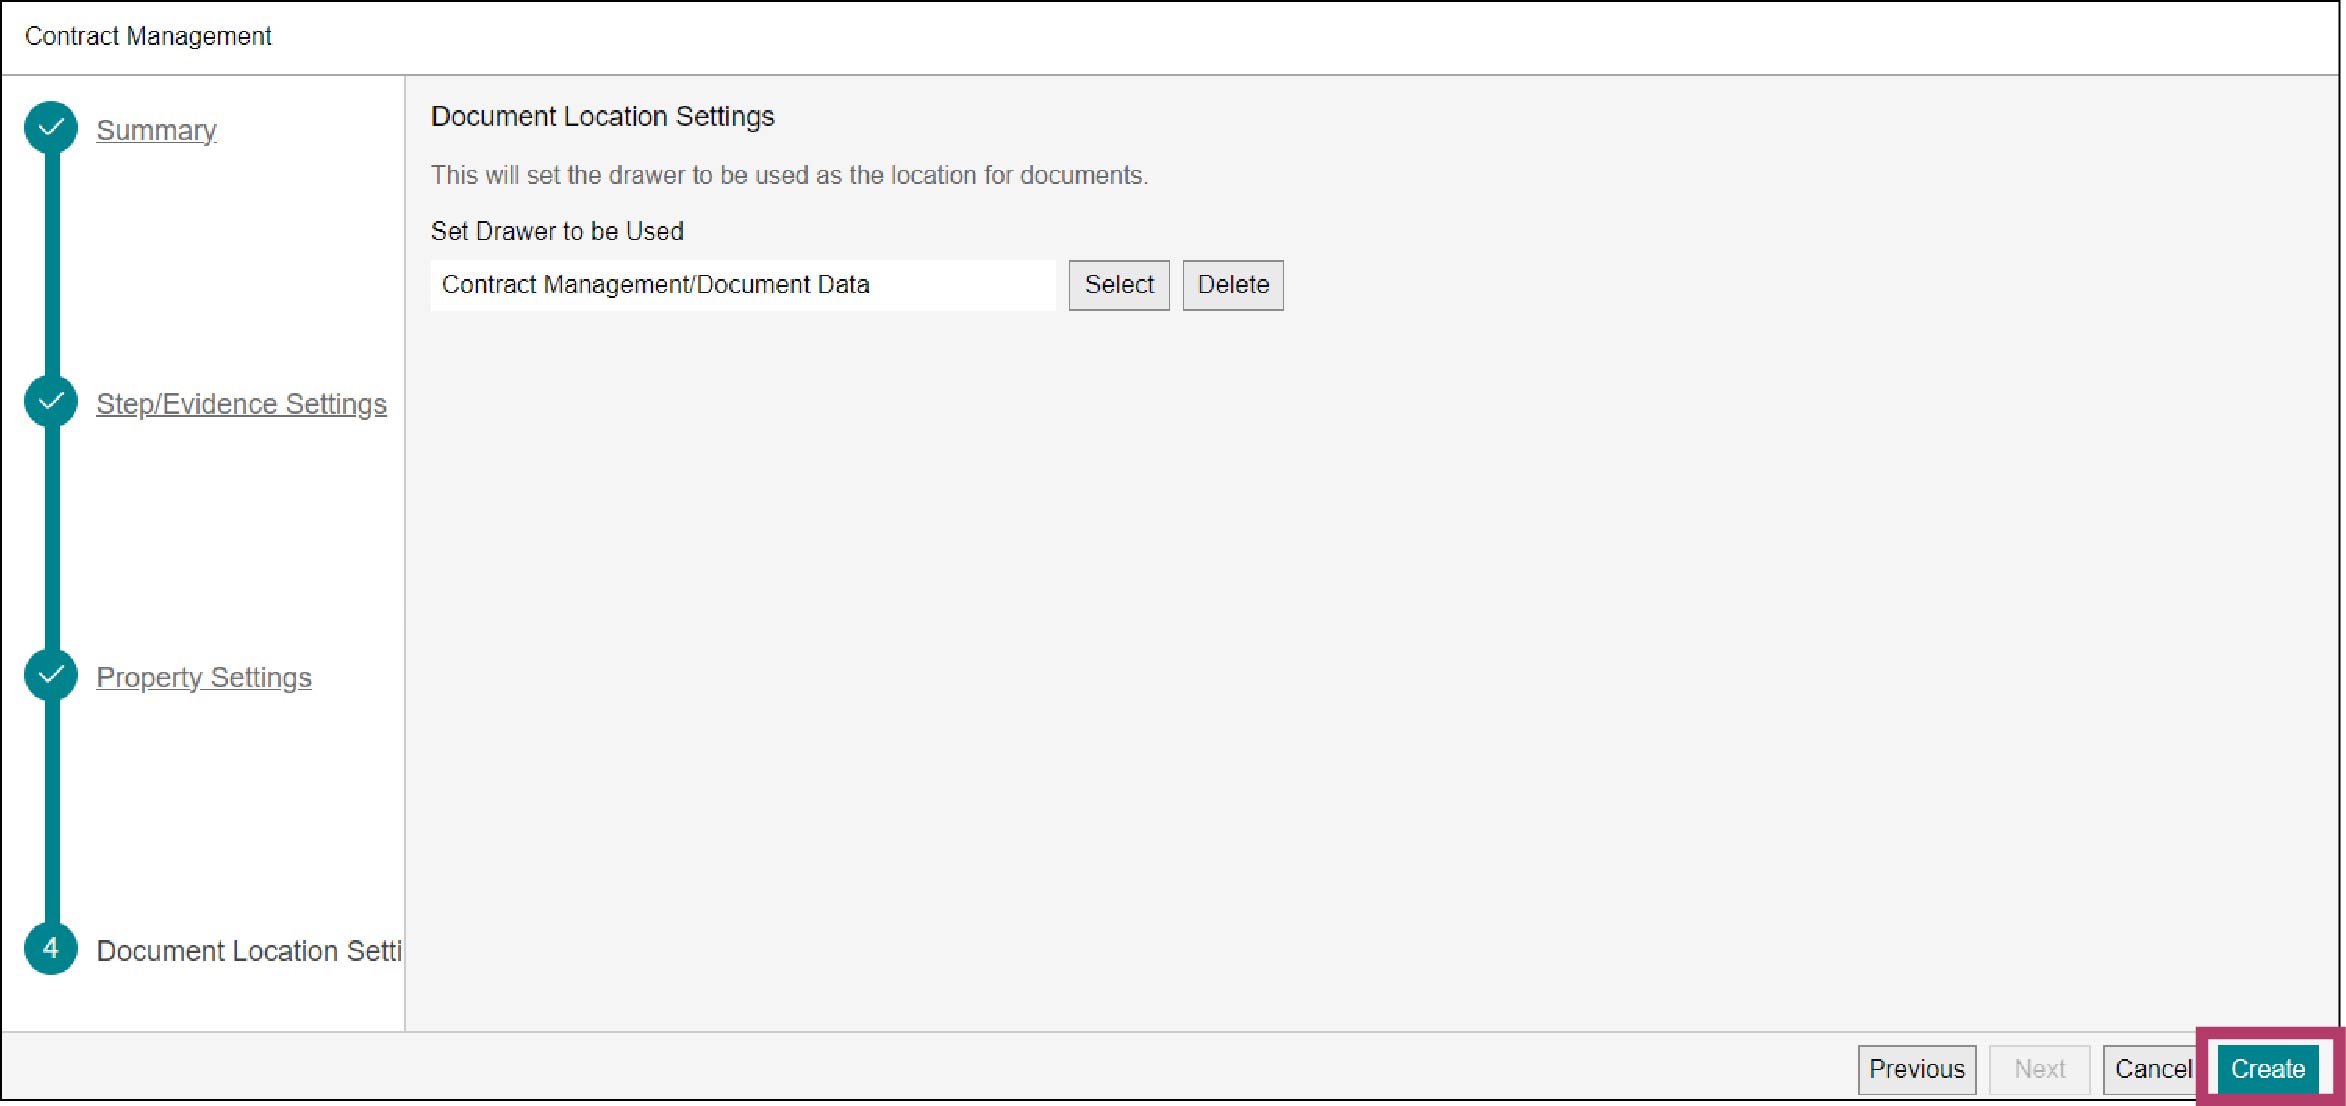
The [Document Location Settings] screen appears.
11.
Set the drawer in which documents to be stored.
Note
The settings made on the “Document Location Settings” screen are used as the document location definition.
1) Click [Select].
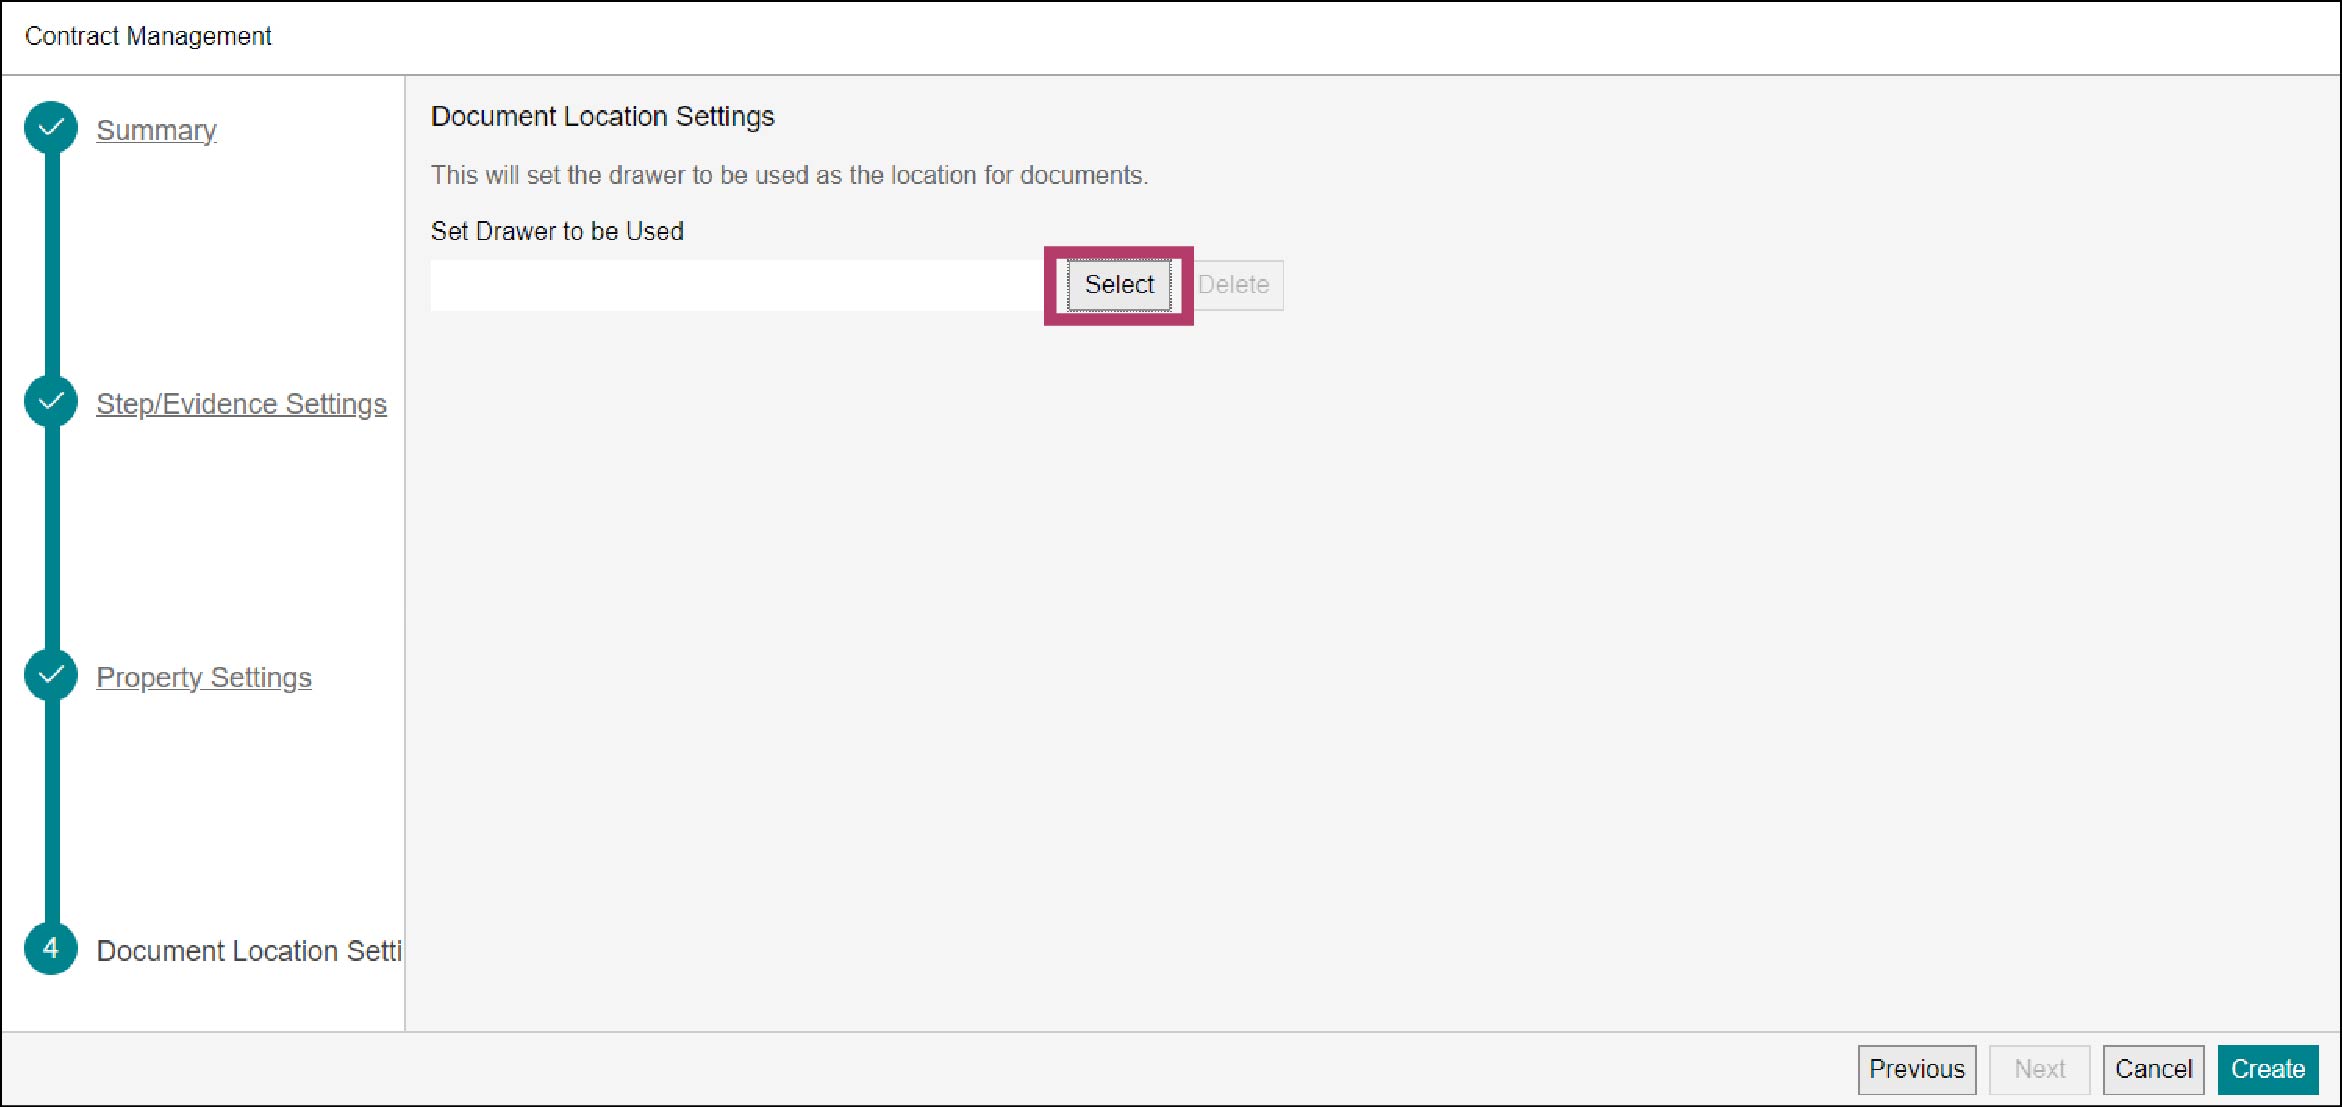
The [Select Drawer/Cabinet] screen appears.
2) Select the “Document Data” drawer for the “Contract Management” cabinet created in “2.3 Setting the Cabinet”, and click [Select].
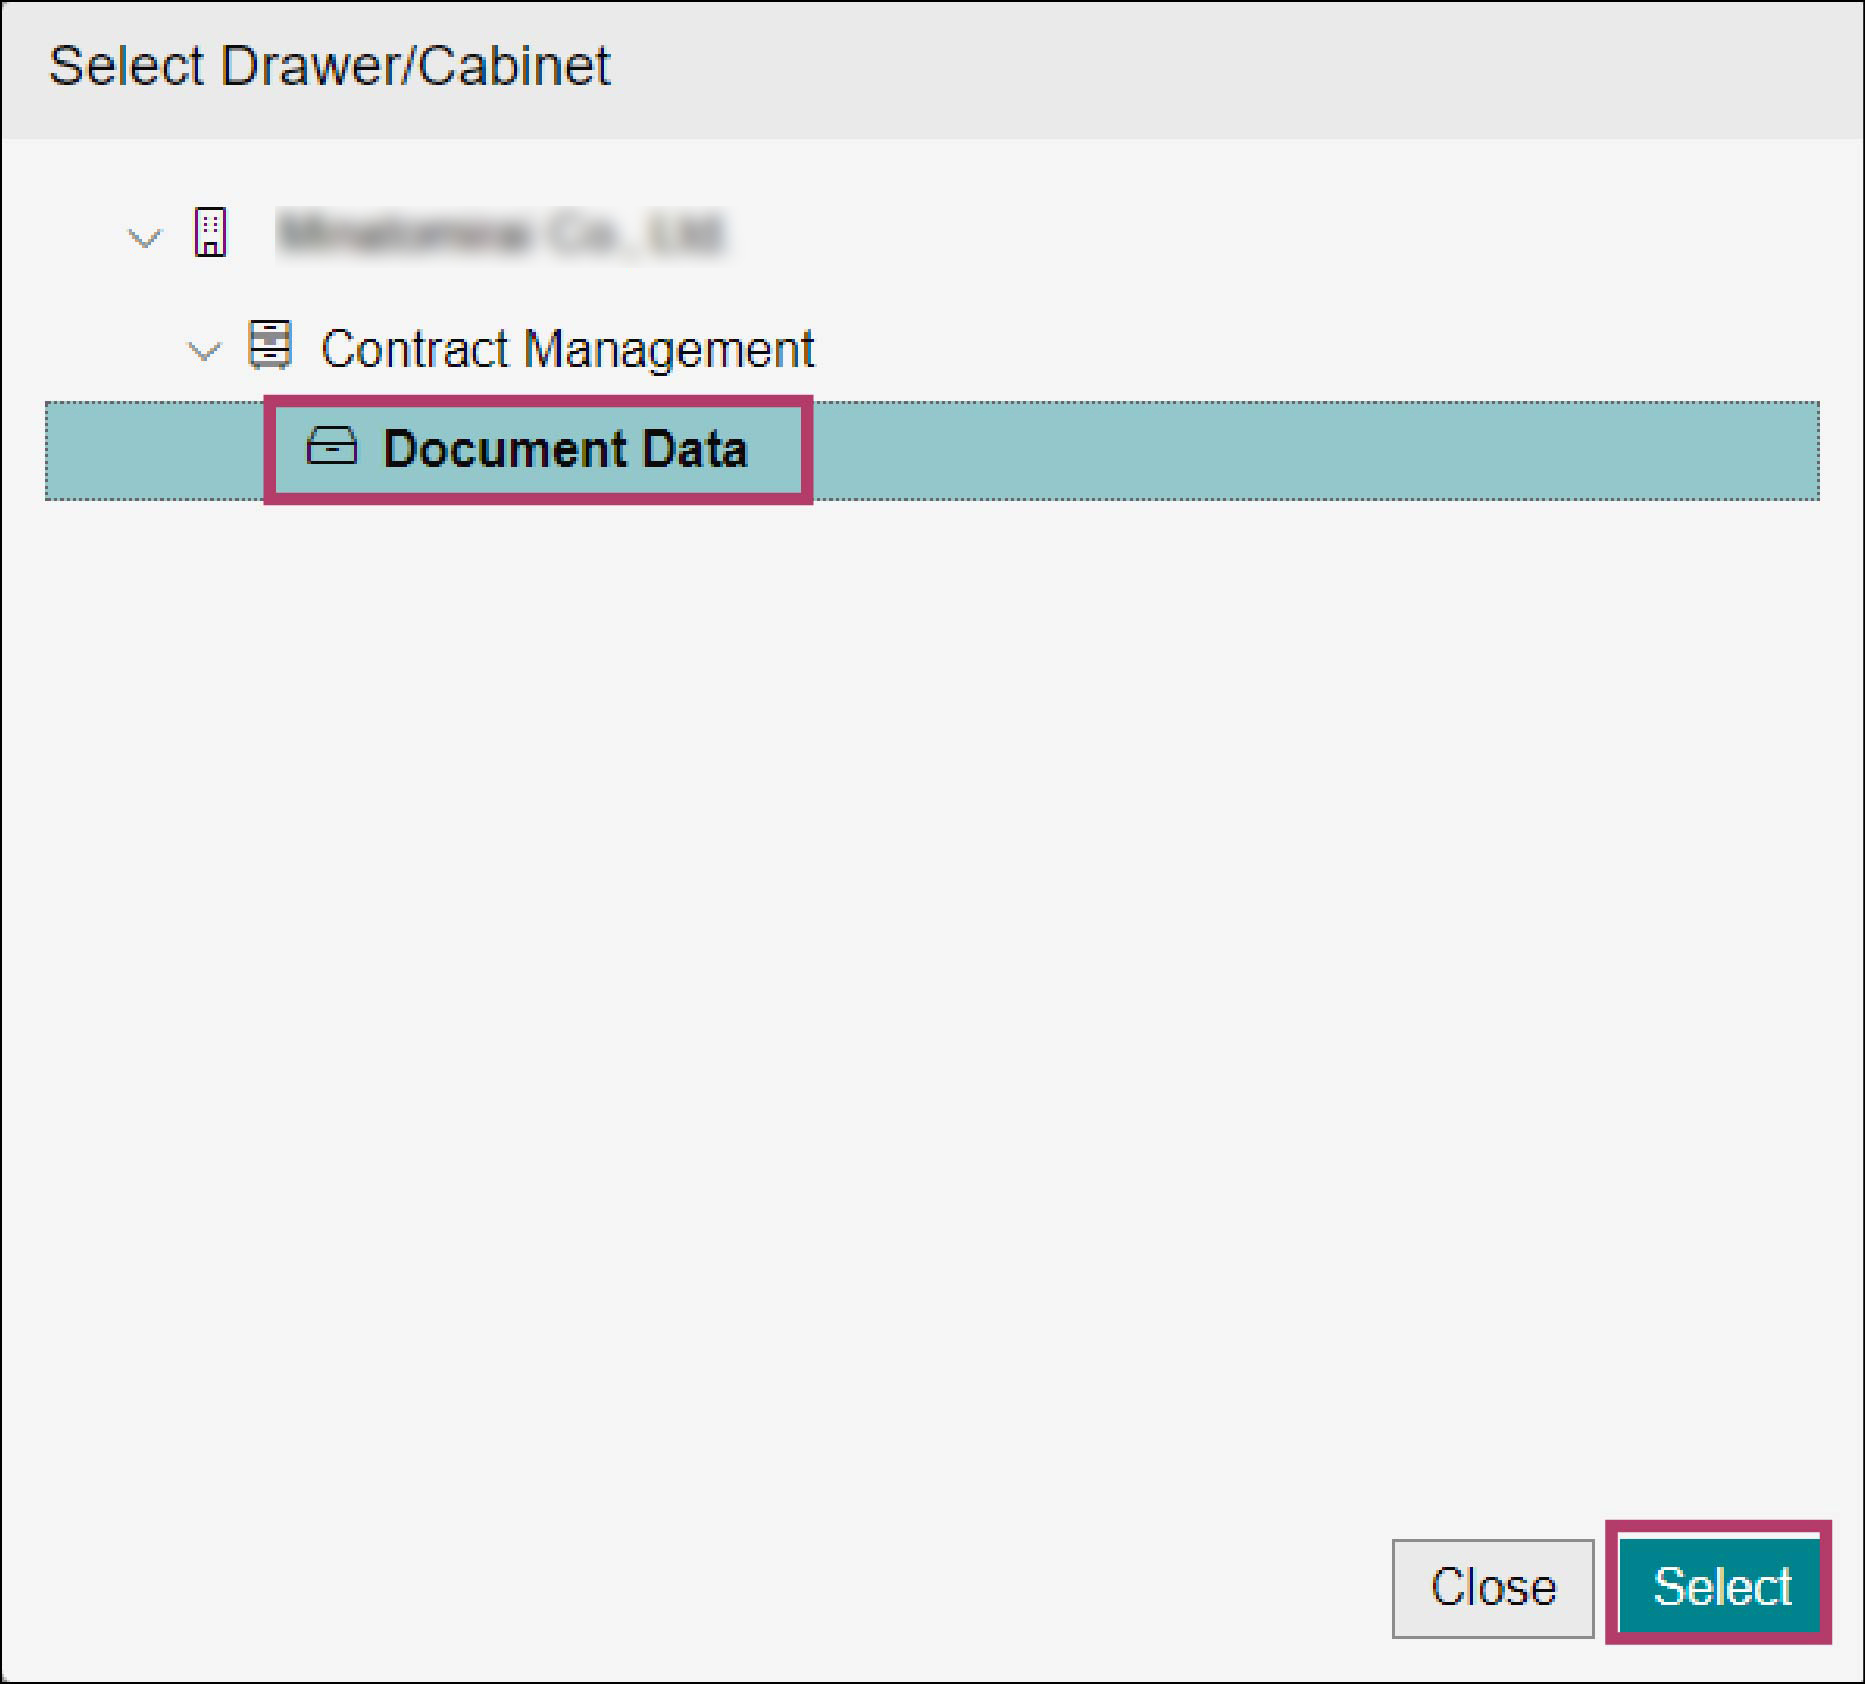
Note
When the cabinet containing the selected drawer is in maintenance mode, it cannot be set as the document location. Change the mode of the cabinet to normal mode.
12.
Click [Create].
The [Create Business Item] screen appears.
13.
Click [OK].
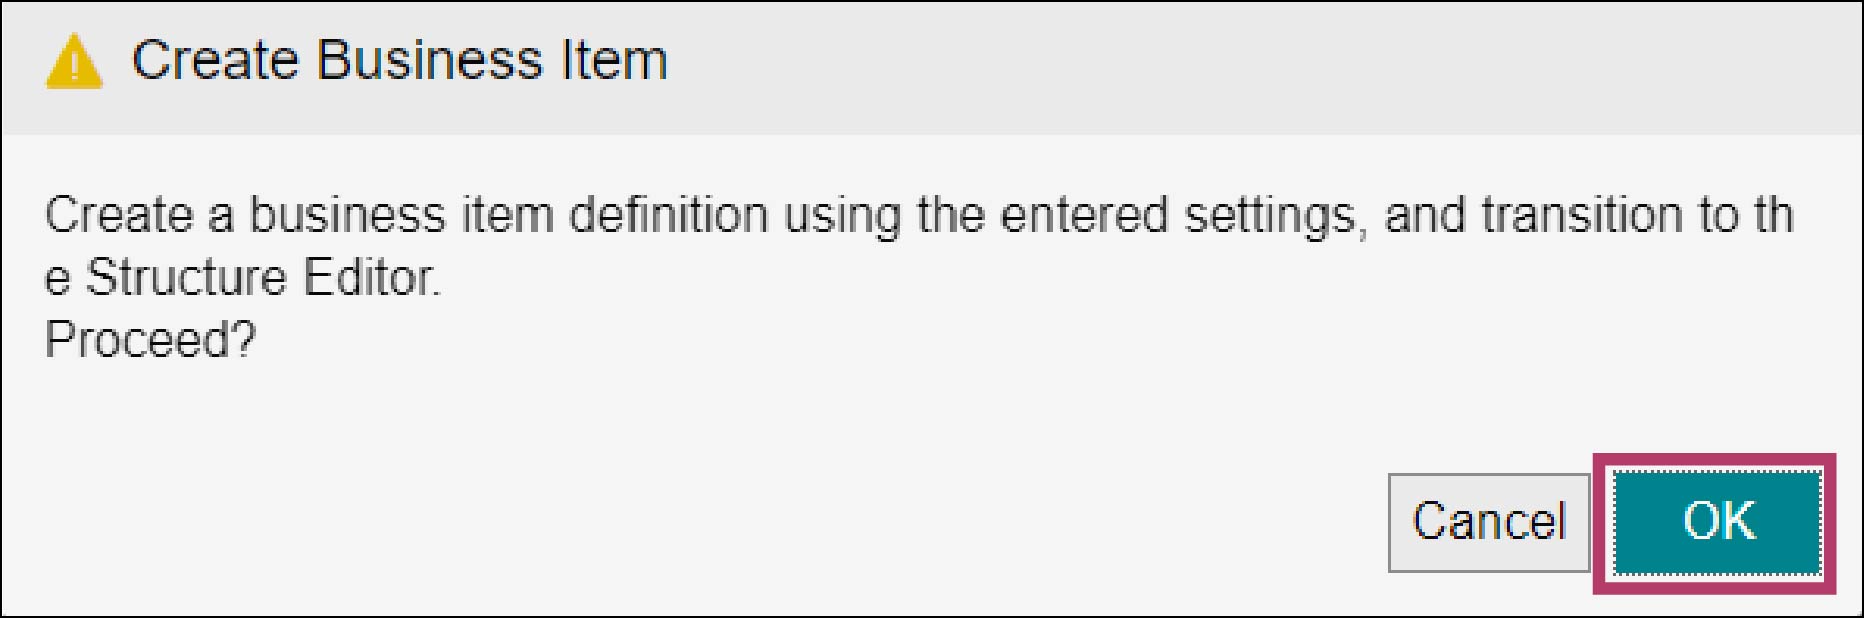
The structure editor screen for the “Contract Management” business item definition appears.
14.
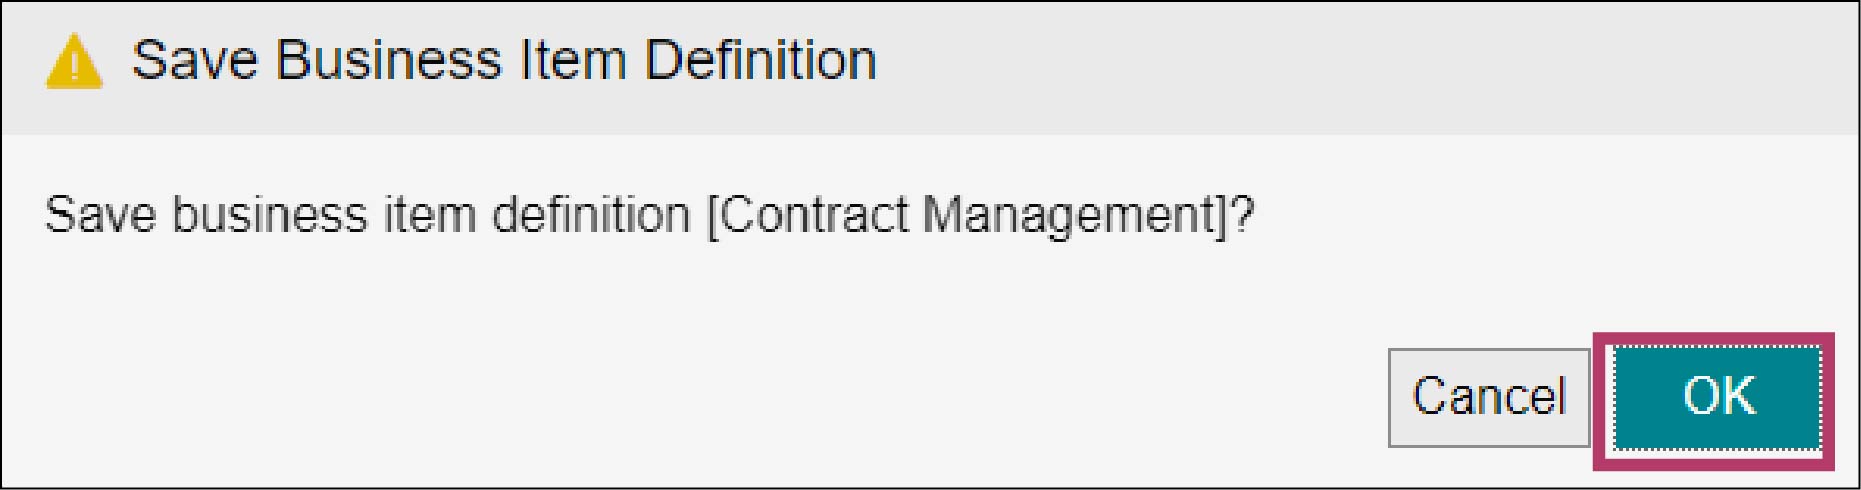
Click [Save].
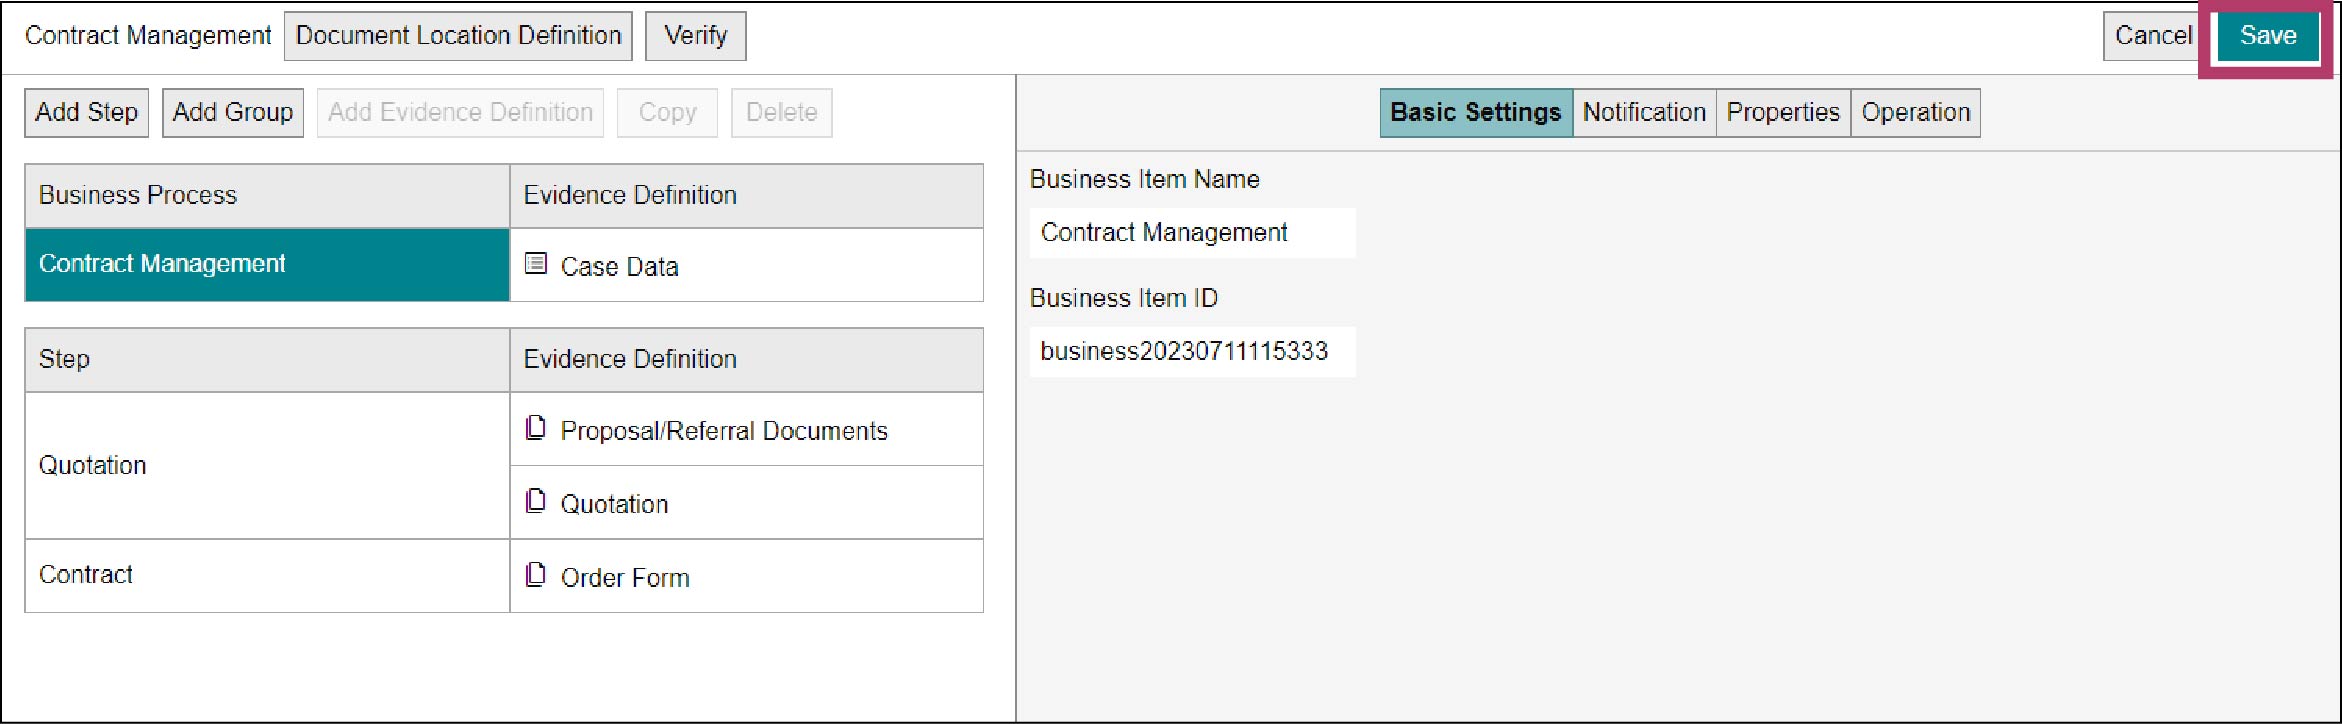
The [Save Business Item Definition] screen appears.
15.
Click [OK].