3.5 Capture Job
Important
"Capture" and "Rules" described on this page refer to the features in the old product Smart Workstream Data Entry option. These are provided in File Management as compatibility features available only to customers who have purchased the old product.
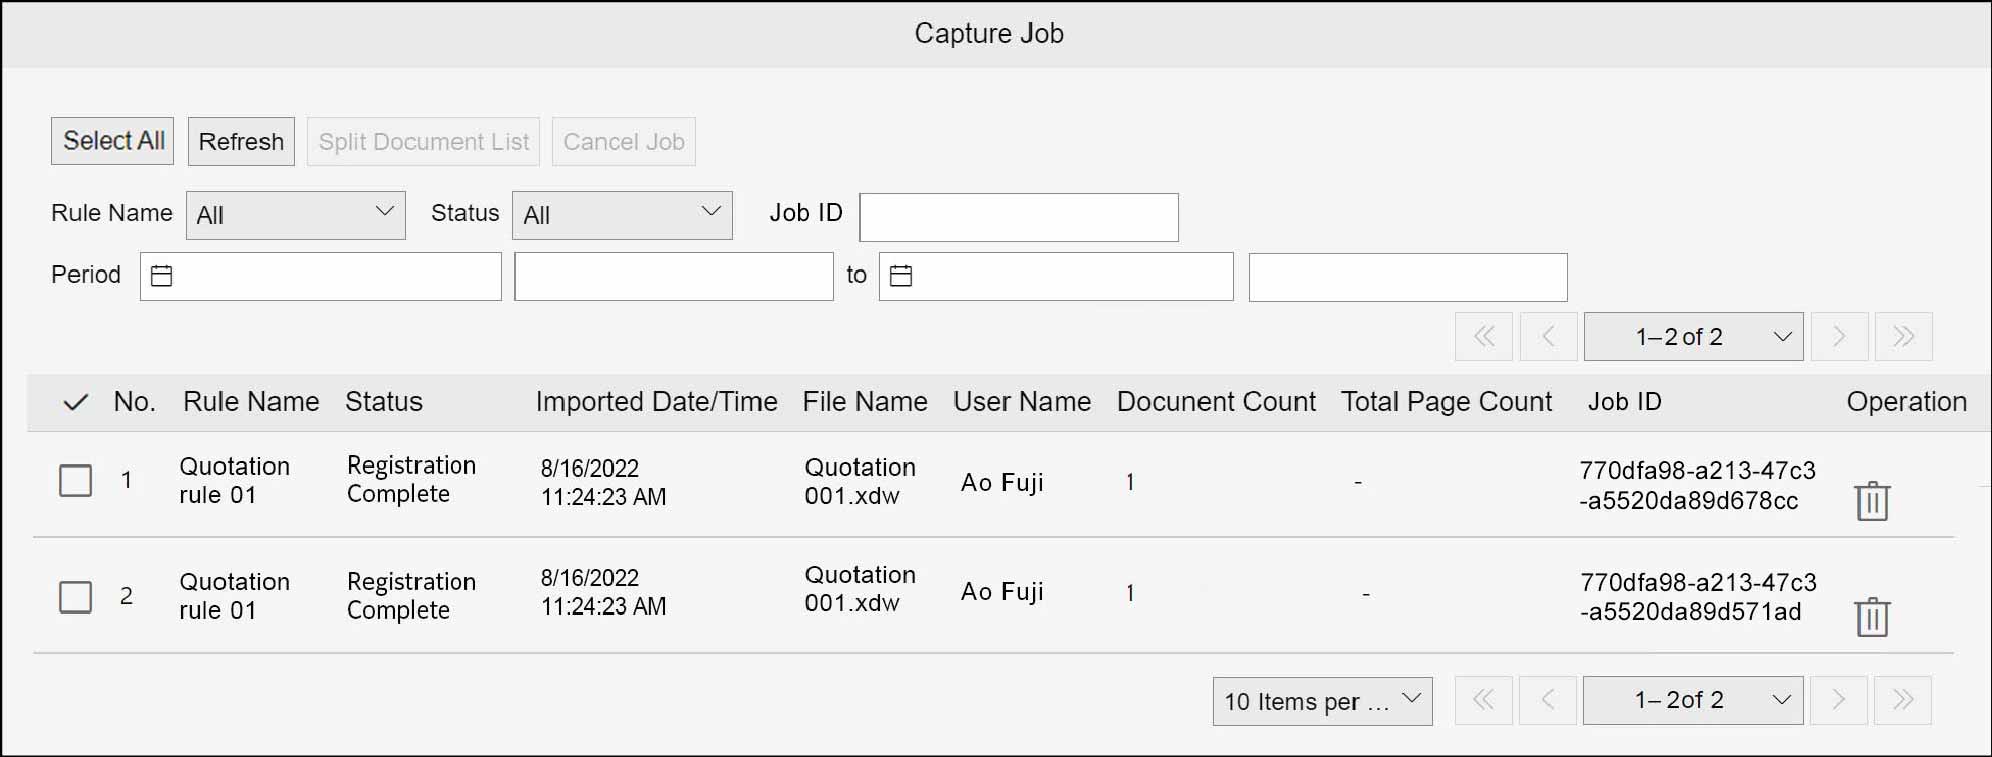
The user who registers the documents checks the job on the [Capture Job] screen. Display the [Capture Job] screen by the following procedure.
1.
Click  in the upper left corner of the screen and click [File Management] in the Admin menu.
in the upper left corner of the screen and click [File Management] in the Admin menu.2.
From the menu, go to [Log], and click [Capture Job].
Note
- Select [Rule Name], [Status], and [Job ID] to narrow down by using the selected item.
- If [Job ID] is a split document, the parent job is displayed in the list.
- Clicking [Refresh] updates the list to the latest state.
- Select the checkbox of the job you want to check the split document (scanned document that is split in accordance with the set rule), and click [Split Document List] to display the [Split Document List] screen for the selected job.
- Clicking on
 of [Operation] also displays the [Split Document List] screen.
 - You can cancel jobs whose [Status] is in the state of waiting for operation.
- Selecting the checkbox and clicking [Cancel Job] will cancel the selected job.
- Clicking on
 of [Operation] also cancels the selected job.
 - If [Status] is Error for a job/split document, clicking the link displays the [Error Content] screen, where you can check the error details.